
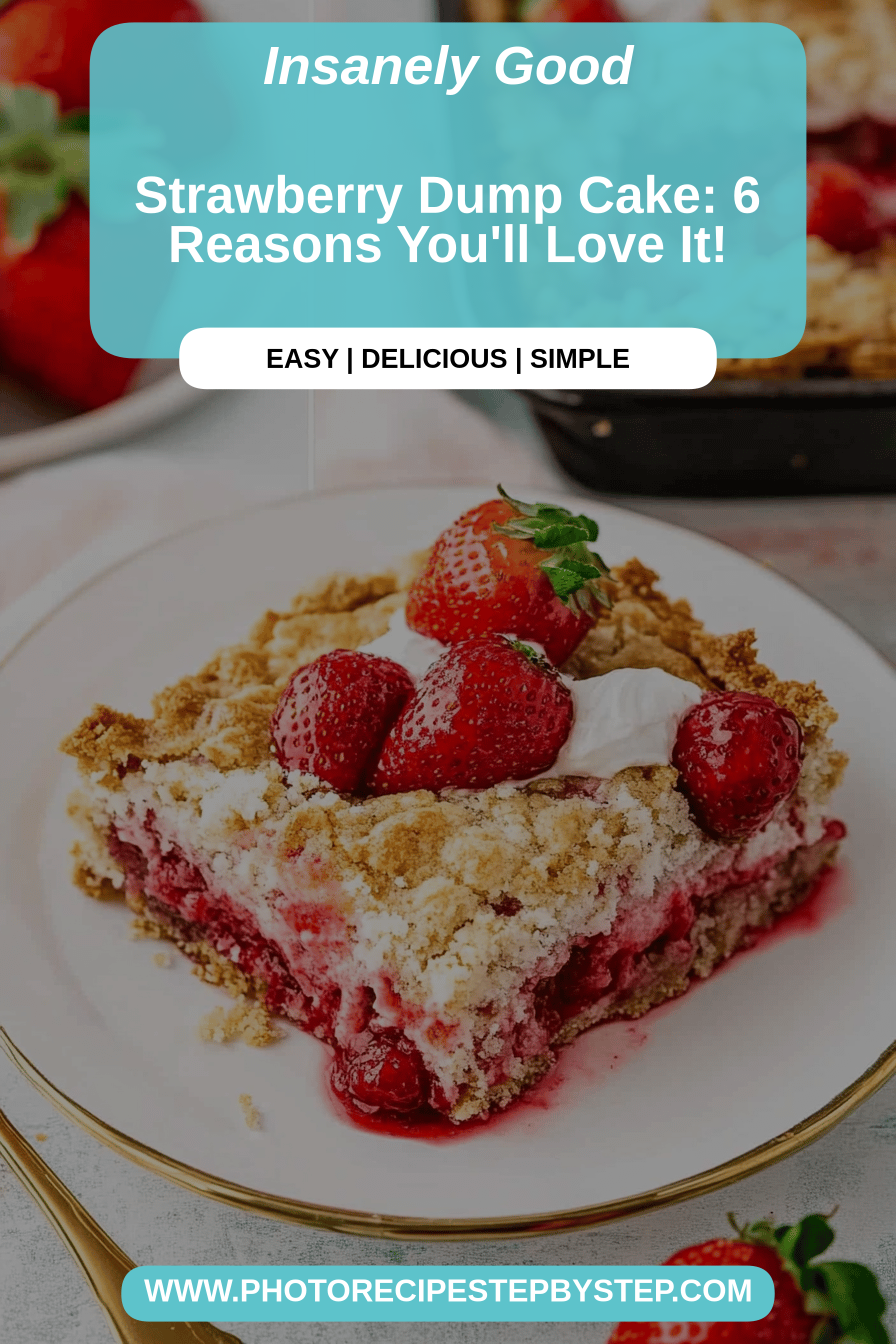
Oh, I am so excited to share this recipe with you today! It feels like a secret I’ve been holding onto for ages, but honestly, it’s too good not to pass around. You know those days when you’re hit with a serious craving for something sweet, something comforting, something that tastes like it took hours to make, but you’re also staring down a mountain of laundry and have zero energy to actually bake? Yeah, me too. That’s precisely when this strawberry dump cake swoops in like a superhero. It’s ridiculously simple, uses ingredients you probably already have, and the result? Pure, unadulterated happiness in cake form. It’s so much easier than a traditional cake, yet it delivers all the warmth and deliciousness. If you’ve ever loved a fruit cobbler or a really good boxed cake mix, you’re going to adore this strawberry dump cake. It’s become my absolute go-to for potlucks, last-minute dessert emergencies, and frankly, just Tuesdays.
What is a strawberry dump cake?
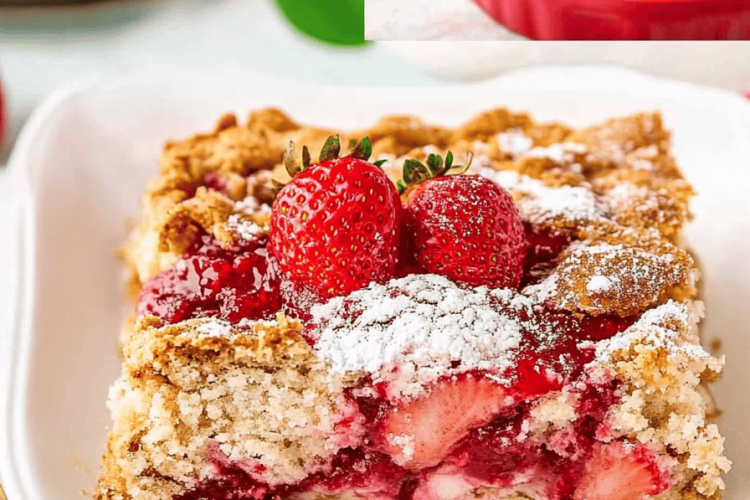
So, what exactly is this magical “dump cake” I’m raving about? Think of it as the culinary equivalent of a perfectly planned outfit that looks effortless. It’s essentially a dessert where you “dump” your ingredients into a baking dish and let them do their thing. There’s no fancy mixing, no creaming butter and sugar for ages, no delicate folding of ingredients. You literally layer or dump everything into your pan, and the oven works its magic to transform it into something spectacular. For our strawberry version, it’s a dreamy combination of sweet strawberries, a simple Cake Batter mixture, and a buttery, golden topping. The name comes from how straightforward the preparation is – you just dump, bake, and enjoy! It’s the ultimate shortcut dessert that still tastes homemade and incredibly delicious, making it a lifesaver for busy home cooks like us.
Why you’ll love this recipe?
There are so many reasons why this strawberry dump cake has earned a permanent spot in my recipe binder, and I just know you’re going to feel the same way. First off, the flavor profile is just divine. You get that sweet, slightly tart burst from the strawberries, which mingle beautifully with the tender, cake-like topping. It’s not overly sweet, which I really appreciate, but it’s definitely comforting and satisfying. Then there’s the sheer simplicity. Seriously, my kids can help make this, and that’s saying something! It takes mere minutes to assemble, and the “dump and go” method means minimal fuss and clean-up. This is a huge win in my book. It’s also incredibly cost-effective. Most of the ingredients are pantry staples, and fresh or frozen strawberries are usually quite affordable, especially when they’re in season. Beyond that, its versatility is amazing. I’ve served this warm with a scoop of vanilla ice cream, and it’s heavenly. It’s also fantastic with a dollop of whipped cream or even just on its own. What I love most about this strawberry dump cake, though, is how it always brings smiles. It’s a crowd-pleaser that feels special without any of the stress. If you’re a fan of my Easy Apple Crumble Bars or my One-Bowl Chocolate Mousse, you’ll appreciate the same focus on flavor and ease that this recipe brings.
How do I make a strawberry dump cake?
Quick Overview
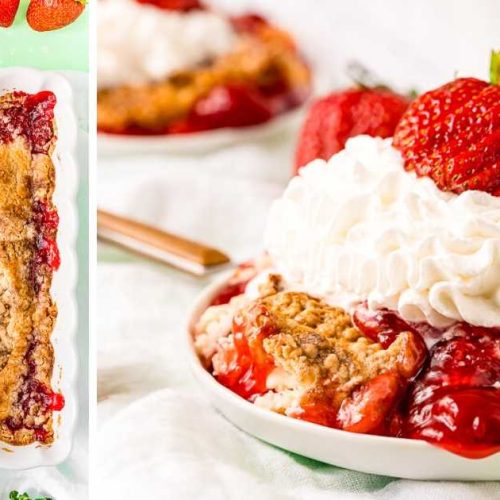
This strawberry dump cake is all about effortless deliciousness. You’ll start by preparing your pan and then layering your key components: tender strawberries, a simple cake mix batter, and a rich, buttery topping. The magic happens in the oven as these ingredients meld together to create a warm, gooey, and utterly irresistible dessert. It’s the perfect example of how simple ingredients can come together to make something truly spectacular, with minimal effort and maximum flavor payoff. Trust me, this is the kind of recipe that will make you feel like a baking superstar with hardly any work involved!
Ingredients
For the Main Batter:
You’ll need one box (about 15.25 ounces) of yellow cake mix. Don’t worry about using anything fancy; a standard boxed mix is perfect here and contributes to the cake’s tender texture. Make sure it’s a standard cake mix, not a “just add water” type if you can help it, as we’ll be adding our own liquids to control the consistency. I find the flavor of yellow cake mix complements the strawberries beautifully, but you could experiment with white or even a vanilla flavor if you prefer.
For the Filling:
This is where our star ingredient comes in! You’ll need about 6 cups of strawberries. Fresh is always wonderful, especially when they’re ripe and in season, but frozen strawberries work like a charm too. If you use frozen, don’t thaw them completely – a slight thaw is fine, but we don’t want them mushy. They’ll release their juices as they bake, creating that lovely, saucy filling. A touch of sugar (about 1/4 cup, adjusted to your sweetness preference) and a tablespoon or two of cornstarch will help thicken the juices beautifully, preventing a watery bottom. You can also add a teaspoon of lemon juice to brighten up the strawberry flavor, which I always do!
For the Glaze:
This is the secret to that golden, slightly crisp topping. You’ll need one cup of melted butter. Yes, a full cup! It sounds like a lot, but it’s crucial for creating that wonderfully rich, almost shortbread-like texture on top. Some recipes call for just drizzling melted butter, but I find “washing” the dry cake mix with butter creates the best crust. You’ll also need a bit of cinnamon and a sprinkle of granulated sugar for extra flavor and a lovely golden finish. I sometimes mix in a pinch of nutmeg too, but cinnamon is my personal favorite.
Step-by-Step Instructions
Step 1: Preheat & Prep Pan
First things first, let’s get our oven fired up. Preheat it to 350 degrees Fahrenheit (175 degrees Celsius). This is the magic temperature that ensures our dump cake bakes evenly without burning the top before the inside is cooked. While the oven heats up, grab a 9×13 inch baking dish. You can lightly grease it with butter or cooking spray, but honestly, the amount of butter in the topping usually prevents sticking. However, a little extra insurance never hurt anyone, right?
Step 2: Mix Dry Ingredients
In a large bowl, take your entire box of yellow cake mix. Now, here’s a little tip I’ve learned: if your cake mix has any large clumps, give it a quick whisk or sift it to break them up. This ensures an even distribution of flour and leavening agents. We’re not adding any wet ingredients to this part yet; we’re just preparing the dry base that will form the cakey layer. Just a simple whisking to aerate it slightly is all you need. This dry cake mix will be “dumped” directly onto the strawberries later.
Step 3: Mix Wet Ingredients
In a separate, medium-sized bowl, combine your prepared strawberries. If you’re using fresh, give them a gentle rinse and hull them, then slice or halve them depending on their size. If using frozen, you can use them straight from the freezer. Add the granulated sugar, cornstarch, and lemon juice (if using). Gently toss everything together. You want to coat the strawberries evenly. The cornstarch is key here; it will thicken the juices as they cook, creating that lovely, jammy consistency we’re after.
Step 4: Combine
This is where the “dump” part really comes into play! Pour the strawberry mixture evenly into the bottom of your prepared baking dish. Try to spread it out as much as possible so you have a nice layer of fruit. Now, grab that bowl of dry cake mix and evenly sprinkle it over the top of the strawberries. Don’t stir! Just pour it right over. You want a nice, even blanket of cake mix covering the fruit. This is the base of our cake layer.
Step 5: Prepare Filling
Oh, wait! I misspoke in the previous steps, the filling is already prepared in Step 3! That’s how easy this is. We’ve already tossed our strawberries with sugar, cornstarch, and lemon juice. So, no separate step needed here. The beauty of a dump cake is its simplicity, and we’ve already handled the filling!
Step 6: Layer & Swirl
This is where the magic really happens, or rather, where the butter does its magic. Melt your butter in a microwave-safe bowl or in a small saucepan on the stove. Once it’s fully melted, take a spoon or a spatula and drizzle the melted butter evenly over the dry cake mix. You want to make sure you get as much of the dry cake mix “washed” with butter as possible. This is what creates that delicious, slightly crisp, golden crust. Don’t worry if there are a few dry spots; the butter will spread as it bakes. There’s no swirling needed at this stage – we’re just letting the ingredients bake into perfection.
Step 7: Bake
Now, pop that dish into your preheated oven. Bake for about 45-55 minutes. The exact time can vary depending on your oven, so keep an eye on it. You’re looking for the topping to be golden brown and bubbly around the edges. The cake mix should look cooked through, and the strawberry filling should be bubbling up nicely. You can insert a toothpick into the cakey part; if it comes out clean, it’s ready. If it’s still gooey, give it another 5-10 minutes.
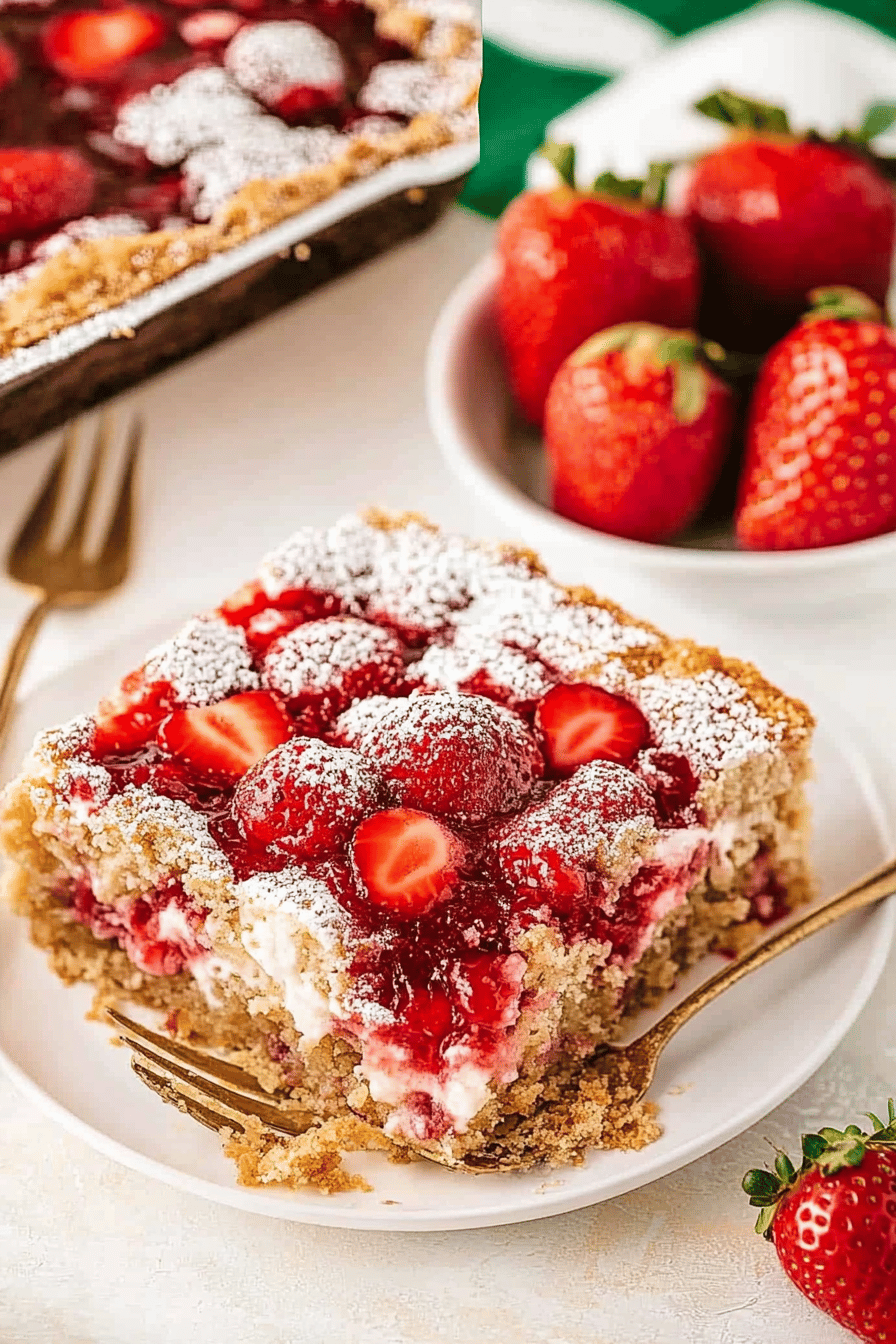
Step 8: Cool & Glaze
Once it’s baked to perfection, carefully remove the dump cake from the oven. Let it cool on a wire rack for at least 15-20 minutes before serving. This is crucial! It allows the filling to set up a bit and prevents you from burning your tongue (trust me, I’ve done it!). As it cools, the glaze will form naturally from the butter and cake mix. If you want a bit more shine or sweetness, you could optionally dust it with a little powdered sugar once it’s slightly cooled, but I usually find it perfect as is.
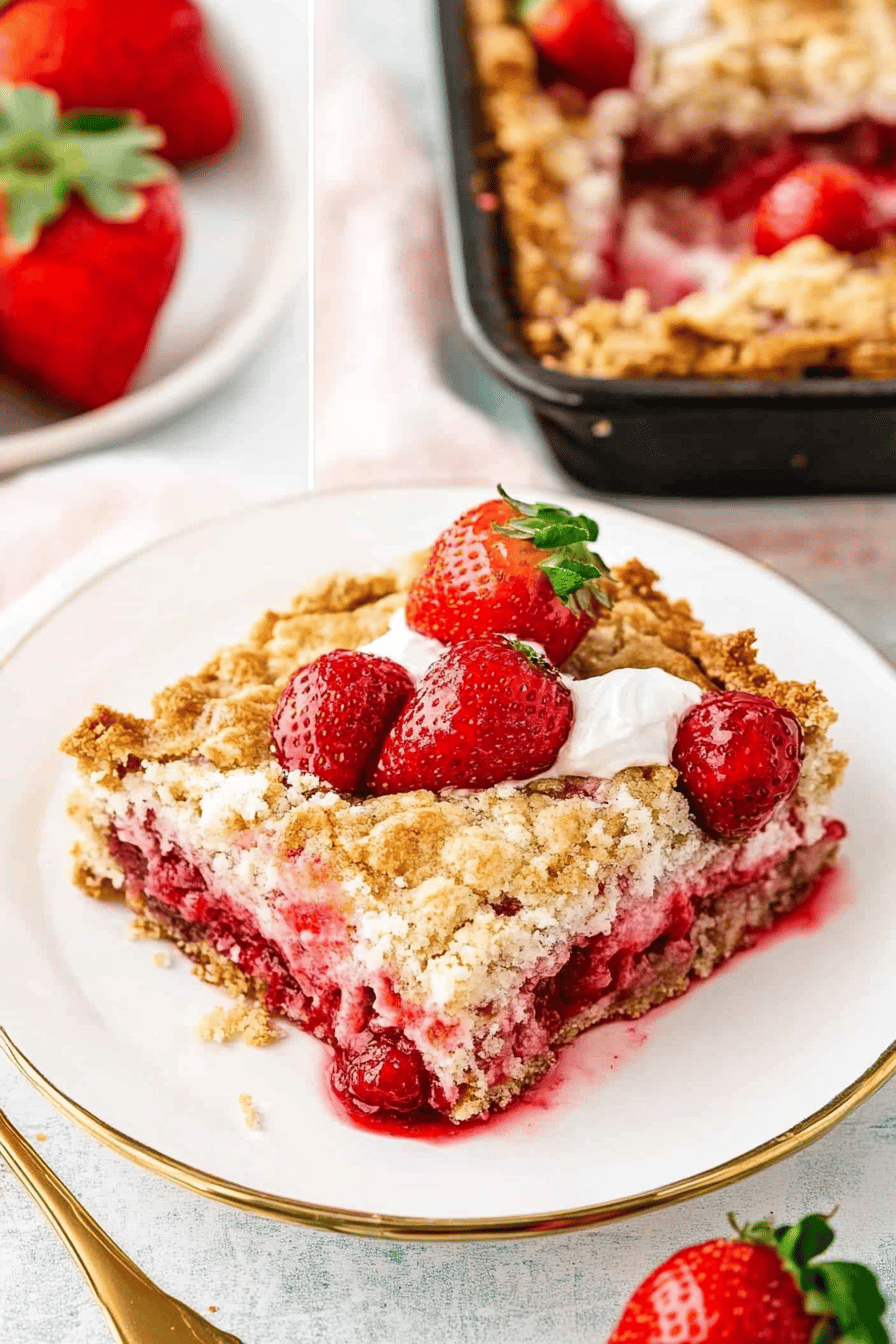
Step 9: Slice & Serve
After its resting period, scoop generous portions into bowls. The bottom will be soft and jammy with strawberries, and the top will be that wonderful, tender, buttery cake layer. It’s absolutely divine served warm. I always serve this with a big scoop of vanilla bean ice cream – the contrast of the warm cake and cold ice cream is just heavenly. A dollop of whipped cream or even a drizzle of sweetened condensed milk is also fantastic. Enjoy every single delicious bite!
What to Serve It With
This strawberry dump cake is incredibly versatile, making it perfect for so many occasions! For a delightful breakfast, I love serving it warm with a good cup of coffee. The sweetness is just enough to feel like a treat without being over the top, and the fruit makes it feel a bit healthier. It’s wonderful presented simply in bowls. If you’re planning a brunch, this dump cake can be elevated with a dollop of crème fraîche and a few fresh mint leaves for a touch of elegance. It pairs beautifully with mimosas or a light sparkling rosé. As a dessert, it truly shines. After a hearty meal, a warm slice with a generous scoop of vanilla bean ice cream or a swirl of homemade whipped cream is pure bliss. It’s also fantastic alongside a simple fruit salad. For those cozy, relaxed evenings or weekend snacks, it’s the ultimate comfort food. I often serve it with a glass of milk or a cup of herbal tea. My family has a tradition of making this on the first day of summer break – it just tastes like sunshine and freedom!
Top Tips for Perfecting Your Strawberry Dump Cake
Over the years, I’ve picked up a few tricks that I think make this strawberry dump cake even better, and I’m happy to share them with you! When it comes to the strawberries, if you use frozen, don’t be tempted to let them thaw completely. A slight thaw is fine, but if they become too watery, your filling might be a bit too liquidy. A medium-frozen state is perfect. For the cake mix, I’ve found that using a standard 15.25-ounce box is ideal. If you use a different size, you might need to adjust your baking time. Also, make sure you’re using a classic yellow cake mix; the flavor is subtle and lets the strawberries really shine. For the butter, don’t skimp! Melting it completely and ensuring it coats most of the dry cake mix is key to achieving that wonderful golden, slightly crisp topping. If you find your cake mix is clumping, give it a quick whisk before you dump it onto the strawberries. This ensures an even texture. I’ve experimented with adding other fruits, and while it’s delicious with mixed berries, the strawberry dump cake is truly classic. If you want to add a little extra zing, a teaspoon of almond extract in the cake mix can be lovely, or a pinch of cinnamon in the strawberry layer adds a warm spice note. When it comes to baking, ovens can be tricky. My oven tends to run a little hot, so I often check mine around the 40-minute mark. You’re looking for that beautiful golden-brown color on top and bubbly edges. If the top is browning too quickly but the inside isn’t cooked, you can loosely tent it with foil. For serving, letting it cool for at least 15-20 minutes is super important. It needs that time to set up, otherwise, it’ll be too soupy. Trust me on this one – patience is key to a perfectly set dump cake!
Storing and Reheating Tips
One of the best things about this strawberry dump cake is how well it keeps, though honestly, it rarely lasts long enough for me to worry too much about storing it! If you happen to have leftovers, and they do exist, you can store the cooled dump cake at room temperature, covered tightly with plastic wrap or foil, for up to 2 days. Just make sure it’s in a cool, dry place. For longer storage, pop it into the refrigerator. In the fridge, it will stay good for about 4-5 days. Keep it well-covered to prevent it from drying out or absorbing other odors from the fridge. I usually just use the baking dish it was cooked in and cover it with plastic wrap or foil. If you plan to freeze it, I recommend doing so before adding any glaze, if you were planning a separate glaze. However, for this recipe, the “glaze” is inherent. You can freeze the baked and cooled dump cake, tightly wrapped in plastic wrap and then in a layer of aluminum foil, for up to 2-3 months. To reheat, you can gently warm individual slices in the microwave for about 20-30 seconds, or until heated through. If you want to reheat a larger portion, place it in a low oven (around 300°F/150°C) for about 10-15 minutes, uncovered, until warmed. If you’ve refrigerated it and want to add a fresh dollop of whipped cream or ice cream, make sure it’s fully cooled first. The glaze component of this dump cake holds up well to storage and reheating, which is another reason it’s so fantastic.
Frequently Asked Questions
Final Thoughts
So there you have it – my foolproof, ridiculously easy strawberry dump Cake Recipe! It’s the kind of dessert that proves you don’t need to be a master baker to create something truly delicious and impressive. It’s perfect for those moments when you want a homemade treat without the fuss, and it always delivers on comfort and flavor. I hope you give this a try, and I truly can’t wait to hear how much you and your loved ones enjoy it. If you’re looking for other simple yet delightful recipes, be sure to check out my Easy No-Bake Cheesecake Bites or my Quick Banana Bread Muffins. Happy baking, and may your kitchen always be filled with wonderful aromas!
Strawberry Dump Cake
Ingredients
Main Ingredients
- 0.5 cup Butter, melted
- 1 box Yellow cake mix 15.25 oz
- 2 cans Strawberry pie filling 21 oz each
- 1 can Evaporated milk 12 oz
Instructions
Preparation Steps
- Preheat your oven to 350°F (175°C). Grease a 9x13 inch baking dish.
- Pour the melted butter evenly into the bottom of the prepared baking dish.0.5 cup Butter, melted
- Sprinkle the dry cake mix evenly over the melted butter.0.5 cup Butter, melted
- Pour the strawberry pie filling over the cake mix. Do not stir.0.5 cup Butter, melted
- Slowly pour the evaporated milk over the strawberry filling. Again, do not stir.0.5 cup Butter, melted
- Bake for 40-50 minutes, or until the cake is golden brown and cooked through.
- Let it cool for at least 10-15 minutes before serving. Serve warm, perhaps with a scoop of vanilla ice cream.
