
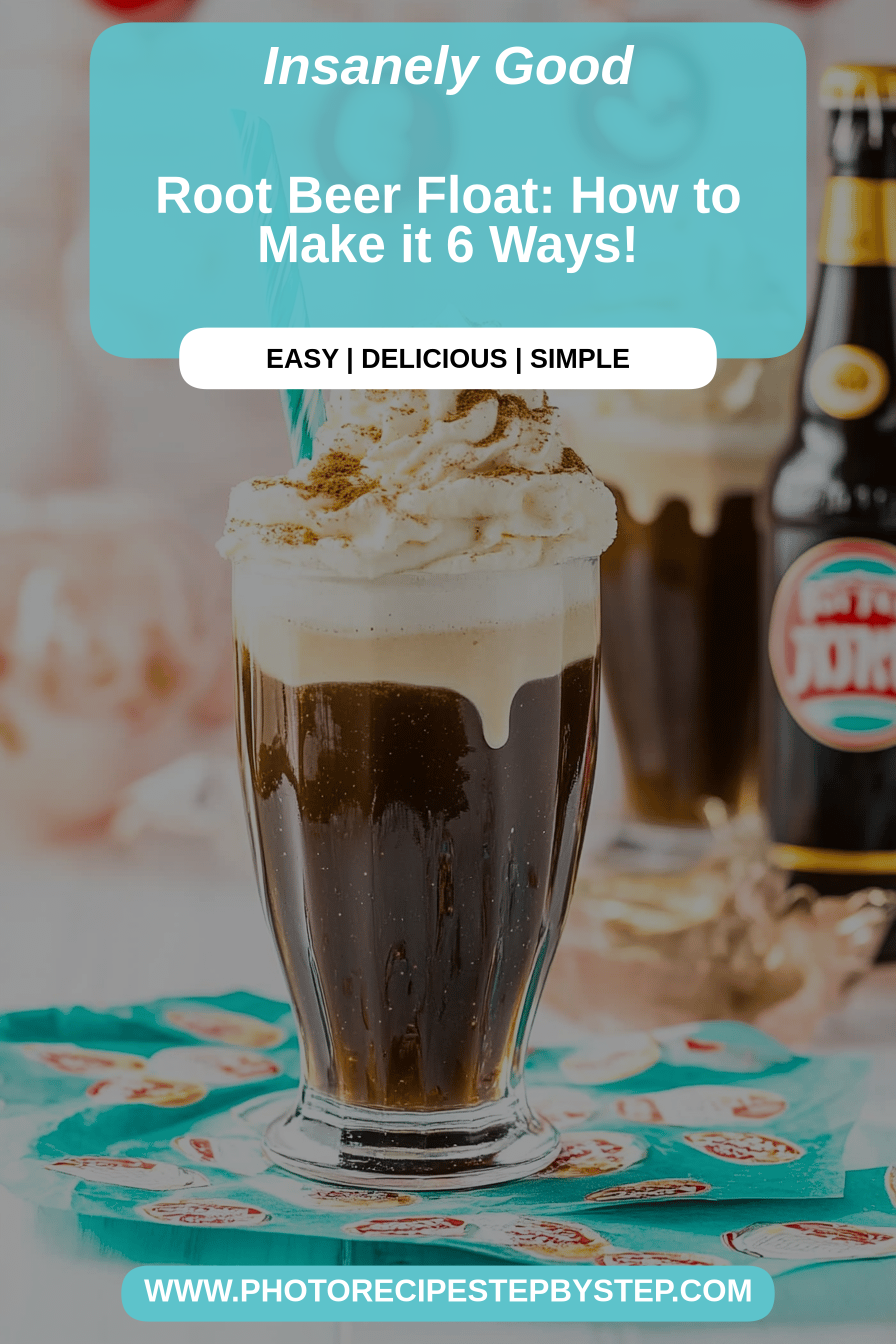
You know, there are some flavors that just instantly transport you back in time, right? For me, that’s the unmistakable, fizzy, sweet magic of a root beer float. It’s that perfect symphony of cold, bubbly soda meeting creamy, melting ice cream. Seriously, it’s one of those simple pleasures that never gets old. I remember begging my mom for one every single summer day. It was our little ritual after I’d been running around the yard with my friends, or when we’d come back from the local park. It’s like a hug in a glass, you know? And the best part? You can whip up this iconic dessert faster than you can say “soda pop.” Forget complicated layered cakes or hours spent in the kitchen; this is pure, unadulterated, childhood joy, ready in about two minutes flat. It’s the ultimate easy win when you need a sweet fix or want to surprise the kids (or yourself!).
What is Root Beer Float?
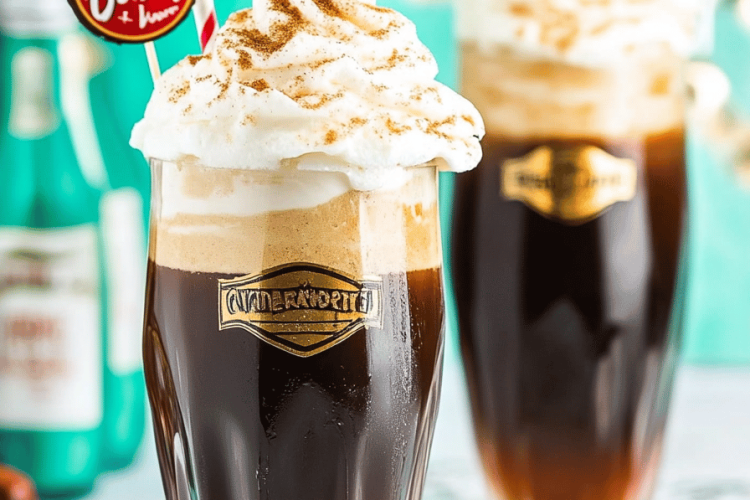
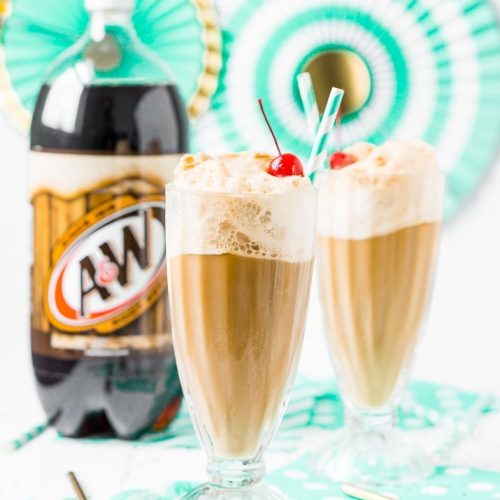
So, what exactly is this delightful concoction? At its heart, a root beer float is incredibly simple: it’s just a scoop or two of vanilla ice cream floating in a glass of fizzy root beer. That’s it! But oh, the magic that happens when those two meet is pure genius. The root beer, with its distinct sassafras and vanilla notes, starts to fizz and foam when it hits the cold ice cream. This creates this wonderfully creamy, frothy head that is just heavenly. Think of it as the easiest, most satisfying dessert you can imagine. It’s not really a “recipe” in the traditional sense, because it’s more about assembly than cooking, but there’s definitely an art to getting it just right. It’s the epitome of comfort food for me, a taste of pure, unadulterated happiness in a tall glass.
Why you’ll love this recipe?
Honestly, the list of reasons to love a good root beer float is practically endless, but let me tell you my absolute favorites. First and foremost, the flavor is just *chef’s kiss*. You get that bold, sweet, slightly spicy kick from the root beer, perfectly balanced by the smooth, creamy vanilla ice cream. It’s a taste sensation that’s both refreshing and incredibly satisfying. Then there’s the simplicity, which is a huge win in my book. I mean, you can’t get much easier than scooping ice cream and pouring soda. It’s a lifesaver on those super busy weeknights when everyone is suddenly asking for dessert, or when you just need a little pick-me-up without any fuss. And speaking of fuss-free, this treat is unbelievably cost-efficient. A bottle of root beer and a tub of ice cream will set you back hardly anything, but it delivers a gourmet experience in terms of pure enjoyment. Plus, it’s so versatile! While vanilla is the classic, you can totally switch up the ice cream or even the soda. I’ve tried it with chocolate ice cream (deliciously rich!), strawberry (surprisingly good!), and even different flavored sodas. It’s a blank canvas for deliciousness. What I love most about this particular way of making it, though, is the attention to detail. It’s not just dumping ingredients together; it’s about creating that perfect balance, that ideal foamy head. It’s the little things that make this root beer float stand out from just any old soda and ice cream combo. It’s a guaranteed crowd-pleaser, and my kids actually ask for this all the time when they want something special.
How do you make a root beer float?
Quick Overview
Making the perfect root beer float is all about achieving that iconic foamy crown and creamy texture. We’re talking about chilling your ingredients, choosing the right glass, and a gentle pour. It’s a straightforward process that ensures maximum flavor and visual appeal. This method guarantees a delightful experience from the first sip to the last creamy spoonful. Forget any past soggy or flat attempts; this is the way to do it right!
Ingredients
For the Main Treat:
- Really Cold Root Beer: The colder, the better! This is key for creating that fantastic foam. I always try to keep a few bottles chilling in the fridge. Any brand works, but some have a more intense sassafras flavor which I personally love.
- Good Quality Vanilla Ice Cream: This is non-negotiable for me. You want a creamy, rich vanilla that melts beautifully. Look for one with real vanilla bean specks if you can. It makes a noticeable difference!
- Tall Glasses: Classic diner-style glasses are perfect, but any tall, sturdy glass will do. Make sure they are chilled in the freezer for at least 15 minutes beforehand. This helps keep your float colder for longer.
Step-by-Step Instructions
Step 1: Chill Everything to Perfection
This is arguably the most important step for that epic foam! Make sure your root beer is ice-cold. I’m talking straight from the back of the fridge where it’s been chilling for at least a few hours. Your glasses should also be frosty – pop them in the freezer for about 15-20 minutes before you’re ready to assemble.
Step 2: Scoop the Ice Cream
Get your favorite vanilla ice cream. I usually go for two generous scoops per glass. Don’t be shy here! Place them gently into the bottom of your chilled glasses. You want them to sit there, ready for their bubbly bath.
Step 3: The Gentle Pour
Now for the magic moment. Take your super-cold root beer and pour it *slowly* over the ice cream. Start by tilting the glass slightly and pouring the soda down the side. This helps to control the fizz and allows the ice cream to start melting, creating that beautiful creamy layer.
Step 4: Watch the Foam Rise
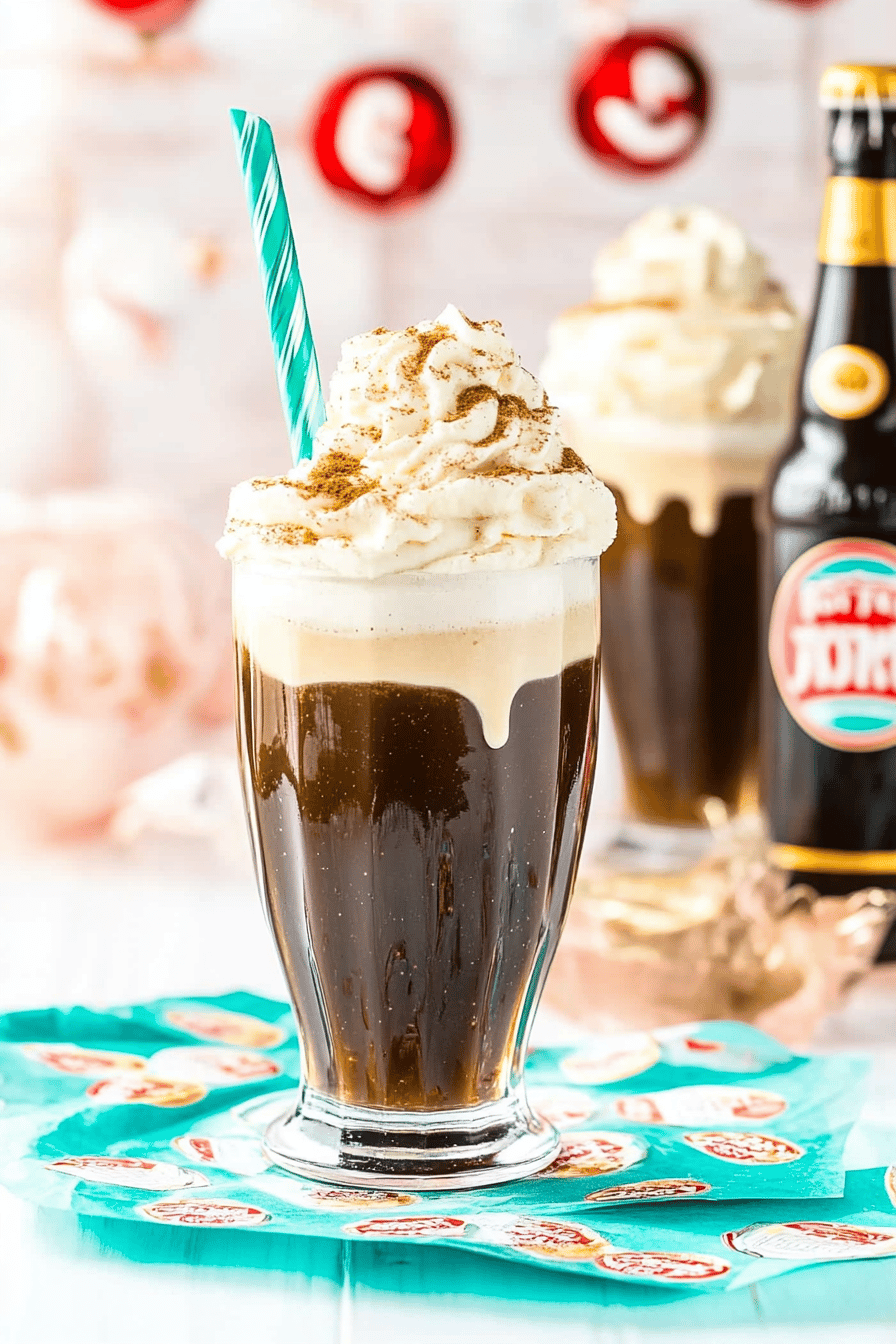
As you pour, you’ll see the root beer start to foam up, creating that signature frothy head. You might need to pause your pour to let the foam settle a bit, especially if you’re using a very carbonated soda. This is what makes the root beer float so special – that thick, luscious foam on top!
Step 5: Top it Off
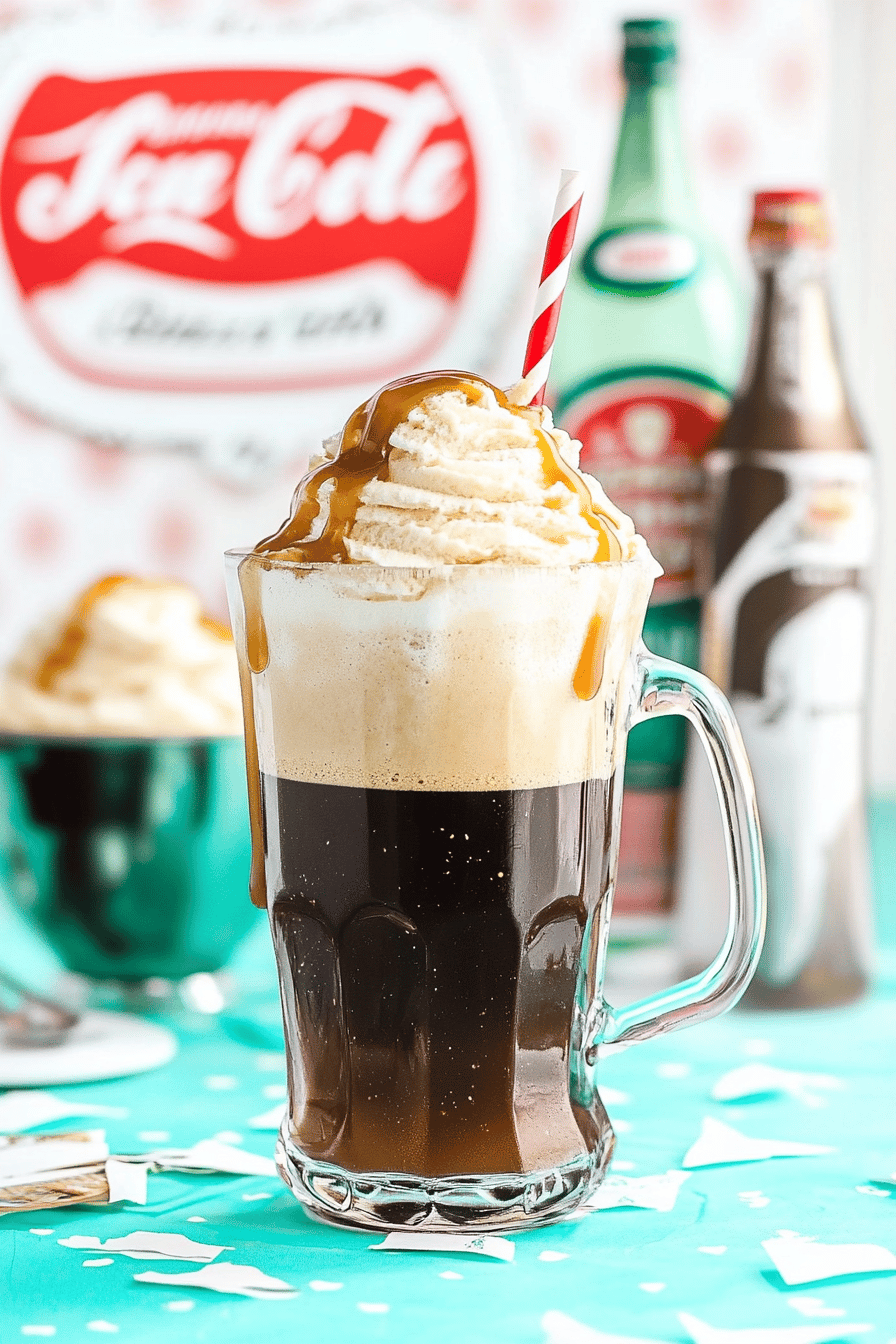
Once you’ve got a nice layer of foam, you can top up the glass with a little more root beer if needed, but don’t fill it so high that you lose that glorious foamy crown. Some people like to add a third scoop of ice cream right on top, letting it peek out from the foam. That’s a personal preference!
Step 6: Garnish (Optional but Fun!)
For an extra touch, you can add a maraschino cherry on top, or even a little drizzle of chocolate syrup if you’re feeling adventurous. A long spoon is essential for digging into that creamy bottom layer!
Step 7: Serve Immediately
The root beer float is best enjoyed the moment it’s made. The ice cream will start to melt and mix with the soda, creating a delicious, creamy drink. Grab a spoon and a straw, and dive in!
Step 8: Enjoy Every Sip and Spoonful
This is the best part! Take your time, savor the bubbly root beer, the creamy ice cream, and that amazing foamy head. It’s a simple pleasure, but oh so good.
Step 9: Clean Up (The Quickest Part!)
Since there’s no real cooking involved, cleanup is a breeze. Just rinse out your glasses and spoons, and you’re done. That’s the beauty of this treat!
What to Serve It With
While a root beer float is a star all on its own, I love pairing it with other simple, comforting dishes. For breakfast (yes, you heard me!), it’s the perfect sweet treat alongside a stack of fluffy pancakes or some crispy bacon. The contrast of the sweet float with savory breakfast items is surprisingly delightful. For a more leisurely brunch, I often serve it as a fun, individual dessert. Imagine a beautifully plated quiche or some elegant avocado toast, and then BAM! A root beer float appears. It’s unexpected and always brings a smile. As a dessert, it’s the ultimate after-dinner indulgence, especially after a hearty meal. It’s far less heavy than a slice of cake, but just as satisfying. My absolute favorite is after a barbecue – the smoky flavors of Grilled Chicken or burgers just sing alongside this classic soda fountain treat. And for cozy snacks? Oh, this is it. It’s perfect for movie nights, lazy afternoons, or when you’re just craving something sweet at 10pm but don’t want to bake a whole cake. I love pairing it with popcorn or some simple sugar cookies. My kids ask for this all the time when we have a family movie night, and it always feels like a special occasion.
Top Tips for Perfecting Your Root Beer Float
Over the years, I’ve learned a few little tricks that elevate a root beer float from just okay to absolutely sensational. First off, the temperature of everything is your best friend. I’ve already stressed how important cold root beer and glasses are, but don’t forget to chill your ice cream container too! A slightly warmer ice cream melts too fast, leading to a watery float. I’ve made this mistake more times than I care to admit! When it comes to pouring the root beer, resist the urge to just dump it in. Slow and steady wins the race here. Pouring down the side of the glass really does control the foam and creates that lovely layered look, rather than just a massive, overwhelming fizz that dissipates too quickly. I’ve found that some root beer brands create a more stable, creamier foam than others. My personal favorite is A&W, but IBC is also fantastic. If you find your foam is too thin, try a different brand or ensure your soda is extra, extra cold. Don’t overfill the glass! You want that beautiful foamy head to be prominent. It’s part of the visual appeal and the experience. If you’re using a smaller glass or serving to little ones, don’t be afraid to use less root beer. The ratio is key. Some people love adding a splash of heavy cream to their ice cream before scooping; it makes it even richer and creamier. I tried this once after reading about it, and it was a game-changer for texture! If you’re feeling adventurous, try using different ice cream flavors. A good quality chocolate or even a coffee-flavored ice cream can be divine with root beer. I tested this with a Salted Caramel ice cream once, and while it was interesting, it was a bit too sweet for my personal preference. The classic vanilla really lets the root beer shine. Lastly, always serve with a spoon! That creamy, melted ice cream and soda mixture at the bottom is just as delicious as the foamy top, and you don’t want to waste a drop.
Storing and Reheating Tips
The honest truth about root beer floats? They are absolutely best enjoyed fresh. Once that root beer hits the ice cream, the magic is happening, and it’s a fleeting moment of perfection. Because of this, I strongly advise against trying to store a prepared root beer float. It’s just not going to be the same experience. The ice cream will melt completely, the fizz will dissipate, and you’ll end up with a sweet, flat root beer with some melted creaminess. It’s not ideal. However, if you find yourself with extra ingredients, here’s how to keep them best for next time: For the root beer, make sure the bottle or can is sealed tightly and kept in the refrigerator. It will stay good for about 3-5 days after opening, though the carbonation might decrease slightly over time. For the vanilla ice cream, ensure it’s stored in an airtight container in your freezer. Properly stored, it should maintain its quality for a couple of months. If it develops a thick layer of ice crystals, it might be a sign that it’s starting to lose some of its creaminess. The key is to always have these two staples on hand so you can whip up a fresh float whenever the craving strikes. My rule of thumb is to assemble the float right before you plan to drink it, even if it’s just for yourself. It takes less than two minutes, and the payoff is so worth it!
Frequently Asked Questions
Final Thoughts
There you have it – the simple, yet profoundly satisfying, root beer float. It’s a dessert that proves you don’t need fancy ingredients or complicated steps to create something truly magical. It’s about that perfect harmony of fizzy soda and creamy ice cream, a taste of pure nostalgia and uncomplicated joy. This is more than just a treat; it’s an experience, a moment of bliss that can brighten any day. If you’re looking for other easy, crowd-pleasing desserts that bring a touch of vintage charm, you might also love my recipes for homemade chocolate pudding or classic no-bake cookies. They’re just as fuss-free and equally delicious. So, the next time you’re craving something sweet and need a quick fix, grab your favorite root beer and some good vanilla ice cream. Trust me, you won’t regret it. I can’t wait to hear how yours turns out and what variations you come up with! Let me know in the comments below, and happy sipping!
Root Beer Float
Ingredients
Main Ingredients
- 12 oz Root Beer
- 2 scoops Vanilla Ice Cream
Instructions
Preparation Steps
- Pour the root beer into a tall glass, filling it about two-thirds full.
- Carefully add scoops of vanilla ice cream on top of the root beer.
- Serve immediately and enjoy!
