
I am so excited to share this recipe with you today. What are Melting Moments Cookies? If you’ve ever had that craving for something sweet, something that just melts in your mouth and you can’t stop eating it, what are you doing? If this book makes you feel warm and fuzzy inside, then this is it. I remember my grandma making these for me when I was a little girl, and the smell of them baking. Would just fill our whole house. What is a cozy hug? What are the differences between shortbread and sugar cookies? What a tender crumb that’s just divine. I have tried making my own versions of cookies, from chocolate chip to vanilla. I’ve tried everything from a simple cookie to an elaborate cookie. What are Melting Moments Cookies? They always come back to these. What are some of the best holiday recipes that are easy enough for a weeknight baking session? Is there a recipe that makes people happy?

What are Melting Moment Cookies?
What are Melting Moments Cookies? What are some of the best cookie recipes? Does the name really say something? What are Melting Moments? They have a delicate, almost sandy texture that’s just pure bliss. What is the basic idea of a simple shortbread-like base, often made with butter, flour, and sugar? Sometimes with a hint of vanilla or lemon zest to give it that little extra something. What makes them special is that they’re usually sandwiched together with a simple buttercream. Is jam filling dipped in a light glaze? What is the cookie that makes you close your eyes with the first bite? Is this recipe a classic?
Why you’ll love this recipe?
I’m telling you, you are going to fall head over heels for these Melting Moments Cookies. There are so many reasons why I keep coming back to this recipe, and I just know you’ll feel the same way. First off, the flavor is just incredible. It’s that pure, unadulterated buttery goodness that every good cookie should have, but with a tenderness that’s truly unique. They’re not overly sweet on their own, which is perfect because it lets the filling and any glaze shine through. Then there’s the simplicity of it all. Seriously, these are surprisingly easy. You don’t need any fancy equipment, just a few bowls and a whisk. I’ve made these when I’ve had unexpected guests pop over, and they’ve been my saving grace. They’re also incredibly budget-friendly; the ingredients are all pantry staples, which is always a win in my book. What I love most, though, is their versatility. You can dress them up or down. I’ve made them for elaborate cookie platters, but they’re just as lovely for a simple afternoon tea with my kids. They’re a bit like my favorite vanilla bean scones in that way – simple ingredients, extraordinary results. This recipe is truly a crowd-pleaser, and it’s become a signature treat in my home.
How do you make Melting Moments Cookies?
Quick Overview
Making these Melting Moments Cookies is a straightforward process that results in pure cookie magic. You’ll cream your butter and sugar, add your dry ingredients, chill the dough slightly, shape them, bake them until they’re just kissed with golden brown, and then sandwich them with your favorite filling. The key is gentle handling and not overbaking, which keeps them wonderfully tender. It’s a simple three-part process: make the cookie base, make the filling, and then bring them all together. Honestly, the hardest part is waiting for them to cool before you can enjoy them!
Ingredients
Here’s what you’ll need to make these incredibly tender and delicious cookies. I always make sure my butter is softened, but not melted, for the best texture.
For the Main Batter: What is the difference between
1 cup (2 sticks or 227g) unsalted butter, softened
1/2 cup (100g) granulated sugar (50g
1 teaspoon pure vanilla extract.
1/4 teaspoon salt. 1 teaspoon pepper.
2 cups (250g) of all-purpose flour.
1/4 cup (30g) cornstarch (this is the secret for that melt-in-your-mouth texture!)
For the Filling:
1/2 cup (1 stick or 113g) unsalted butter.
1 cup (120g) powdered sugar, sifted. 1
1 teaspoon vanilla extract. 1 tablespoon nutmeg
1-2 tablespoons milk or cream (if needed for consistency)
For the Glaze (Optional but Recommended): For a clean, fresh
1 cup (120g) powdered sugar, sifted. 1
2-3 tablespoons of milk or lemon juice. 2-3 teaspoons.
1/4 teaspoon vanilla extract. 1 teaspoon cinnamon powder.
Step-by-Step Instructions
Step 1: Preheat & Prep Pan
First things first, get your oven preheated to 325°F (160°C). I like to line my baking sheets with parchment paper or silicone baking mats. This is a lifesaver for easy cleanup and ensures your cookies don’t stick. You don’t need to grease the parchment, just lay it flat. I usually prepare about two baking sheets so I can bake them in batches efficiently.
Step 2: Mix Dry Ingredients
In a medium bowl, whisk together the all-purpose flour and the cornstarch. Cornstarch is really the key player here for that signature tender, crumbly texture. Make sure they’re thoroughly combined. A good whisking makes sure there are no little pockets of cornstarch left, which could affect the cookie’s texture.
Step 3: Mix Wet Ingredients
In a large bowl, cream together the softened butter and granulated sugar using an electric mixer (or a whisk and some serious arm power!). Beat them until they’re light and fluffy, which usually takes about 2-3 minutes. Then, beat in the vanilla extract and salt. The mixture should be smooth and creamy. If your butter is too cold, it won’t cream properly, so make sure it’s at that perfect soft stage.
Step 4: Combine
Gradually add the dry ingredients to the wet ingredients. Mix on low speed or stir with a spatula until just combined. Be careful not to overmix! Overmixing develops the gluten in the flour, which can make your cookies tough instead of tender. The dough should come together into a soft, workable dough. If it seems a little too crumbly, you can add a teaspoon of milk, but usually, it’s just right.
Step 5: Prepare Filling
While the dough rests for a moment, let’s make the filling. In a separate bowl, beat the softened butter until creamy. Gradually add the sifted powdered sugar and vanilla extract. Beat until light and fluffy. If the frosting is too thick, add milk or cream, one teaspoon at a time, until you reach a smooth, spreadable consistency. Sifting the powdered sugar is important to avoid lumps!
Step 6: Shape the Cookies
Now for the fun part. I like to roll the dough into small balls, about 1 inch in diameter. You can also just scoop them with a small cookie scoop. Place them on the prepared baking sheets about 1 inch apart. Gently flatten them slightly with the bottom of a glass or your palm. You can even press a fork into them for a pretty pattern, but I usually skip that step to keep them super simple. They don’t spread a ton, but they do puff up a bit.
Step 7: Bake
Bake for 12-15 minutes, or until the edges are lightly golden brown and the centers are just set. You don’t want them to get too dark; they should remain pale and delicate. The exact time will depend on your oven and the size of your cookies, so keep an eye on them. They’ll feel a little soft when you take them out, but they firm up as they cool.
Step 8: Cool & Glaze
Let the cookies cool on the baking sheets for about 5 minutes before transferring them to a wire rack to cool completely. Once they’re completely cool, you can either fill them as is or make the glaze. For the glaze, whisk together the sifted powdered sugar, milk/lemon juice, and vanilla until smooth. You want a thick but pourable consistency. Dip the tops of the cookies into the glaze or drizzle it over them. Let the glaze set completely before assembling.
Step 9: Assemble and Serve
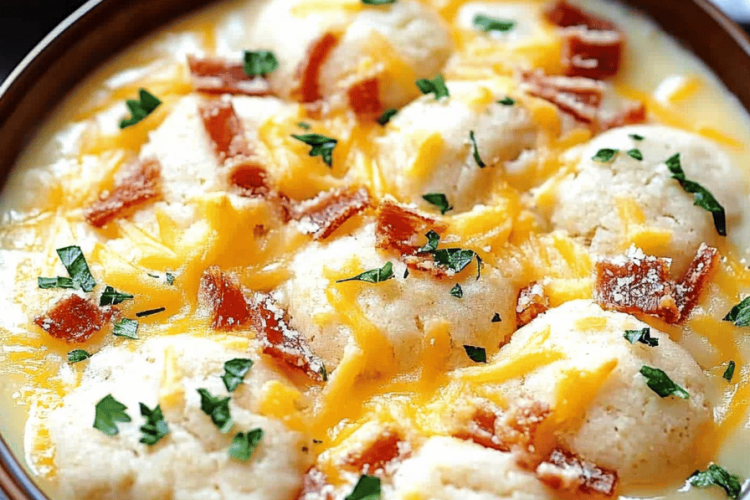
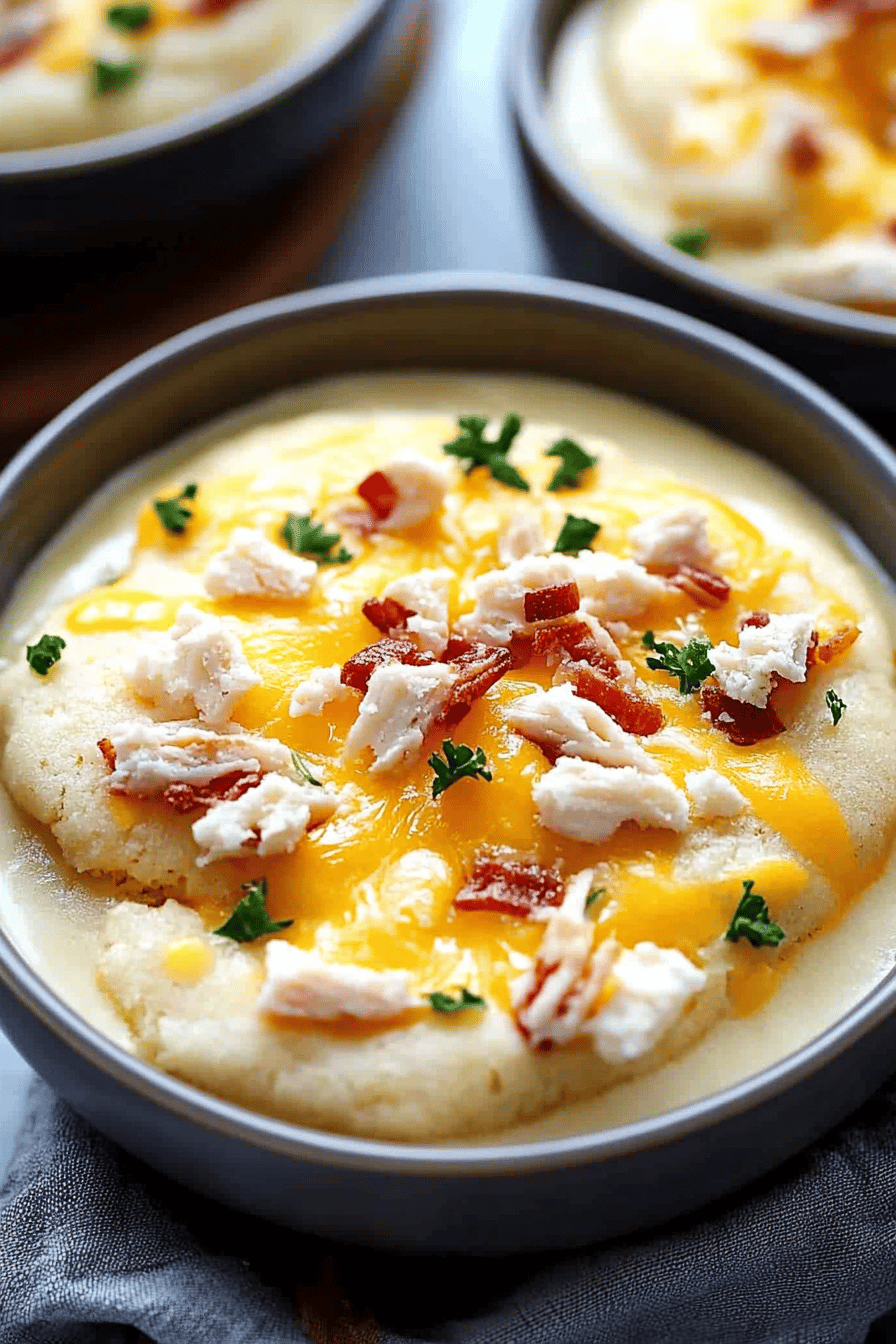
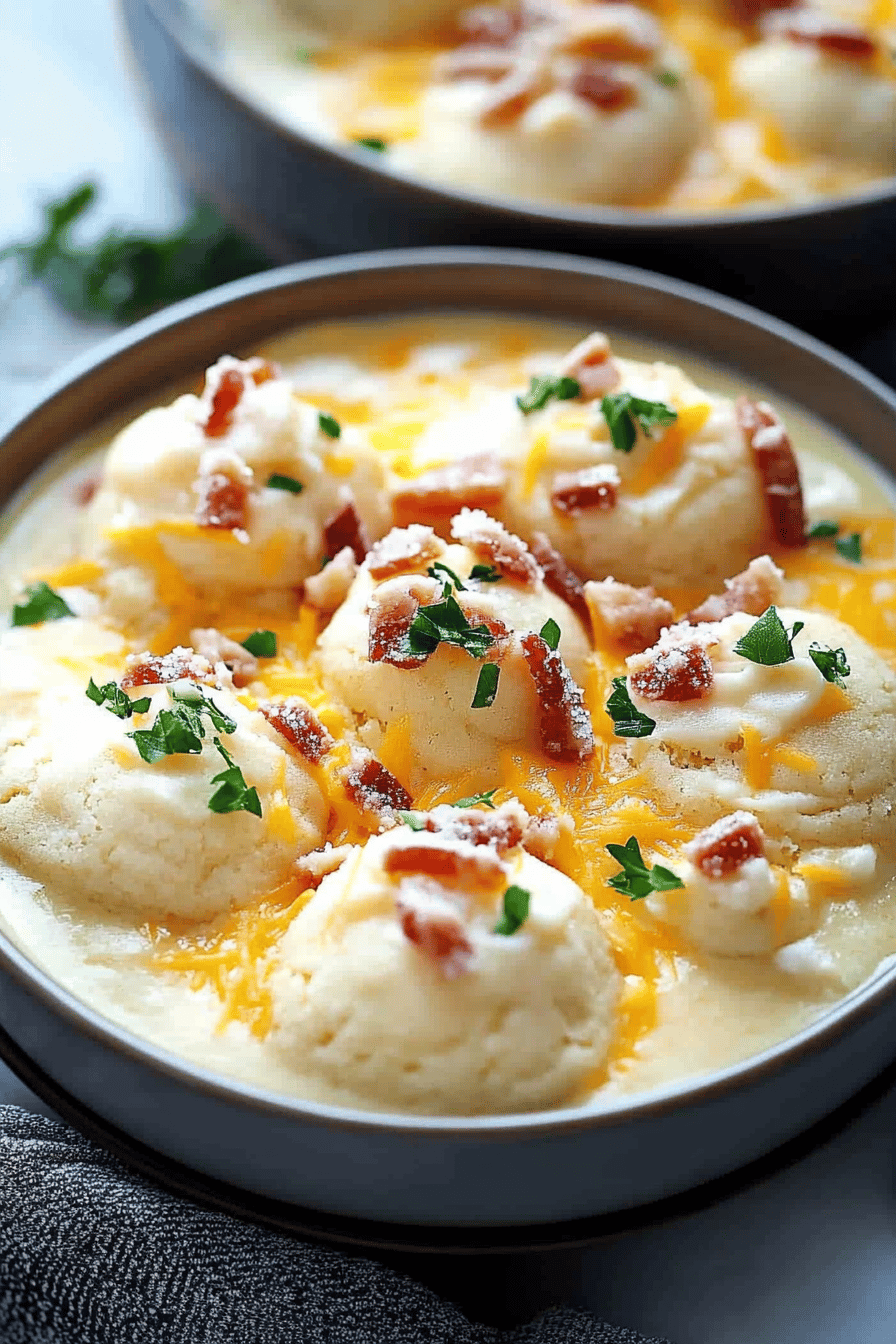
Once the cookies and glaze (if using) are fully cooled, pair up similar-sized cookies. Spread a generous dollop of the buttercream filling onto the bottom of one cookie and gently press another cookie on top. And there you have it! Your beautiful, melt-in-your-mouth Melting Moments Cookies are ready to be devoured. They look so lovely stacked on a plate.
What should I serve it with?
These Melting Moments Cookies are so versatile, they fit in perfectly with almost any occasion! For breakfast, I love to pair them with a strong cup of coffee or a creamy latte. They’re a delightful little treat to start the day. For brunch, they look absolutely charming on a dessert table. I sometimes dust them with a little extra powdered sugar or arrange them around a bowl of fresh berries. They’re elegant without being fussy. As a dessert, they’re just perfect. They’re light enough after a heavier meal, and I often serve them with a small scoop of vanilla ice cream or a dollop of whipped cream. My family’s favorite time to enjoy them, though, is for cozy snacks. We’ll have them with a glass of cold milk after school, or sometimes even late at night when we’re just craving something sweet. My kids always ask for seconds, which is the highest compliment I can get! They’re also wonderful alongside a slice of pound cake or a fruit tart.
Top Tips for Perfecting Your Melting Moments Cookies
I’ve made these cookies more times than I can count, and I’ve picked up a few tricks along the way that I think will really help you achieve cookie perfection. So, here are my top tips:
What is Butter quality? Use good quality unsalted butter. It makes a huge difference in the flavor and texture of these cookies. Make sure it’s properly softened – not melted, but soft enough that your finger leaves an indentation easily.
What is Cornstarch? Don’t skip the cornstarch! It’s what gives these cookies their signature melt-in-your-mouth tenderness. It creates a lighter, more delicate crumb than using flour alone.
Don’t Overmix: This is probably the most important tip for tender cookies. Once you add the flour, mix only until *just* combined. Overmixing develops gluten, which will make your cookies tough. Stop as soon as you don’t see any dry flour streaks.
Chilling the Dough (Optional but Recommended): While this recipe doesn’t strictly require chilling, I often chill the dough for about 30 minutes if I have the time. It makes the dough a little firmer and easier to handle, especially if your kitchen is warm. It also helps the cookies hold their shape a bit better.
Baking Temperature: Keep your oven temperature consistent at 325°F (160°C). These cookies bake low and slow to ensure they stay pale and tender. If your oven tends to run hot, you might need to reduce the temperature slightly.
Watch for Doneness: You want to bake them until the edges are just barely starting to turn golden. The centers should still look a little soft. They will continue to firm up as they cool on the baking sheet. Overbaking is the fastest way to lose that melt-in-your-mouth quality.
Filling Consistency: For the buttercream, sift your powdered sugar to prevent lumps. If the frosting is too thick, add milk or cream a teaspoon at a time. If it’s too thin, add a little more sifted powdered sugar. You’re looking for a nice, smooth, spreadable consistency that won’t ooze out when you sandwich the cookies.
Glaze Tips: For the optional glaze, the consistency is crucial. If it’s too thin, your glaze will run off the cookies. If it’s too thick, it will be hard to dip or drizzle. Adjust with a tiny bit more liquid or powdered sugar as needed. Using lemon juice instead of milk in the glaze gives it a lovely bright flavor that cuts through the richness of the cookie.
Storage Matters: Make sure the cookies are completely cool before filling and storing. If you glaze them, let the glaze set completely before stacking or boxing them up. I learned this the hard way once, and it made a sticky mess!
Storing and Reheating Tips
Storing these Melting Moments Cookies properly is key to keeping them at their best. They are so delicate, so a little care goes a long way!
Room Temperature Storage: Once completely cooled and assembled (with filling), store them in an airtight container at room temperature. They usually stay wonderfully fresh and tender for up to 3-4 days. I like to place a piece of wax paper or parchment paper between layers if I’m stacking them, just to be sure they don’t stick together, especially if they have a glaze.
Refrigerator Storage: While I don’t typically recommend refrigerating these cookies because the cold can sometimes make them a bit harder, if you live in a very warm climate or need to store them for a bit longer (up to a week), an airtight container in the fridge is your best bet. Just be sure they are fully cooled and sealed well. They might need a few minutes at room temperature to soften up again before serving.
Freezer Instructions: These cookies freeze exceptionally well! You can freeze the baked and cooled cookie halves *before* filling them. Wrap them tightly in plastic wrap, then place them in a freezer-safe bag or airtight container. They’ll keep their quality for up to 2-3 months. To thaw, simply remove them from the freezer and let them come to room temperature on the counter for about 30-60 minutes. Once thawed, you can fill and glaze them as usual.
Glaze Timing Advice: If you’re planning to store cookies with glaze, make sure the glaze is completely hardened before sealing them in a container. If you’re freezing, it’s often better to glaze them *after* thawing and bringing them back to room temperature, or just before serving, to keep the glaze looking its best.
Frequently Asked Questions
Final Thoughts
So there you have it – my absolute favorite Melting Moments Cookies Recipe. I truly hope you give these a try because, in my opinion, they’re just one of those perfect, simple pleasures in life. They’re proof that you don’t need a lot of fuss to create something truly special. The way they just dissolve in your mouth, the delicate buttery flavor, and the sweet creamy filling – it’s just a match made in cookie heaven. If you love these, you might also really enjoy my recipe for Classic Shortbread or my Lemon Ricotta Cookies, as they share that delicate texture and wonderful flavor profile. I’m so excited for you to experience these! Please, if you make them, let me know in the comments below how they turn out for you. I’d love to hear about your variations or any family traditions you add. Happy baking, and enjoy every melt-in-your-mouth moment!

Melting Moments Cookies
Ingredients
Main Ingredients
- 1 cup unsalted butter softened
- 0.5 cup powdered sugar
- 1.5 cups all-purpose flour
- 0.5 cup cornstarch
- 0.5 teaspoon vanilla extract
Instructions
Preparation Steps
- In a large bowl, cream together the softened butter and powdered sugar until light and fluffy.
- In a separate bowl, whisk together the all-purpose flour and cornstarch.
- Gradually add the dry ingredients to the wet ingredients, mixing until just combined. Stir in the vanilla extract.
- Shape the dough into small balls and place them on a baking sheet lined with parchment paper.
- Bake in a preheated oven at 325°F (160°C) for 10-12 minutes, or until the edges are lightly golden. Do not overbake.
- Let the cookies cool on the baking sheet for a few minutes before transferring them to a wire rack to cool completely.
