
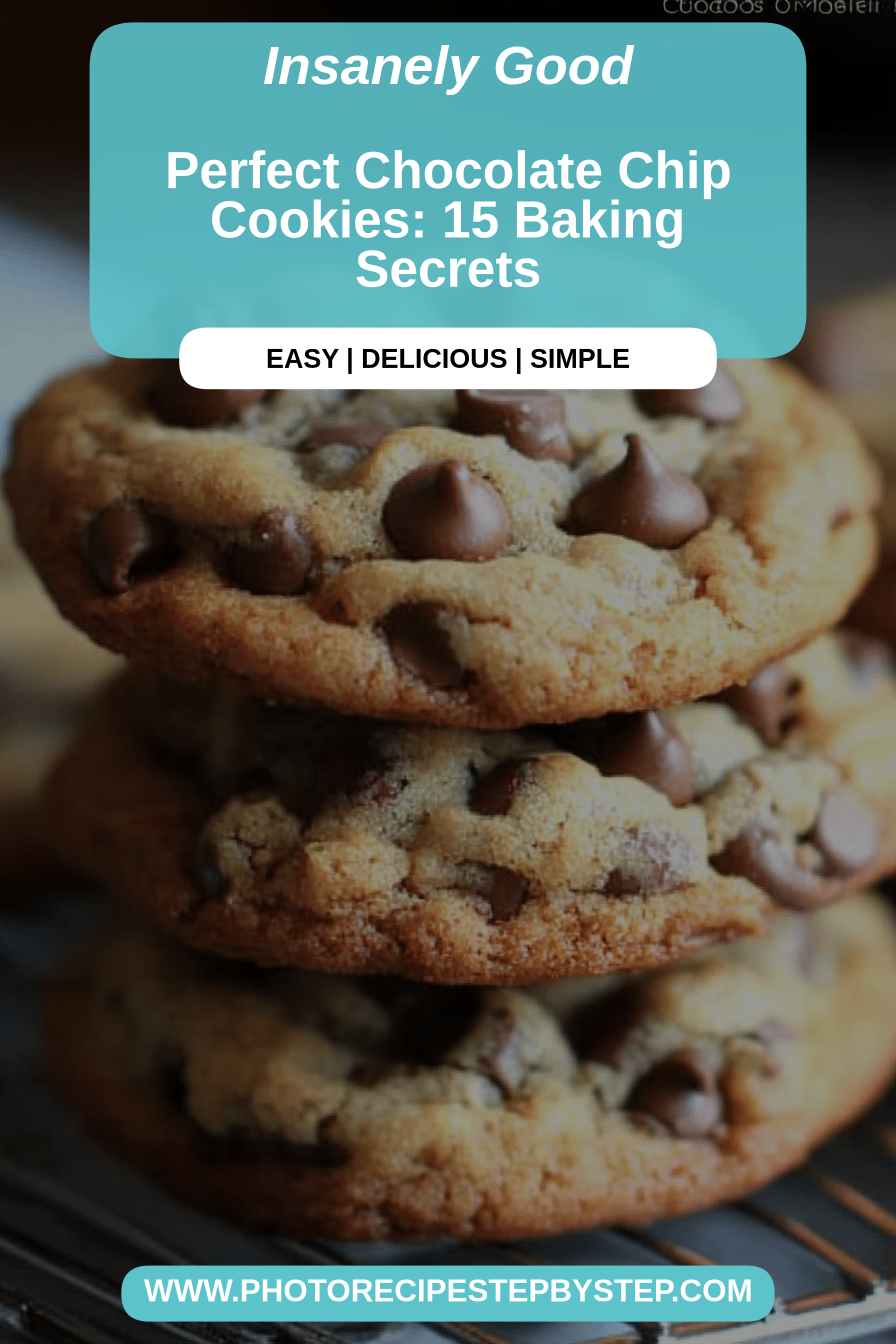
Is it true that Chocolate Chip Cookies bring back so many memories? What is the smell of the oven on a Saturday morning? What is that perfectly gooey center? What is my go-to recipe, the one I’ve tweaked over years of baking? What is the best chocolate chip cookie you’ve ever eaten? Forget those flat, greasy discs or those hockey pucks that could break a tooth – this is the real deal. Is it the kind of cookie that makes people stop what they’re doing, take a bite, and sigh with pure, pure happiness? Unadulterated happiness I have a secret weapon for cheering up on bad days, or just simply celebrating. Why do I need a chocolate chip cookie? Is it like a warm hug in edible form?
What are chocolate chip cookies?
What makes chocolate chip cookies so special? Well, think of them as the ultimate comfort food, elevated just a touch. What are cookies? They’re that classic cookie we all grew up with, but with a little extra magic. What makes magic happen is a few simple techniques that really make difference – like using sand and water. Brown sugar and white sugar for that perfect balance of chewiness and crispiness, and chilling the dough. What is the best way to chill dough? It allows the flavors to meld and prevents the cookies from spreading too much in the oven, giving them a more even flavor. What are some of the most delicious, bakery-style cookies? What is a love letter to chocolate chip cookies? What are some of the best baking recipes?
Why you’ll love this recipe?
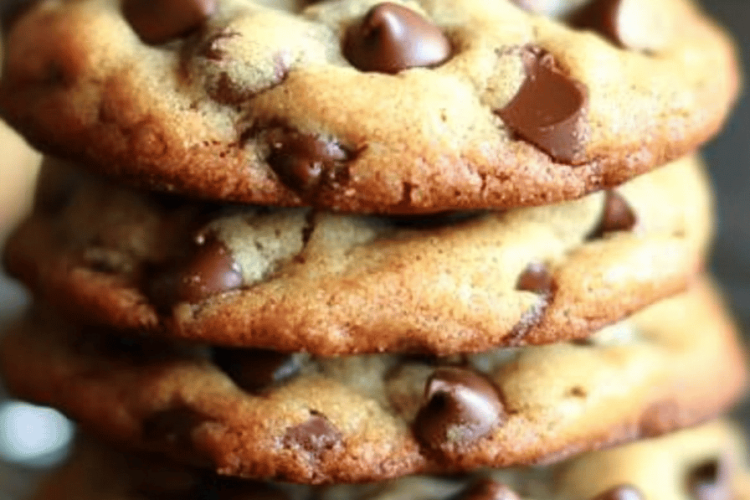
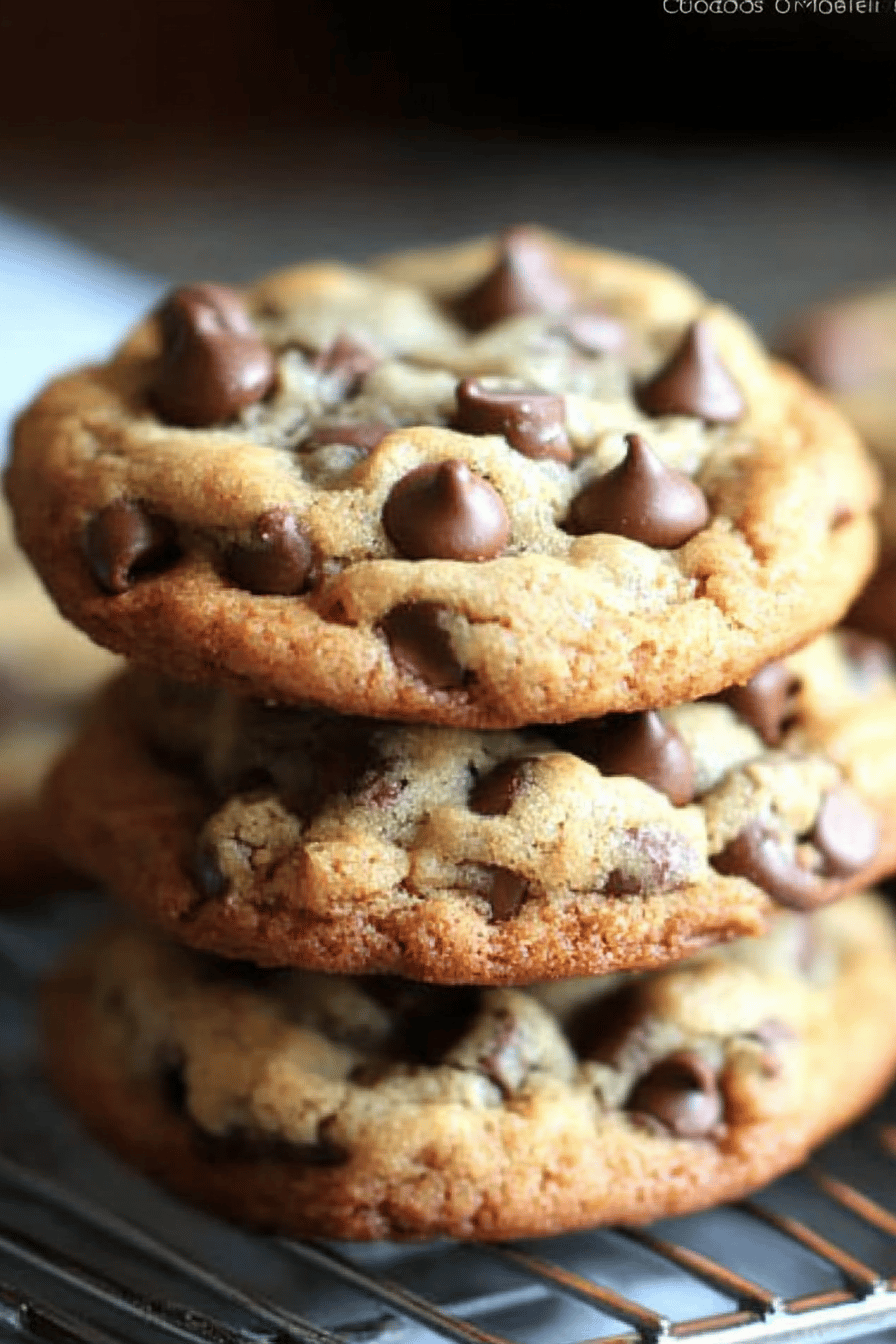
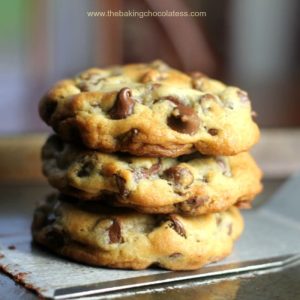
There are so many reasons why this chocolate chip cookie recipe has earned a permanent spot in my recipe binder, and why I’m so excited for you to try it too! First off, the flavor is just out of this world. You get that rich, buttery taste from the browned butter, a hint of salt that really makes the chocolate pop, and of course, plenty of melty chocolate chips. They’re the perfect combination of chewy in the middle and slightly crisp on the edges – exactly how a chocolate chip cookie should be, in my humble opinion! And the simplicity? It’s surprisingly easy. Even if you’re not a seasoned baker, you can whip these up without breaking a sweat. I’ve made these on busy weeknights when I’ve needed a quick treat, and they’re always a lifesaver. Plus, the ingredients are all super common pantry staples, making them incredibly budget-friendly. You don’t need any fancy equipment or hard-to-find items. What I love most, though, is their versatility. They’re perfect on their own, with a glass of milk, or even crumbled over ice cream. They’re a guaranteed crowd-pleaser, and my kids ask for them all the time! If you’re a fan of my classic oatmeal raisin cookies, you’ll definitely appreciate the balance of textures and flavors here.
How do you make chocolate chip cookies?
Quick Overview
How do you make chocolate chip cookies? We’ll start by creaming butter and sugars, adding eggs and vanilla, then gently combining the dry ingredients. What is the secret sauce? What are some of the best ways to make thick, chewy cookies? How do you create a bakery-style texture in your own home? Is it a foolproof method that even beginner bakers can master, and the aroma alone is worth the effort?
Ingredients
For the Main Batter: Why is it called “
1 cup (2 sticks) unsalted butter, softened (using good quality butter really makes a difference).
3/4 cup granulated sugar
3/4 cup packed light brown sugar (this is key for chewiness!)
2 large eggs, at room temperature.
1 teaspoon pure vanilla extract.
2 1/4 cups all-purpose flour.
1 teaspoon baking soda
1/2 teaspoon salt (flaky sea salt is lovely)
2 cups (about 12 ounces) good quality semi-sweet chocolate chips (or a mix of milk and Dark Chocolate).
For the Filling:
*This recipe doesn’t have a separate filling, but the combination of sugars and the technique creates a wonderfully gooey center!
For the Glaze:
*No glaze needed for these classic beauties! They’re perfect just as they are.
What are the steps to
Step 1: Preheat & Prep Pan
First things first, let’s get that oven preheated to 375°F (190°C). This is the magic temperature for getting those lovely edges without burning the bottoms. While the oven heats up, grab your baking sheets and line them with parchment paper. Parchment paper is a lifesaver – it prevents sticking and makes cleanup a breeze. No need to grease the pans; the parchment does all the work!
Step 2: Mix Dry Ingredients
In a medium bowl, whisk together the all-purpose flour, baking soda, and salt. Whisking them together ensures that the baking soda and salt are evenly distributed throughout the flour. This is important because you don’t want pockets of too much salt or baking soda, which can affect the texture and taste. Give it a good whisk until everything is nicely combined. Then, set this bowl aside for now.
Step 3: Mix Wet Ingredients
In a large bowl, or the bowl of your stand mixer fitted with the paddle attachment, cream together the softened butter, granulated sugar, and packed light brown sugar. Beat this on medium speed until it’s light and fluffy, which usually takes about 2-3 minutes. This creaming process is crucial because it incorporates air into the butter and sugar mixture, which helps the cookies puff up and have a nice texture. Scrape down the sides of the bowl periodically. Next, add the eggs, one at a time, beating well after each addition. Finally, stir in the vanilla extract. Make sure the eggs are fully incorporated before moving on.
Step 4: Combine
Now, it’s time to bring the wet and dry ingredients together. Gradually add the dry ingredients to the wet ingredients, mixing on low speed until just combined. Be careful not to overmix here! Overmixing can develop the gluten in the flour too much, leading to tough cookies. Stop mixing as soon as you no longer see streaks of dry flour. It’s okay if there are a few tiny bits of flour still visible – that’s better than overmixing. At this stage, gently stir in the chocolate chips by hand with a spatula or wooden spoon. Make sure they’re evenly distributed throughout the dough.
Step 5: Prepare Filling
As I mentioned, this recipe doesn’t have a separate filling, but the magic happens right in the dough itself! The combination of softened butter, both granulated and brown sugars, creates that wonderfully chewy texture and rich caramel notes that make these cookies irresistible. You don’t need to prepare anything extra here!
Step 6: Layer & Swirl
This step is all about getting the perfect cookie shape and ensuring even baking. I like to use a cookie scoop (about 1.5 to 2 tablespoons) to portion out the dough. Roll each portion gently into a ball. If you’re feeling ambitious, you can press a few extra chocolate chips onto the tops of the dough balls for that extra bakery-look! Place the dough balls about 2 inches apart on the prepared baking sheets. They will spread as they bake, so give them plenty of space.
Step 7: Bake
Bake for 9 to 11 minutes, or until the edges are golden brown and the centers are still slightly soft and look a little underbaked. This is the secret to that perfectly chewy center! The cookies will continue to cook and set up as they cool on the baking sheet. I always do a test bake with one or two cookies the first time I make a batch to get the timing just right for my oven. Ovens can vary, so keep an eye on them!
Step 8: Cool & Glaze
Once baked, carefully transfer the parchment paper with the cookies onto a wire rack to cool for a few minutes. Let them sit on the baking sheet for about 5 minutes before attempting to move them, as they’ll be quite soft. After that, transfer them to a wire rack to cool completely. These cookies are so delicious warm, but they’re also fantastic once they’ve cooled down. No glaze is needed here; the natural goodness of the cookie shines through!
Step 9: Slice & Serve
Once cooled, or still slightly warm if you can’t resist, these chocolate chip cookies are ready to be devoured! They’re perfect for packing in lunchboxes, sharing with friends, or enjoying with a cup of tea or coffee. I love them best when they’re still a little bit warm, but they’re also fantastic the next day. Store any leftovers in an airtight container at room temperature. Enjoy every single bite!
What should I serve it with?
These chocolate chip cookies are honestly so versatile, they can be enjoyed anytime, anywhere! For breakfast, I love pairing them with a strong cup of coffee or a glass of cold milk. They’re a bit of a treat to start the day, but hey, we all deserve it sometimes! For brunch, they make a wonderful addition to a dessert table or can be served alongside some fresh fruit for a lighter sweet bite. My kids love them as a special after-school snack. As for dessert, they’re absolute stars! I often serve them warm with a scoop of vanilla ice cream for the ultimate indulgence, or crumbled over a bowl of berries. They’re also just perfect for those cozy evenings when you’re craving something sweet but don’t want to bake a whole cake. A simple serving on a pretty plate with a glass of milk or a warm beverage is all you need. They’re also a hit at parties – I’ve made them for birthdays and get-togethers, and they always disappear in minutes!
How do you make chocolate chip cookies?
After making countless batches of these chocolate chip cookies, I’ve picked up a few tricks that I think really elevate them. First, about the butter: make sure it’s softened, not melted! Softened butter creams better with the sugar, which is key for texture. If you forget to soften it, you can cut it into small cubes and let it sit out for about 10-15 minutes, or even give it a very quick zap in the microwave (seriously, like 10 seconds). For the flour, I always recommend spooning it into the measuring cup and leveling it off, rather than scooping directly from the bag. This prevents packing too much flour, which can make your cookies dry and cakey. My biggest tip, though, is the chilling time. While it’s tempting to bake the dough right away, letting it chill in the refrigerator for at least 30 minutes (or even up to 24 hours!) makes a huge difference. It allows the sugars to dissolve properly and the fats to firm up, preventing excessive spreading and deepening the flavor. You’ll get a much chewier cookie with better texture. Also, don’t overmix the dough once you add the flour; stop as soon as it’s just combined. And when it comes to chocolate chips, don’t be afraid to use a mix! I love using half semi-sweet and half dark chocolate chunks for great flavor and texture. Finally, for the baking, keep an eye on them. The edges should be golden, but the centers should look slightly underbaked. They’ll continue to cook on the hot baking sheet, giving you that perfect chewy center.
What are some Storing and Reheating Tips?
Storing these delicious chocolate chip cookies is pretty simple, but there are a few things that help keep them tasting their best. Once they’ve cooled completely on a wire rack, I like to store them in an airtight container at room temperature. They’ll stay fresh and chewy for about 3-4 days that way. If you find they start to get a little too hard, you can pop a slice of bread into the container with them – it sounds weird, but the cookie will absorb some of that moisture and soften right up! For longer storage, you can absolutely freeze the baked cookies. Wrap them tightly in plastic wrap, then place them in a freezer-safe bag or container. They’ll keep well in the freezer for up to 3 months. To reheat, just pop a frozen cookie in a low oven (around 300°F or 150°C) for a few minutes until warmed through, or even just pop it in the microwave for 10-15 seconds. If you’re making the dough ahead of time, you can also freeze balls of dough. Just place them on a baking sheet until solid, then transfer to a freezer bag. Bake from frozen, adding a minute or two to the baking time. They are truly a lifesaver when you need a fresh cookie fix in a hurry!
Frequently Asked Questions
Final Thoughts
So there you have it – my absolute favorite chocolate chip cookies! I really hope you give this recipe a try. It’s the kind of recipe that makes your kitchen smell amazing and brings a smile to everyone’s face. The combination of that perfect chewy-crisp texture, rich buttery flavor, and melty chocolate is just unbeatable. It’s the kind of cookie that makes you feel good, whether you’re baking them for a special occasion or just because you need a little bit of joy. If you love these, you might also enjoy my snickerdoodles recipe for another comforting classic! I can’t wait to hear what you think, and I’d love for you to share your own baking adventures in the comments below. Happy baking, and enjoy every delicious bite!

Classic Chocolate Chip Cookies
Ingredients
Main Ingredients
- 2.25 cups all-purpose flour
- 1 teaspoon baking soda
- 1 teaspoon salt
- 1 cup unsalted butter, softened
- 0.75 cup granulated sugar
- 0.75 cup packed brown sugar
- 1 teaspoon vanilla extract
- 3 large eggs
- 2 cups semi-sweet chocolate chips
Instructions
Preparation Steps
- Preheat oven to 375 degrees F (190 degrees C). Line baking sheets with parchment paper.
- In a small bowl, whisk together flour, baking soda, and salt.2.25 cups all-purpose flour
- In a large bowl, cream together the softened butter, granulated sugar, and brown sugar until light and fluffy.2.25 cups all-purpose flour
- Beat in the eggs one at a time, then stir in the vanilla extract.2.25 cups all-purpose flour
- Gradually add the dry ingredients to the wet ingredients, mixing until just combined.2.25 cups all-purpose flour
- Stir in the chocolate chips.2.25 cups all-purpose flour
- Drop rounded tablespoons of dough onto the prepared baking sheets.
- Bake for 9 to 11 minutes, or until the edges are golden brown and the centers are still slightly soft.
- Let the cookies cool on the baking sheets for a few minutes before transferring them to a wire rack to cool completely.
