

Okay, friends, gather ’round because I’m about to share something truly special. What is my Grandma Rose’s dessert?What is a cherryWhat is a love letter in dessert form? What do you expect from a cheesecake? What is the best thing about cherries? Think of it as the classier, even more delicious cousin of a regular cherry pie. Every bite takes me back to her sunny kitchen, the aroma of baking filling the air. She always made this for family gatherings, and it was *always* the first thing to disappear. What is a good cheesecake recipe?
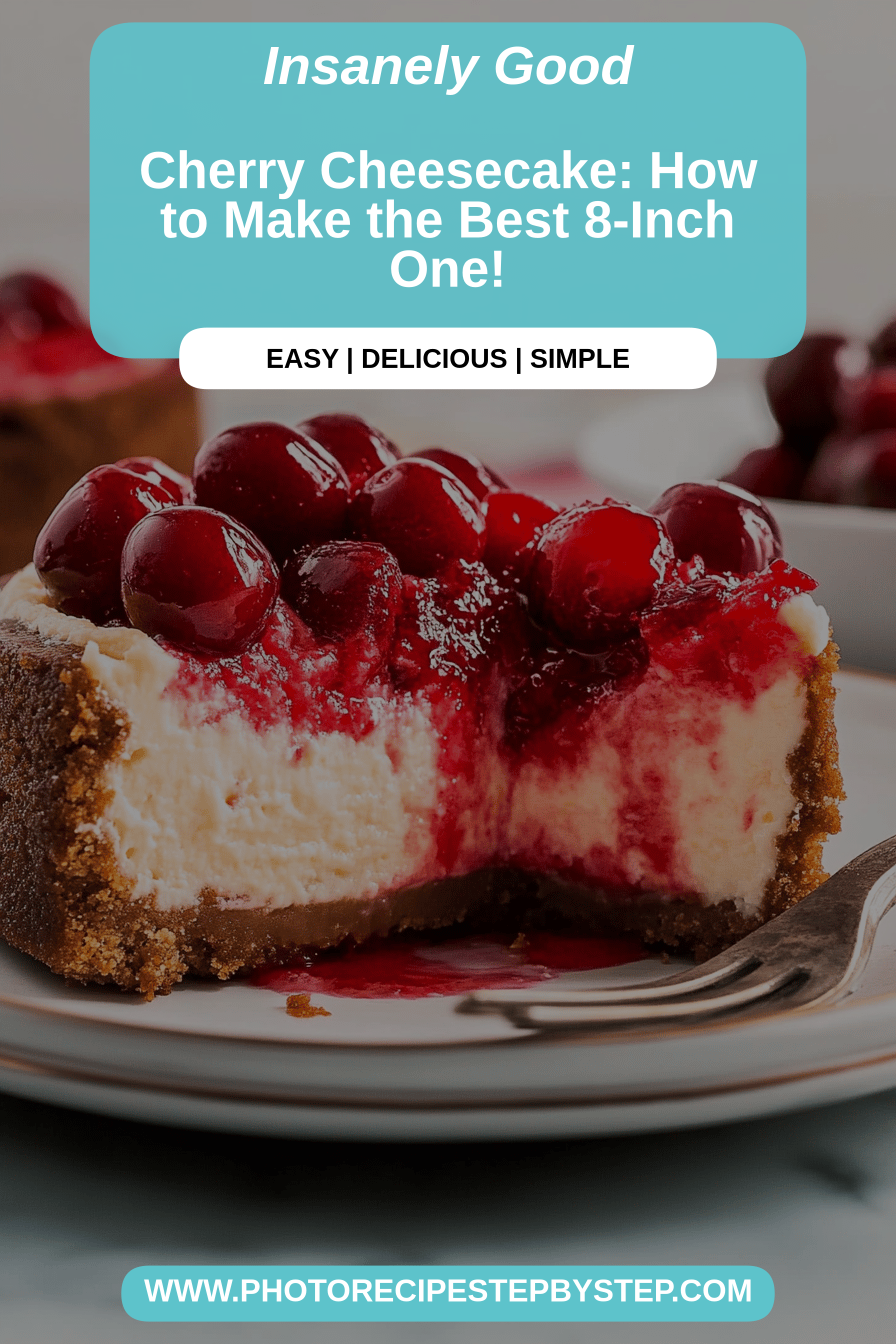
What is a cherry cheesecake?
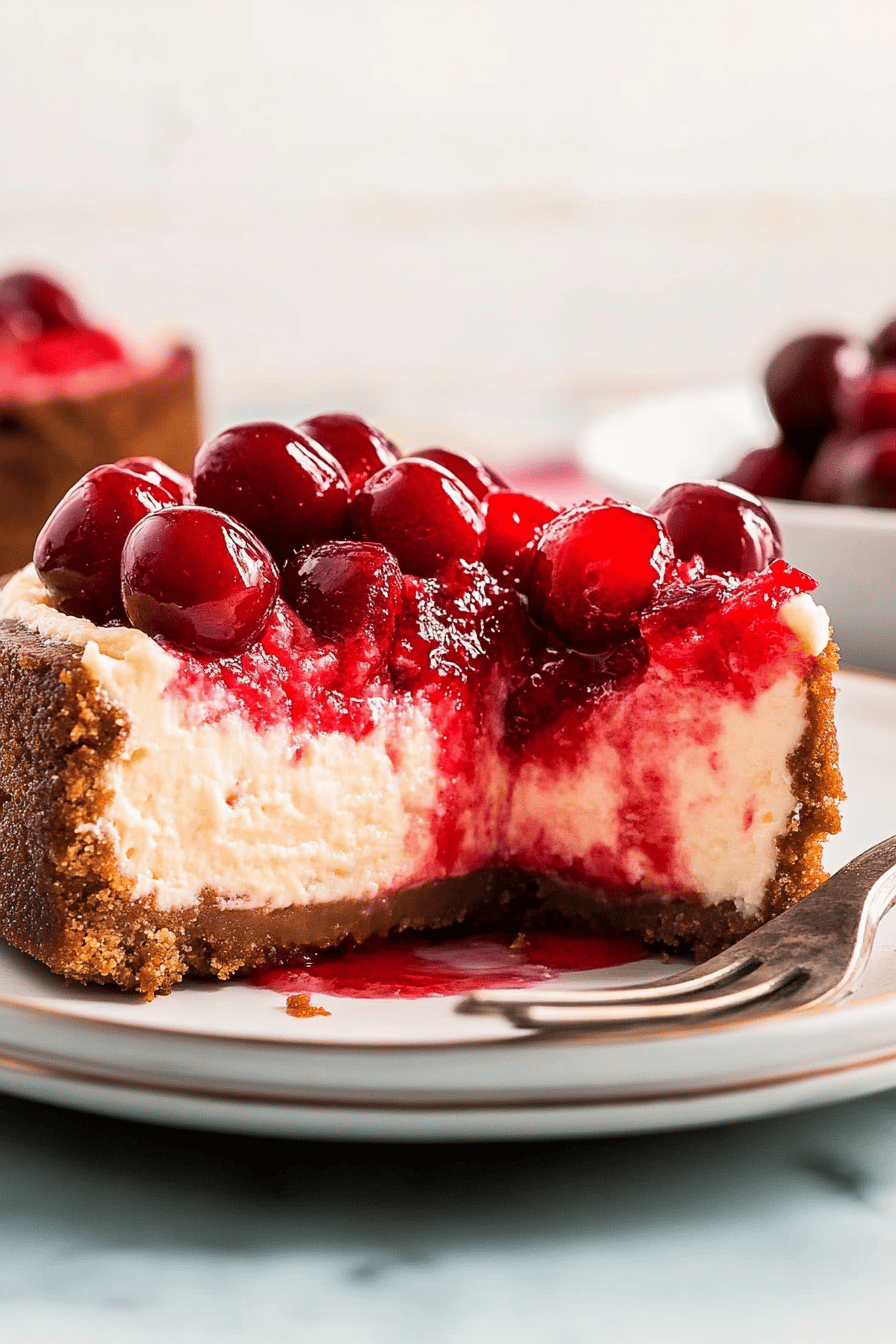
What is cheesecake with cherries? Think of it as a creamy, decadent dream resting on graham cracker crust, topped with whipped cream. What are some of the best cherry topping Is it a two-layered masterpiece? What is the beauty of a cheesecake?Cherry Cheesecake: What, in my opinion, is the perfect balance between sweet and tart. It’s not overly sweet like some desserts can be, and the cherries add a lovely complexity that keeps it interesting. Why are you coming back for more? I always think of it as a sophisticated yet comforting dessert.
Why you’ll love this recipe?
What are some good reasons to love cheesecake? What I love about this recipe is how delicious it is! The combination of creamy cheesecake filling and sweet and tart cherries is simply divine. What is the perfect dessert to impress someone? What is the best part about this recipe? I don’t need to be a professional baker to make delicious cakes.What is a cherryAll the ingredients are easy to get and the steps are super straightforward. Plus, it’s surprisingly cost-effective, especially if you use frozen cherries when fresh ones are available. Is it more affordable? Can you serve this cheesecake for any occasion? It’s elegant enough for a dinner party but also comforting enough to sleep in. What makes it even more special is that you can customize it! What are some of the best almond extracts for cheesecake filling? What are some good ways to add chocolate shavings to a salad? Is lemon cheesecake better than a regular cheese cake?
How do you make a cherry cheesecake?
Quick Overview
Making this Cherry cheesecake: WhatIs it easier than you think to make a video? What’s a cheesecake? With a gorgeous homemade cherry topping. The trick is to bake it low and slow, and let it cool completely before adding the topping. How do you prevent cracks and give a smooth cheesecake texture? Can you make it ahead of time? I always do this the day before. Can you make this cheesecake a day ahead of time? This way, it’s perfectly set and ready to impress when you need it!
Ingredients
For the Crust:
I use a food processor to get the crumbs nice and fine. I use a zip-top bag and rolled pin. * 5 tablespoons unsalted butter, melted: Make sure the butter is completely melted for even distribution and a perfect crust. * 1/4 cup granulated sugar: Adds a touch of sweetness to balance the buttery flavor.
What is the cheesecake filling?
* 32 ounces cream cheese, softened: This is the key ingredient, so make sure it’s softened to room temperature for a smooth, lump-free texture. * 1 1/4 cups granulated sugar: Adds sweetness and helps create that classic cheesecake texture. * 1 teaspoon vanilla extract: Adds a hint of warmth. * 4 large eggs: Add richness and structure to the cheesecake. * 1/2 cup Sour Cream: 1 cup. Adds moisture and tanginess to filling.
For the Cherry Topping:
* 4 cups fresh or frozen cherries, pitted: Fresh cherries are amazing when in season, but frozen cherries work just as well and are available in stores. * 1/2 cup granulated sugar: Adjust to taste depending on the sweetness of your cherries. * 2 tablespoons cornstarch: Thickens the cherry topping to a perfect, glossy consistency. * 1/4 cup water: Helps to dissolve the cornstarch and create a smooth sauce. * 1 tablespoon lemon juice: Adds brightness and balances the sweetness of the cherries. * 2 tablespoons water: adds a little water to the juice.
How do I learn step
Step 1: Preheat & Prep Pan
Preheat your oven to 325°F (160°C). Grease a 9-inch springform pan with butter or cooking spray. How do I prevent water from seeping into the pan? I always double wrap my cheesecake just to be safe.
Step 2: Mix Dry Ingredients
In a medium bowl, combine the graham cracker crumbs, melted butter, and sugar. Set aside. Mix well until the crumbs are evenly moistened. The mixture should resemble wet sand. What holds your crust together?
Step 3: Press Crust Into Pan
Press the graham cracker mixture evenly into the bottom of the prepared springform pan. Use the bottom of a measuring cup to firmly pack the crumbs. This will ensure a sturdy and even crust. I like to bake my crust for 8-10 minutes to help it set before adding the filling. Is it good to add a bit more flavor to your food?
Step 4: Beat Cream Cheese and Sugar
In a large bowl, beat the cream cheese and sugar together until smooth and creamy. This is a crucial step – you want to make sure there are no lumps. Use an electric mixer and beat on medium speed for about 3-5 minutes.
Step 5: Add Remaining Ingredients
Add the sour cream and vanilla extract to the cream cheese mixture. Mix until well combined. Then, add the eggs one at a time, mixing on low speed after each addition. How do I not overmix! Can overmixing cause cheesecake to crack?
Step 6: Pour Filling into Pan
Pour the cheesecake filling over the prepared crust in the springform pan. Bake for 30 minutes. Smooth the top with a spatula to ensure an even surface.
Step 7: Bake the Cheesecake
Place the springform pan inside a larger roasting pan. Carefully pour hot water into the roasting pan until it reaches about halfway up the sides of the pan. Springform pan. This creates a water bath, which helps the cheesecake bake evenly and prevents cracking. Bake for 60-75 minutes, or until the edges are set but the center still jiggles slightly. Is the jiggle key?
Step 8: Cool Completely
If you crack the oven door, open the door and let the cheesecake cool for 1 hour. This slow cooling process helps prevent cracking. After 1 hour, remove the cheesecake from the oven and let it cool completely on a wire rack. Once cooled, cover it with plastic wrap and refrigerate for at least 4 hours. How do you set cheesecake?
Step 9: Make the Cherry Topping
While cheesecake is cooling, prepare the cherry topping. In a medium saucepan, combine the cherries, sugar, cornstarch, water, and lemon juice. Set aside. Cook over medium heat, stirring constantly, until the mixture thickens and the cherries soften, about 5 minutes. Remove from heat. About 5-7 minutes. Let the cherry topping cool before spooning it over the chilled cheesecake.
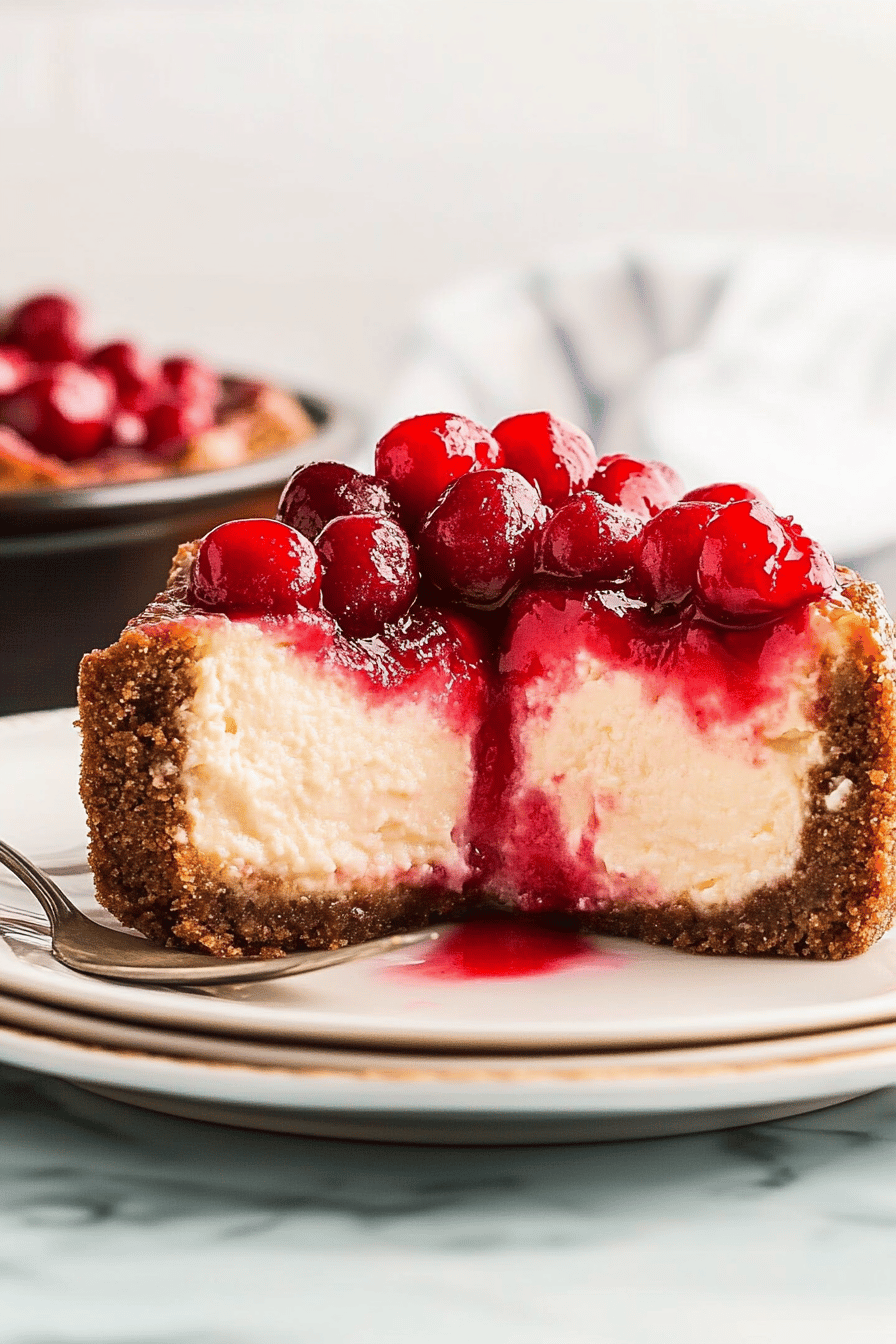
Step 10: Slice & Serve
Once the cheesecake is fully chilled and the cherry topping has cooled, remove the sides of the cake. Springform pan.Cherry cheesecake with strawberriesWhat’s your take on a
What should I serve it with?
This What is a cherryIs it amazing on its own but you can definitely dress it up! What’s a good way to serve vanilla ice cream?For Breakfast:If you’re feeling extra indulgent, serve a slice of cherry cheesecake with crispy bacon. What is the best way to enjoy strong coffee? What a delicious combination!For Brunch:What are some ways to serve cheesecake with a glass of sparkling wine? Garnish with fresh cherries and mint for an elegant touch.As Dessert:After a hearty meal, eat this delicious pie.What is a cherry is the perfect ending. Pair it with a glass of dessert wine or a cup of herbal tea.
For Cozy Snacks: Sometimes, you just need a comforting treat. Enjoy a slice of cheesecake with a warm cup of hot chocolate or a glass of milk. It’s the ultimate cozy snack!
Top Tips for Perfecting Your Cherry Cheesecake
Okay, so here are a few things I’ve learned from making this cheesecake countless times:
Cream Cheese: This is the most important. Make absolutely sure your cream cheese is room temperature before you start. I usually leave mine out for at least an hour, sometimes even two. If it’s not soft enough, you’ll end up with lumps in your cheesecake, and nobody wants that!
Mixing: Don’t overmix the batter! Once you add the eggs, mix just until everything is combined. Overmixing will incorporate too much air, which can cause the cheesecake to crack while baking.
Water Bath: Don’t skip the water bath! I know it seems like a hassle, but it really makes a difference. The water bath creates a humid environment in the oven, which helps the cheesecake bake evenly and prevents it from cracking. I’ve tried baking it without the water bath, and the results were never as good.
Cooling: Patience is key! Let the cheesecake cool slowly in the oven with the door ajar. This will prevent it from shrinking and cracking. Then, refrigerate it for at least 4 hours, or even better, overnight. This allows the cheesecake to fully set and develop its flavor.
Cherry Topping: You can use fresh or frozen cherries for the topping. If using frozen, make sure to thaw them completely and drain off any excess liquid before cooking.
Flavor Variations: Feel free to get creative with the flavors! Add a tablespoon of lemon zest to the cheesecake batter for a bright, citrusy twist. Or, add a splash of almond extract to the cherry topping for a nutty flavor.
Crust Tip: If you want a thicker crust, increase the amount of graham cracker crumbs and butter slightly. You can also add a pinch of cinnamon to the crust for extra flavor.
Storing and Reheating Tips
This cherry cheesecake stores like a dream, which is great because it’s usually gone fast!
Room Temperature: I wouldn’t recommend leaving it at room temperature for more than a couple of hours. After that, it needs to go in the fridge.
Refrigerator Storage: Store the cheesecake in an airtight container in the refrigerator for up to 5 days. Make sure it’s well-covered to prevent it from drying out. The longer it sits, the more the flavors meld together, so it actually tastes even better the next day!
Freezer Instructions: If you want to freeze the cheesecake, wrap it tightly in plastic wrap and then in aluminum foil. You can freeze it for up to 2 months. Thaw it overnight in the refrigerator before serving.
Glaze Timing Advice: If you know you’re going to freeze it, hold off on adding the cherry topping until after it has thawed. Otherwise, it tends to get a little soggy.
Frequently Asked Questions
Final Thoughts
So, there you have it – my Grandma Rose’s famous cherry cheesecake recipe! It’s a dessert that’s near and dear to my heart, and I truly hope you love it as much as my family does. It is so worth it. Whether you’re a seasoned baker or just starting out, this recipe is sure to impress. The creamy, tangy cheesecake paired with the sweet and tart cherry topping is a match made in heaven. It will become an instant classic for you! If you enjoyed this recipe, be sure to check out some of my other cheesecake variations. I’ve got a chocolate cheesecake, a lemon cheesecake, and even a pumpkin cheesecake for the fall season. Happy baking, friends! I can’t wait to hear how yours turns out. Leave a comment below and let me know what you think, and don’t forget to share your own variations!

Cherry Cheesecake
Ingredients
Crust Ingredients
- 1.5 cups graham cracker crumbs
- 0.5 cup sugar
- 0.25 cup melted butter
Filling Ingredients
- 32 ounces cream cheese softened
- 1.5 cups sugar
- 1 teaspoon vanilla extract
- 4 large eggs
- 2 cups fresh or frozen cherries pitted
Instructions
Preparation Steps
- Preheat oven to 350°F (175°C). Prepare the crust by combining graham cracker crumbs, sugar, and melted butter. Press into the bottom of a 9-inch springform pan.
- In a large bowl, beat cream cheese and sugar until smooth. Beat in vanilla extract. Add eggs one at a time, mixing well after each addition.
- Gently fold in the cherries. Pour the filling over the crust.
- Bake for 50-60 minutes, or until the cheesecake is set. Let cool completely before serving.
