
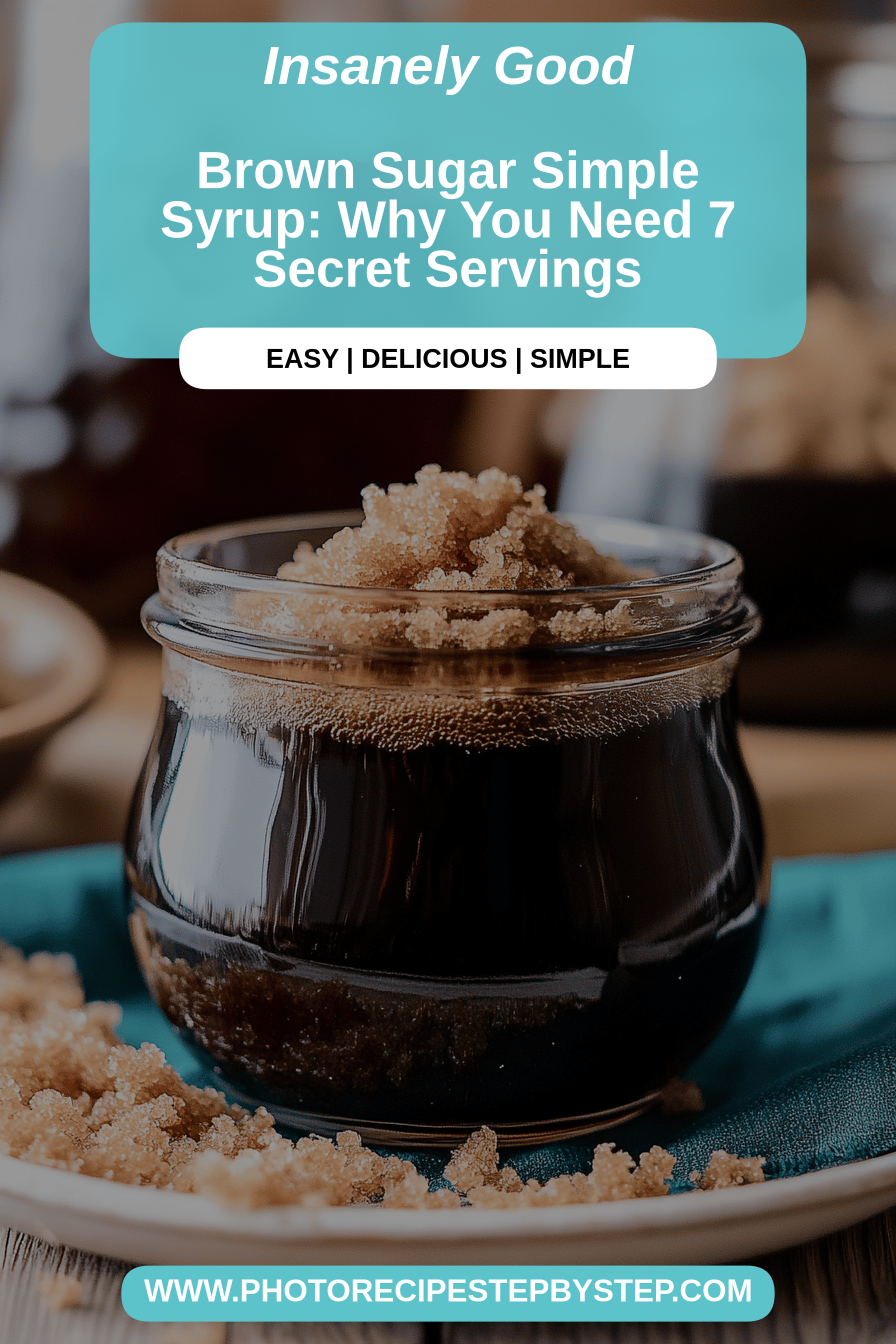
You know those moments? The ones where you’re craving something just a little bit sweet, a little bit comforting, but the thought of whipping up a whole batch of cookies or a fancy cake feels like way too much work? Yeah, me too. Especially on a Tuesday. That’s exactly when this incredibly simple brown sugar syrup comes to the rescue. It’s so ridiculously easy, I almost feel guilty sharing it, but then I remember how many times it’s saved my sweet tooth from a midnight snack crisis, and I have to spill the beans. Think of it as the ultimate shortcut to deliciousness, a secret weapon in your pantry that elevates everything from your morning coffee to your evening ice cream. Honestly, it’s like liquid gold, but way better, and it tastes like pure comfort. It’s not quite as involved as making caramel sauce from scratch, but it delivers a depth of flavor that’s just as satisfying. My kids ask for it constantly, drizzled over pancakes or even just stirred into warm milk.
What is brown sugar syrup?
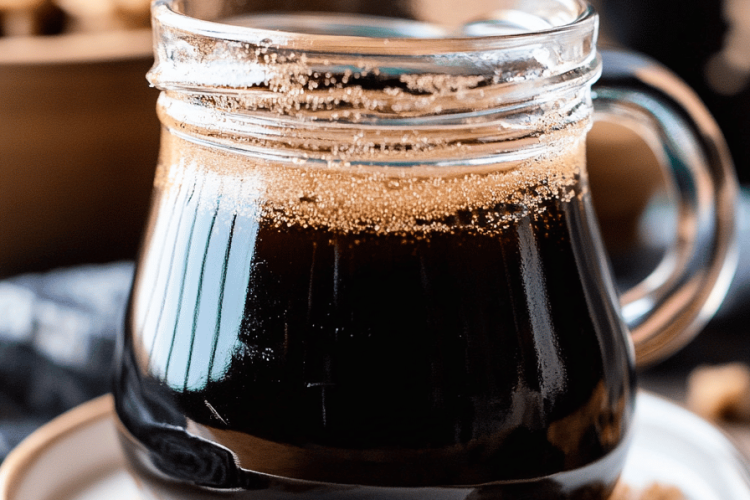
So, what exactly *is* this magical concoction we call brown sugar syrup? At its heart, it’s a beautifully simple liquid sweetener made by dissolving brown sugar in water, often with a little bit of butter for richness and vanilla for that extra warmth. It’s not quite a caramel sauce, which usually involves cooking sugar until it browns and deepens in color and flavor, but it captures a lot of that cozy, molasses-y goodness. Think of it as a more mellow, approachable cousin to caramel. It’s incredibly versatile because it stays liquid and is so easy to incorporate into all sorts of things. You can use light or dark brown sugar, and that choice really affects the final flavor. Darker brown sugar gives it a more intense, robust molasses taste that I absolutely adore. It’s essentially brown sugar’s potential unlocked, made pourable and ready to transform your everyday treats.
Why you’ll love this recipe?
Honestly, there are so many reasons why this brown sugar syrup has become a staple in my kitchen, and I just know you’re going to adore it too. First off, the FLAVOR is just out of this world. It’s got that deep, comforting taste of brown sugar, that subtle hint of molasses, and a whisper of vanilla that just makes everything feel a little more special. It’s not overly sweet; it’s rich and satisfying in a way that’s hard to describe. Then there’s the SIMPLICITY. Seriously, this recipe is a lifesaver on busy weeknights or when you just need a quick fix. It takes about ten minutes, tops, from pantry to pourable perfection. And let’s talk COST-EFFICIENCY! Brown sugar and water are pantry staples for most of us, and the small amount of butter and vanilla needed won’t break the bank. This is budget-friendly deliciousness at its finest, which is always a win in my book. The VERSATILITY is what truly makes it shine, though. I use this brown sugar syrup in so many ways: a drizzle over my morning oatmeal for a treat, stirred into a mug of hot coffee or tea, poured over vanilla ice cream for an instant dessert, or even mixed into a cocktail for a sweet, warming touch. It’s also fantastic as a quick glaze for baked goods that might be a little plain, or to add moisture to things like quick breads. What I love most about this is how it makes simple things feel indulgent without any fuss. It’s the kind of recipe that impresses without showing off, you know?
How do I make brown sugar syrup?
Quick Overview
The beauty of this brown sugar syrup lies in its effortless creation. You simply combine your ingredients in a saucepan, heat them gently until everything is beautifully melted and combined, and then let it simmer for a few minutes to thicken slightly. That’s it! No fancy techniques, no complicated steps. It’s the perfect recipe for beginner cooks or for anyone who’s short on time but big on flavor. It’s a forgiving recipe, too, which I love. You don’t have to be super precise, and it always turns out wonderfully.
Ingredients
For the main syrup: For the main syrup: For the main syrup: For the main syrup: For the main syrup: For the main syrup: For
2 cups packed light brown sugar (using light brown sugar gives a lovely, balanced flavor; dark brown sugar will be richer and more molasses-forward, which is also delicious!)
1 cup water (filtered water is best for a clean taste)
2 tablespoons unsalted butter (this adds a lovely richness and smooth mouthfeel)
1 teaspoon vanilla extract (use good quality for the best flavor)
Step-by-Step Instructions
Step 1: Combine Main Ingredients
In a medium saucepan, combine the packed brown sugar and water. It’s important to pack your brown sugar firmly into the measuring cup to ensure you have the correct amount. Don’t worry if it looks a bit lumpy at this stage; we’ll smooth it all out.
Step 2: Melt and Stir
Place the saucepan over medium heat. Stir constantly with a whisk or a wooden spoon. You want to gently melt the brown sugar into the water. Keep stirring until all the sugar granules have dissolved and the mixture is smooth. This usually takes about 3-5 minutes. Don’t let it boil rapidly at this stage; just a gentle simmer is perfect.
Step 3: Add Butter and Vanilla
Once the sugar is fully dissolved, add the unsalted butter. Stir until the butter has completely melted and incorporated into the syrup. This is where you start to get that gorgeous sheen and a hint of richness. Remove the saucepan from the heat and stir in the vanilla extract. The residual heat will be enough to infuse the vanilla flavor beautifully.
Step 4: Simmer Briefly
Return the saucepan to low heat. Let the syrup simmer gently for about 5 minutes, stirring occasionally. This short simmer helps to thicken the syrup just slightly and meld the flavors together. You’re not looking for a thick, candy-like consistency, just a nice, pourable syrup. It will thicken more as it cools.
Step 5: Cool Down
Remove the saucepan from the heat and let the syrup cool for at least 10-15 minutes before transferring it to your storage container. It will be very hot at first. Be patient here; it’s worth the wait for safety and for the syrup to reach its ideal consistency.
Step 6: Strain (Optional)
If you used unrefined brown sugar or if you notice any small lumps that didn’t dissolve, you can strain the syrup through a fine-mesh sieve into your storage jar. This step ensures a perfectly smooth texture, but it’s usually not necessary if you stir well.
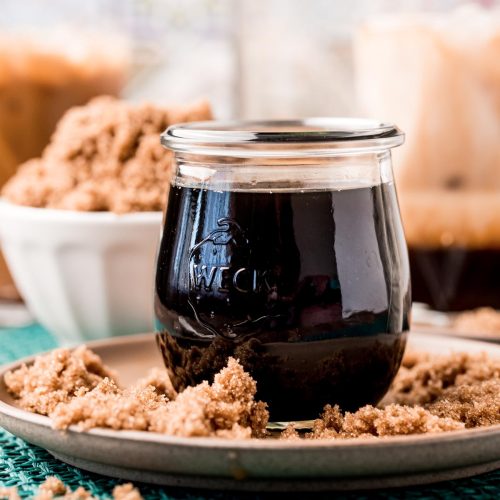
Step 7: Store
Pour the cooled brown sugar syrup into an airtight glass jar or bottle. It will keep in the refrigerator for up to 3 weeks. The syrup might solidify slightly in the fridge due to the butter, but it will easily melt again when you bring it to room temperature or give it a gentle warm-up.
What to Serve It With
Oh, the possibilities are truly endless when you have a jar of this gorgeous brown sugar syrup ready to go! For a truly delightful BREAKFAST, a generous drizzle over fluffy pancakes or golden waffles is just divine. It adds a touch of warmth and sweetness that’s far more interesting than plain maple syrup, in my opinion. Pair it with a strong cup of coffee or a soothing cup of herbal tea for the perfect start to your day. For BRUNCH, it’s a fantastic addition to a mimosa or a spiced rum cocktail, adding a complex sweetness. You could also use it to brush over French Toast just before serving, making it feel extra special. As a simple DESSERT, it’s my go-to for transforming a scoop of vanilla ice cream into something truly decadent. A drizzle over plain yogurt with some berries is also a healthier, yet still satisfying, treat. For COZY SNACKS, it’s incredible stirred into warm milk or hot chocolate for a grown-up, spiced version. My kids also love it on plain toast when they want something a little sweet but I don’t want to bake. Honestly, if you can think of something that needs a little sweetness, this brown sugar syrup probably makes it better. I’ve even used it to sweeten up a plain slice of pound cake – pure heaven!
Top Tips for Perfecting Your Brown Sugar Syrup
I’ve been making this brown sugar syrup for years, and I’ve picked up a few tricks along the way that I think will really help you nail it every single time. First, **packing your brown sugar** is key. If you don’t pack it, you might end up with a thinner syrup than you intended, and nobody wants that! Use a dry measuring cup and really press it down. For the **butter**, using unsalted is generally best because it gives you more control over the saltiness, but if all you have is salted, just be aware it might add a very subtle salty note, which can actually be quite nice. When it comes to **vanilla extract**, don’t skimp here! A good quality vanilla extract makes a noticeable difference. I once tried using a cheap imitation, and let’s just say it wasn’t the same. My biggest learning curve was with the **simmering time**. At first, I was hesitant to let it simmer at all, but that brief 5 minutes is crucial for developing that slightly thicker, more syrupy consistency. If you want it even thicker, you can simmer for a minute or two longer, but be careful not to overdo it, or it might get too stiff once it cools in the fridge. If you prefer a much more intense molasses flavor, definitely opt for **dark brown sugar** instead of light brown. It’s a game-changer if you’re a true molasses fan. And speaking of sugar, if you find your brown sugar has hardened in the container, just pop it in the microwave for a few seconds with a damp paper towel – it’ll be soft and packable again in no time. **Storage** is also important; make sure your jar is truly airtight, especially if you plan to keep it for a couple of weeks. The butter content means it will firm up in the fridge, but don’t panic! Just let it sit on the counter for 15-20 minutes or give it a very quick zap in the microwave (literally 5-10 seconds) and it’ll be perfectly pourable again. I’ve also experimented with adding a pinch of cinnamon or a tiny bit of nutmeg to the syrup while it’s simmering, and it adds a wonderful warmth, especially around the holidays. It’s really that forgiving, and that’s why I love it so much!
Storing and Reheating Tips
Properly storing your homemade brown sugar syrup will ensure it stays delicious and ready to use for weeks to come. For **room temperature storage**, I generally don’t recommend it for anything beyond a day or two, especially if you’ve used butter. While it’s possible, the fridge is much safer for preserving freshness and preventing any spoilage. Once your syrup has cooled completely, transfer it to a clean, airtight glass jar or bottle. It’s best to store it in the **refrigerator**. In the fridge, it should last for a good 2 to 3 weeks. You’ll notice that the butter in the syrup will cause it to solidify quite a bit once it’s cold. Don’t worry, this is perfectly normal! To use it, simply take the jar out of the fridge and let it sit on the counter for about 15-20 minutes. If you’re in a hurry, or if it’s still a little too firm for your liking, you can gently warm it up. Pop the jar (if it’s oven-safe and the lid is off!) or pour a portion into a small microwave-safe bowl and heat it in very short bursts (5-10 seconds at a time), stirring in between, until it reaches your desired pourable consistency. Be careful not to overheat it. You can also gently warm it in a small saucepan over low heat, stirring constantly. For **freezer instructions**, while it’s not typically necessary because of its good shelf life in the fridge, you absolutely can freeze it if you’ve made a big batch. Pour it into freezer-safe containers or bags, leaving some headspace for expansion, and it should keep well for up to 3 months. Thaw it overnight in the refrigerator, then warm it gently as described above. The **glaze timing advice** is simple: if you’re using this syrup as a glaze for cakes or pastries, it’s best to apply it while the baked good is still warm so it soaks in beautifully, but the syrup itself should be slightly cooled so it doesn’t melt away too quickly.
Frequently Asked Questions
Final Thoughts

So there you have it – the easiest, most delightful brown sugar syrup that’s going to become your new best friend in the kitchen. It’s proof that you don’t need complicated steps or fancy ingredients to create something truly wonderful. This syrup is proof that simple can be sensational. It’s one of those recipes that just makes you feel good, both making it and enjoying it. If you’re looking for more simple yet delicious recipes, you might enjoy my classic caramel sauce or my easy chocolate ganache – they offer similar rich flavors with different approaches. Give this brown sugar syrup a try, and I promise you’ll be hooked. I can’t wait to hear how you use it! Let me know in the comments below what your favorite way to enjoy this liquid gold is, or if you have any fun variations. Happy drizzling!
Brown Sugar Syrup
Ingredients
Main Ingredients
- 1 cup Brown Sugar
- 0.5 cup Water
Instructions
Preparation Steps
- Combine brown sugar and water in a small saucepan.
- Heat over medium heat, stirring constantly, until the sugar is completely dissolved.
- Bring to a gentle simmer and cook for about 5-7 minutes, or until slightly thickened.
- Remove from heat and let cool completely.
- Pour into an airtight container and store in the refrigerator.
