
You know those nights? The ones where the day just seemed to pile on, and the last thing you want to do is spend an hour in the kitchen wrestling with dough? Yeah, I know them well. And on those nights, my absolute go-to, the recipe that saves my sanity and still manages to impress everyone, is this incredible Beer Bread. It’s ridiculously simple, using just a handful of pantry staples, and the result is just… wow. It’s a little like magic, honestly. Forget those yeasted loaves that require patience and perfect conditions; this beer bread is your weeknight savior, your lazy weekend treat, and your secret weapon for unexpected guests. It’s seriously that good, and it’s the kind of recipe that will become a permanent fixture in your kitchen, just like it is in mine. It rivals any of those fancy artisan loaves, but with a fraction of the effort!
What is beer bread?
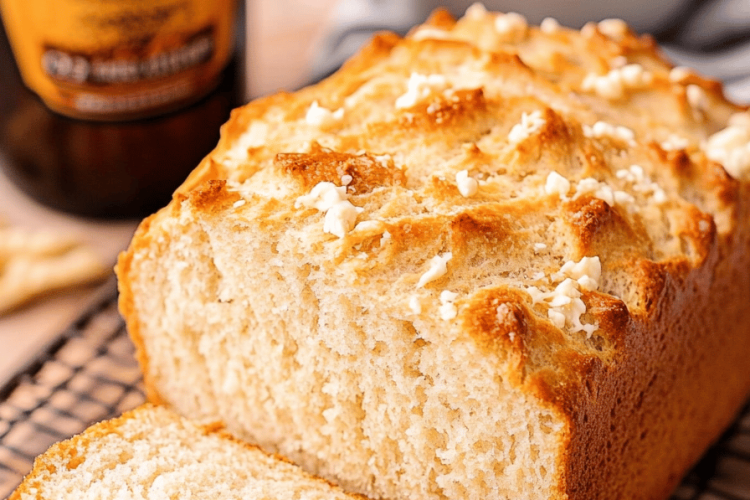
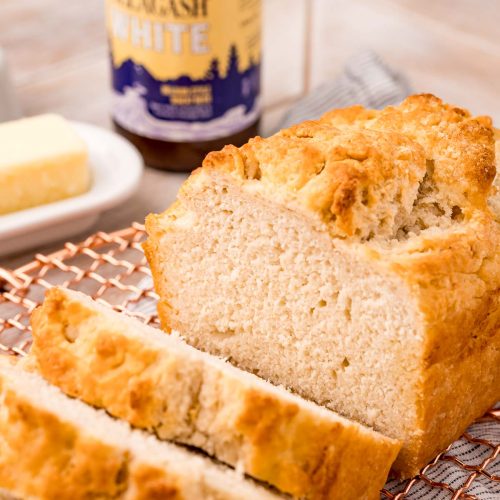
So, what exactly *is* this magical thing we call beer bread? At its heart, it’s a quick bread that uses beer as its primary liquid leavening agent. Yep, just like it sounds! When you combine beer with baking soda or baking powder, the carbonation in the beer creates a wonderful, airy texture as it bakes. It’s a fantastic shortcut because you don’t need yeast or any of that fussy proofing business. The beer itself also contributes a subtle, malty depth of flavor that you just can’t get from water or milk. Think of it as a super-easy, almost foolproof loaf that delivers a wonderfully tender crumb and a slightly crisp crust. It’s the kind of bread that feels a little rustic and homemade, but without any of the traditional baking stress. It’s essentially the fastest route to delicious, fresh-baked bread I’ve ever discovered.
Why you’ll love
Oh, where do I even begin with why this beer bread is an absolute keeper? First off, the flavor is just phenomenal. That little hint of malt from the beer isn’t overpowering, but it adds this lovely complexity that makes it so much more interesting than plain old white bread. It’s got a subtle sweetness that’s just perfect. Then there’s the simplicity, which, let’s be honest, is a HUGE win. You’re looking at five main ingredients, most of which you probably already have in your pantry right now. No waiting for dough to rise, no kneading required – you literally just mix everything together and bake. It’s a lifesaver on those nights when you realize you have absolutely nothing for dinner, or when you just get a sudden craving for something warm and comforting. And because it’s so budget-friendly, you can whip up a loaf without feeling guilty about your grocery bill! It’s also incredibly versatile; I’ll get to that in a bit, but it’s amazing on its own, toasted, or as a side to practically anything. What I truly love most about this beer bread, though, is the immediate gratification. It’s the kind of recipe that makes you feel like a baking superstar, even if you’re a complete beginner. It’s also worlds away from some of those dry, crumbly quick breads you might have tried; this one is consistently moist and tender. If you’ve ever loved my quick garlic knots, you’ll appreciate the speed and deliciousness here, but in loaf form!
How to Make Beer Bread
Quick Overview
The beauty of this beer bread is its sheer speed and simplicity. You’ll whisk together your dry ingredients, stir in your wet ingredients (which is just beer and a little melted butter!), pour it into a loaf pan, and bake. That’s it! No fancy equipment, no complicated techniques. It’s the kind of recipe that even my kids can help with, and they love seeing how quickly it transforms from batter to golden-brown bread. It’s a testament to how good food can be when you keep it simple and let quality ingredients shine.
Ingredients
For the Main Batter:
3 cups all-purpose flour (sifted if you want it extra light, but I often skip this step in a pinch!)
1/2 cup granulated sugar (you can adjust this slightly depending on your sweetness preference)
1 tablespoon baking powder (make sure it’s fresh, it makes a difference!)
1 teaspoon salt (enhances all the flavors)
1 can (12 oz) your favorite beer, at room temperature (lager or ale work wonderfully; avoid anything too hoppy or bitter for a milder flavor)
For the Delicious Topping (Optional but Highly Recommended!):
4 tablespoons unsalted butter, melted (the best way to get that golden crust)
1 tablespoon coarse sugar or turbinado sugar (for a little sparkle and crunch)
For Serving:
Softened butter or your favorite jam
Step-by-Step Instructions
Step 1: Preheat & Prep Pan
First things first, get your oven preheated to a nice and toasty 375°F (190°C). While the oven is doing its thing, grab a standard 9×5 inch loaf pan. I like to grease it really well with butter or cooking spray, and then I sometimes even dust it with a little flour. This ensures your beautiful bread slides out with ease, no sticking allowed!
Step 2: Mix Dry Ingredients
In a large mixing bowl, whisk together the flour, granulated sugar, baking powder, and salt. Give it a good whisk for about 30 seconds. This helps to evenly distribute everything, ensuring your bread rises evenly and has a consistent flavor. You want to make sure there are no clumps of baking powder or salt lurking in there.
Step 3: Mix Wet Ingredients
Now for the star of the show! Open your can of beer. Make sure it’s at room temperature, as a cold beer can sometimes affect the baking process. Pour the entire can of beer into the bowl with the dry ingredients. I also add the melted butter at this stage, even though it’s technically part of the topping. It gets incorporated right into the batter for extra richness.
Step 4: Combine
Using a wooden spoon or a sturdy spatula, gently stir the wet and dry ingredients together until they are *just* combined. Seriously, do not overmix! A few lumps are perfectly okay – in fact, they’re a good sign. Overmixing can develop the gluten too much and result in a tough loaf. We’re going for tender and fluffy here!
Step 5: Prepare Filling (Not Applicable for this Basic Version)**
This step is typically for more elaborate versions of beer bread where you might add cheese, herbs, or other mix-ins. For this basic, wonderful recipe, we’re keeping it pure and simple, letting the beer and flour work their magic!
Step 6: Layer & Swirl (Not Applicable for this Basic Version)**
Similar to the filling step, this is for when you’re adding swirls of jam, cinnamon sugar, or cheese. Our focus here is a beautifully simple, golden loaf, so we’ll pour the batter directly into the pan.
Step 7: Bake
Pour the batter into your prepared loaf pan and spread it out evenly. Now, pop it into your preheated oven. Bake for about 45-55 minutes. The exact time can vary depending on your oven, so keep an eye on it. You’ll know it’s done when the top is a beautiful golden brown, and a wooden skewer or toothpick inserted into the center comes out clean.
Step 8: Cool & Glaze
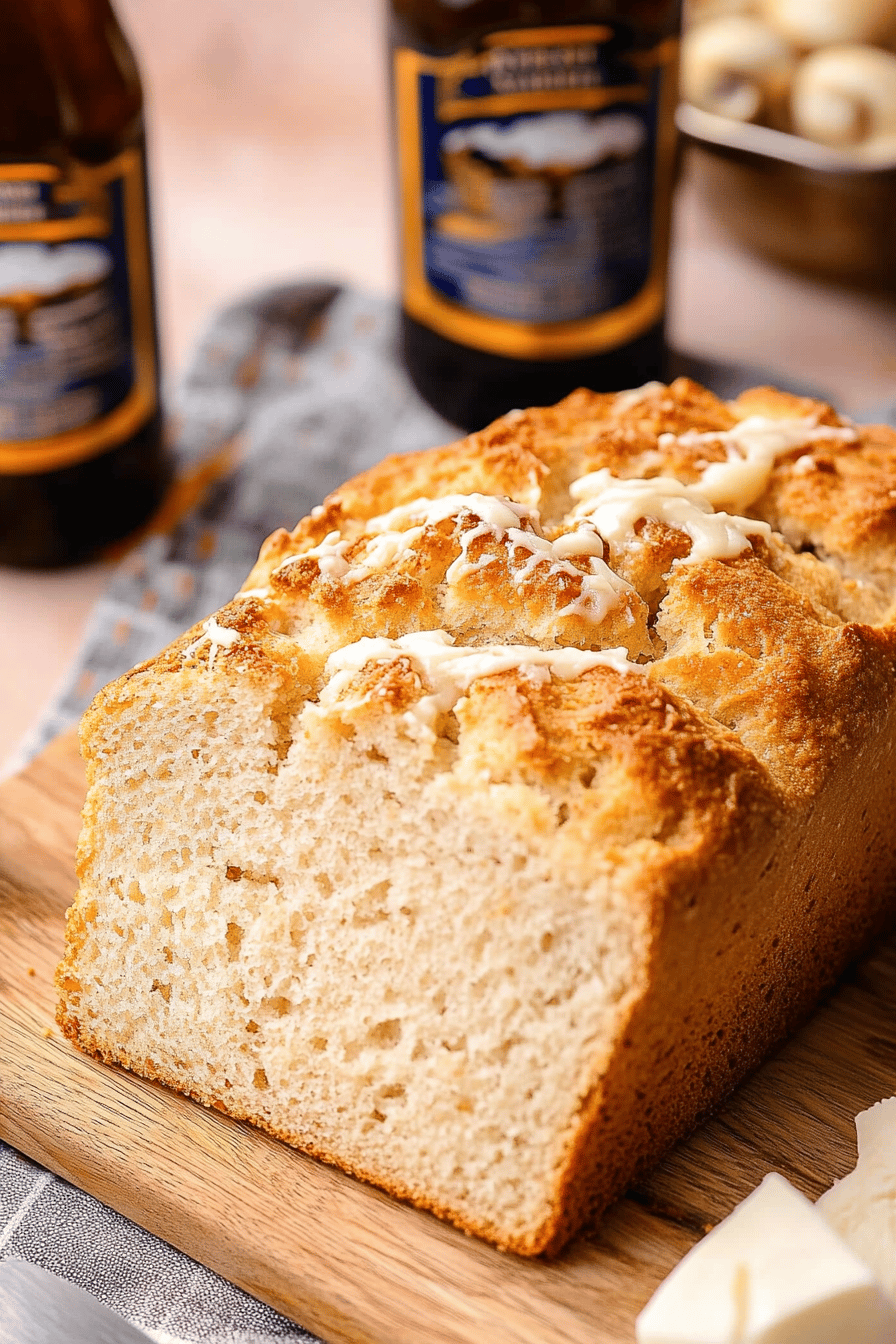
Once it’s baked to perfection, carefully remove the loaf pan from the oven. Let the bread cool in the pan for about 10-15 minutes. This is crucial for it to set up properly. Then, invert the pan onto a wire rack to let the bread cool completely. If you’re adding the optional topping, now’s the time to brush that melted butter all over the warm crust and sprinkle with coarse sugar. The sugar will melt slightly and create the most delightful crunchy, sweet topping!
Step 9: Slice & Serve
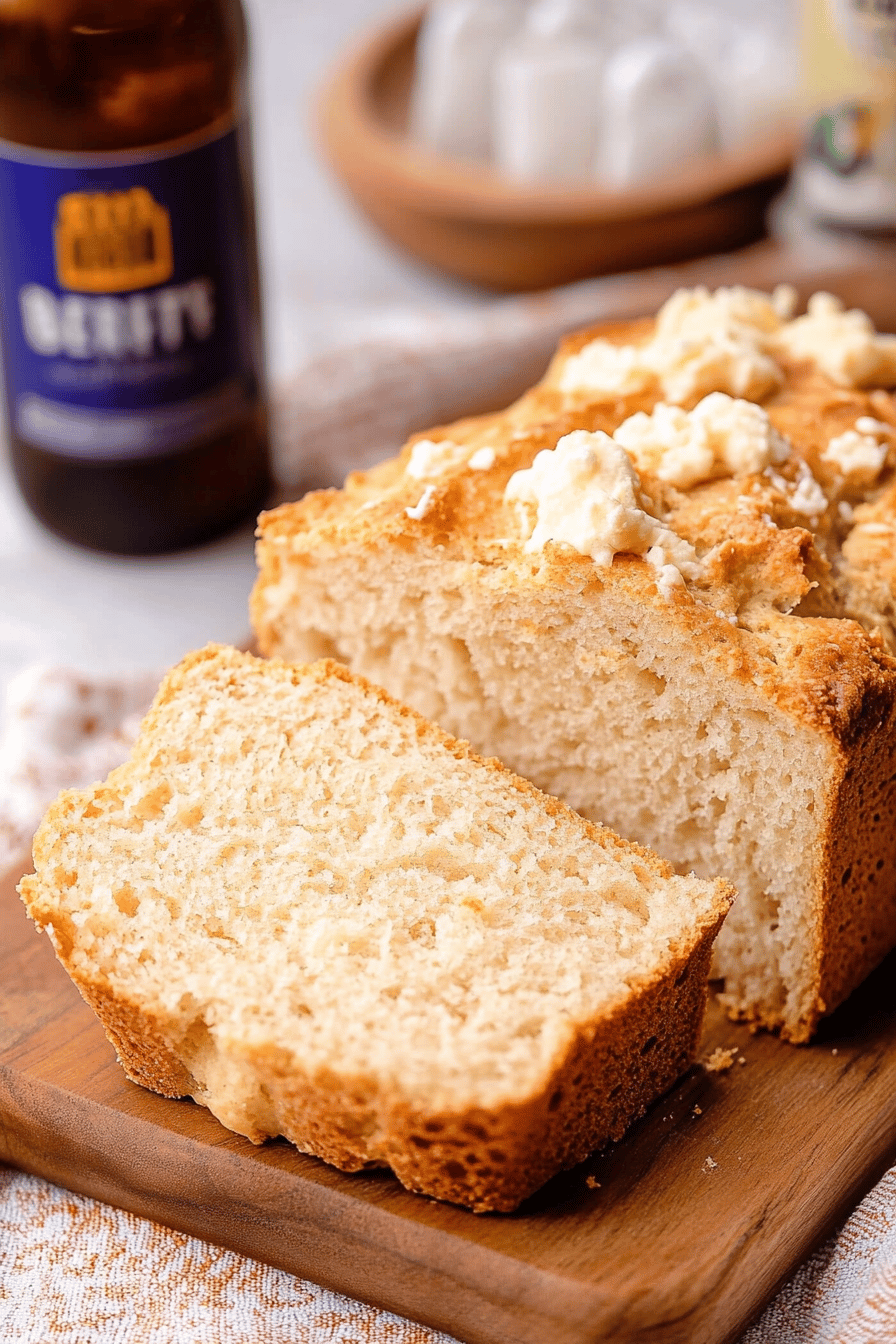
Once the beer bread is completely cool, or at least lukewarm (if you can wait that long!), slice it up. I find a serrated knife works best for getting clean slices. Serve it with a generous smear of butter, or maybe some of your favorite jam. The smell alone is intoxicating!
What to Serve It With
This beer bread is a chameleon when it comes to serving. It’s so wonderfully versatile that it fits right in at any meal. For breakfast, I love it toasted and slathered with butter. It’s a step up from regular toast and feels like such a treat, especially on a weekend morning. Pair it with a strong cup of coffee, and you’re golden. For a more elaborate brunch spread, a beautifully sliced loaf of this beer bread looks absolutely stunning on the table. It’s a great accompaniment to eggs, bacon, or even alongside a quiche. And for dessert? Oh yes! Serve slices warm with a scoop of vanilla ice cream or a drizzle of honey – it’s surprisingly decadent. My kids especially love it when I make it as a “cozy snack” in the afternoon. A thick slice with a glass of milk is their idea of heaven. It’s also fantastic alongside soups and stews – that slightly malty flavor really complements hearty, savory dishes. Think of it as the perfect edible sponge for all those delicious broths and sauces!
Top Tips for Perfecting Your Beer Bread
I’ve made this beer bread more times than I can count, and through those many bakes, I’ve picked up a few little tricks that I think make it even better. For starters, don’t be afraid of the beer! While a lager or a pale ale works beautifully and offers a mild, pleasant flavor, you can experiment. A darker stout or porter will give you a deeper, richer taste, and might even change the color a bit. Just avoid anything super bitter or hoppy if you’re not a fan of those flavors. When it comes to mixing, I can’t stress enough: just mix until combined. Seeing those few lumps is a good thing! Overmixing is the number one enemy of tender quick breads, and this beer bread is no exception. It’s the secret to that lovely, soft crumb. If you decide to add extras, like cheese or herbs (a little shredded cheddar and chives is amazing!), fold them in very gently at the very end. You don’t want to overwork the batter at that stage. For the topping, that melted butter and coarse sugar are truly a game-changer for texture and appearance. Don’t skip it if you can help it! And while the recipe calls for a loaf pan, I’ve actually made this in an 8×8 inch square pan too, adjusting the baking time slightly. It bakes up a little flatter and has more crispy edges, which some people actually prefer! Baking times can vary a lot, so trust your toothpick test over the clock. If it’s not quite done but the top is getting too dark, you can loosely tent it with foil.
Storing and Reheating Tips
This beer bread is truly best enjoyed fresh, but it does store quite well, which is another reason I love it. At room temperature, if you keep it tightly wrapped in plastic wrap or stored in an airtight container, it should stay delicious for about 2-3 days. The crust might soften a bit, but the inside will remain wonderfully moist. If you live in a particularly warm or humid climate, or if you just want to be extra sure it stays fresh, you can pop it into the refrigerator. In the fridge, it will last even longer, typically up to 5 days. Just be sure to wrap it well to prevent it from drying out. When it comes to freezing, this beer bread is a fantastic candidate! Once it’s completely cooled, wrap it tightly in plastic wrap, then in aluminum foil, or place it in a freezer-safe bag. It can keep for up to 3 months in the freezer. To reheat, you can simply let it thaw at room temperature, or pop a slice in the toaster or a low oven to warm it through. If you’re reheating a whole loaf from the fridge or freezer, low and slow is the way to go, perhaps around 300°F (150°C) until warmed through. For the topping, I usually add the butter and sugar just before serving if it’s been stored, rather than after baking, to maintain that lovely crunch.
Frequently Asked Questions
Final Thoughts
So there you have it – my absolute favorite, no-fuss beer bread recipe! It’s the kind of recipe that proves deliciousness doesn’t have to be complicated. Whether you’re a seasoned baker or someone who’s just starting out, I promise you can nail this. It’s proof that simple ingredients, combined with a little bit of kitchen magic (and a good beer!), can create something truly wonderful. It’s the perfect companion for a cozy night in, a quick side for dinner, or even a sweet treat with your coffee. If you love easy baked goods, you might also want to try my incredibly simple no-bake cookies or my foolproof banana bread. I really hope you give this beer bread a try; it has brought so much joy (and deliciousness!) to my kitchen, and I hope it does the same for yours. I can’t wait to hear what you think, and I’d absolutely love to see your creations! Please leave a comment below with your thoughts or any fun variations you try. Happy baking, everyone!
Easy Beer Bread
Ingredients
Main Ingredients
- 3 cups all-purpose flour
- 0.25 cup granulated sugar
- 1 tablespoon baking powder
- 0.5 teaspoon salt
- 12 ounces beer, room temperature any type of beer works well
Instructions
Preparation Steps
- Preheat your oven to 375°F (190°C). Grease and flour a 9x5 inch loaf pan.
- In a large bowl, whisk together the flour, sugar, baking powder, and salt.
- Pour the room temperature beer into the dry ingredients and stir until just combined. Do not overmix.
- Pour the batter into the prepared loaf pan and spread evenly.
- Bake for 35-40 minutes, or until a wooden skewer inserted into the center comes out clean.
- Let the bread cool in the pan for 10 minutes before transferring it to a wire rack to cool completely.
