
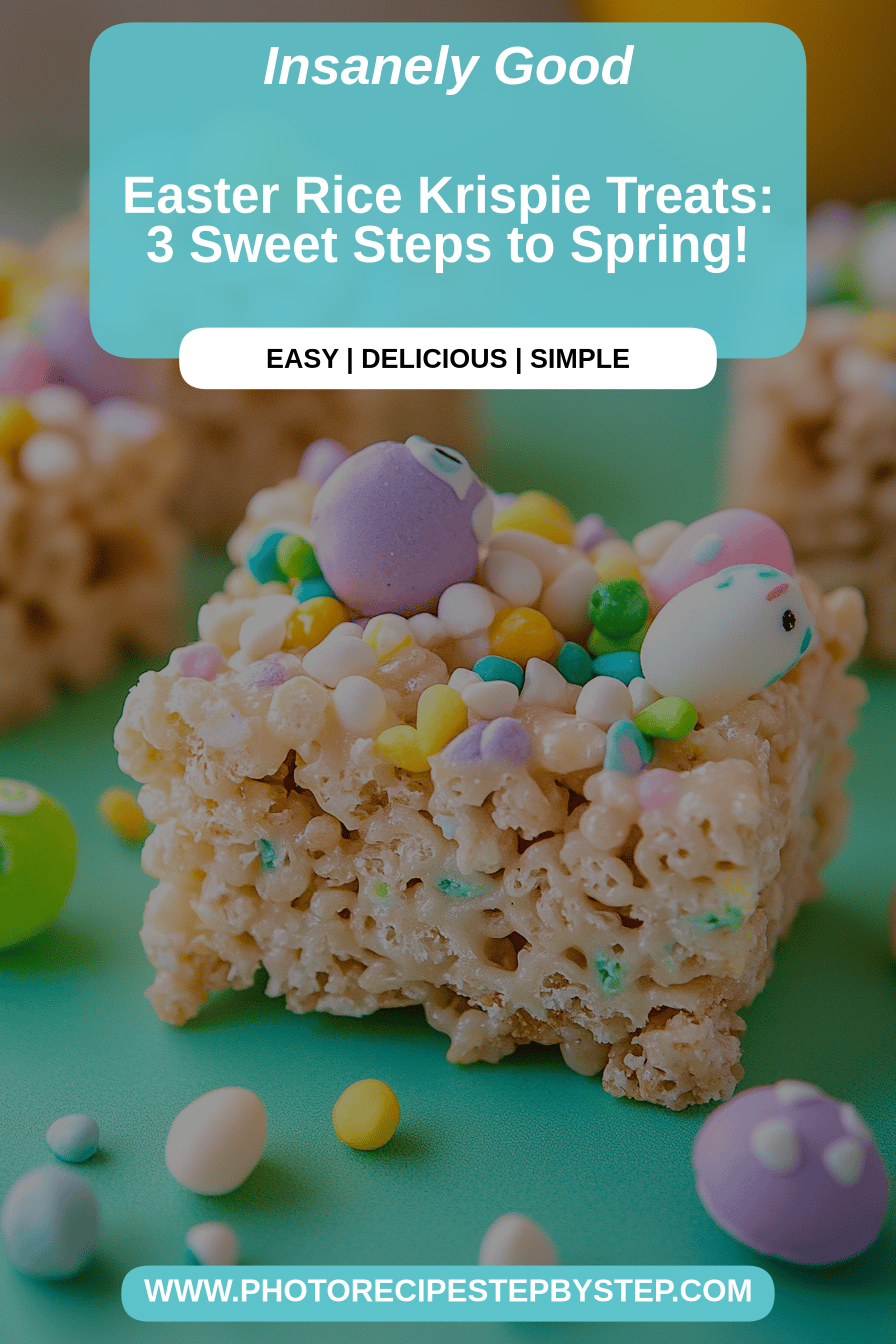
There’s something magical about Easter, isn’t there? It always brings me right back to my childhood kitchen, the air thick with the scent of baking and the excited chatter of my siblings. And right there, nestled amongst the pastel-colored eggs and the chocolate bunnies, were always these delightful Easter Rice Krispie Treats. They weren’t just a sweet snack; they were little parcels of joy, a symbol of spring’s arrival and the simple pleasures of family gatherings. While most people think of elaborate cakes or delicate cookies for Easter, I’ve always had a soft spot for the humble Rice Krispie Treat. It’s funny, you see Rice Krispie Treats everywhere, but transforming them into something special for a holiday? That’s where the real fun begins. This recipe, my friends, is my tried-and-true version, the one that always disappears first. If you’re looking for a treat that’s incredibly easy, wonderfully nostalgic, and utterly delicious, you’ve landed in the right place. These Easter Rice Krispie Treats are going to be your new go-to!
What are some Easter Rice Krispie treats?
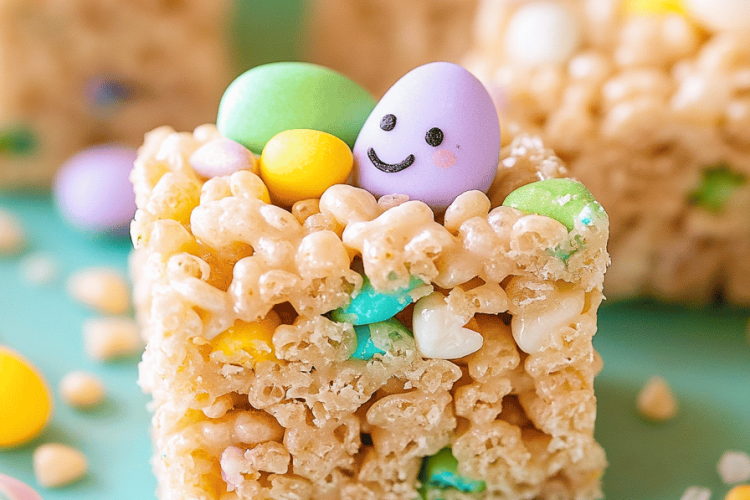
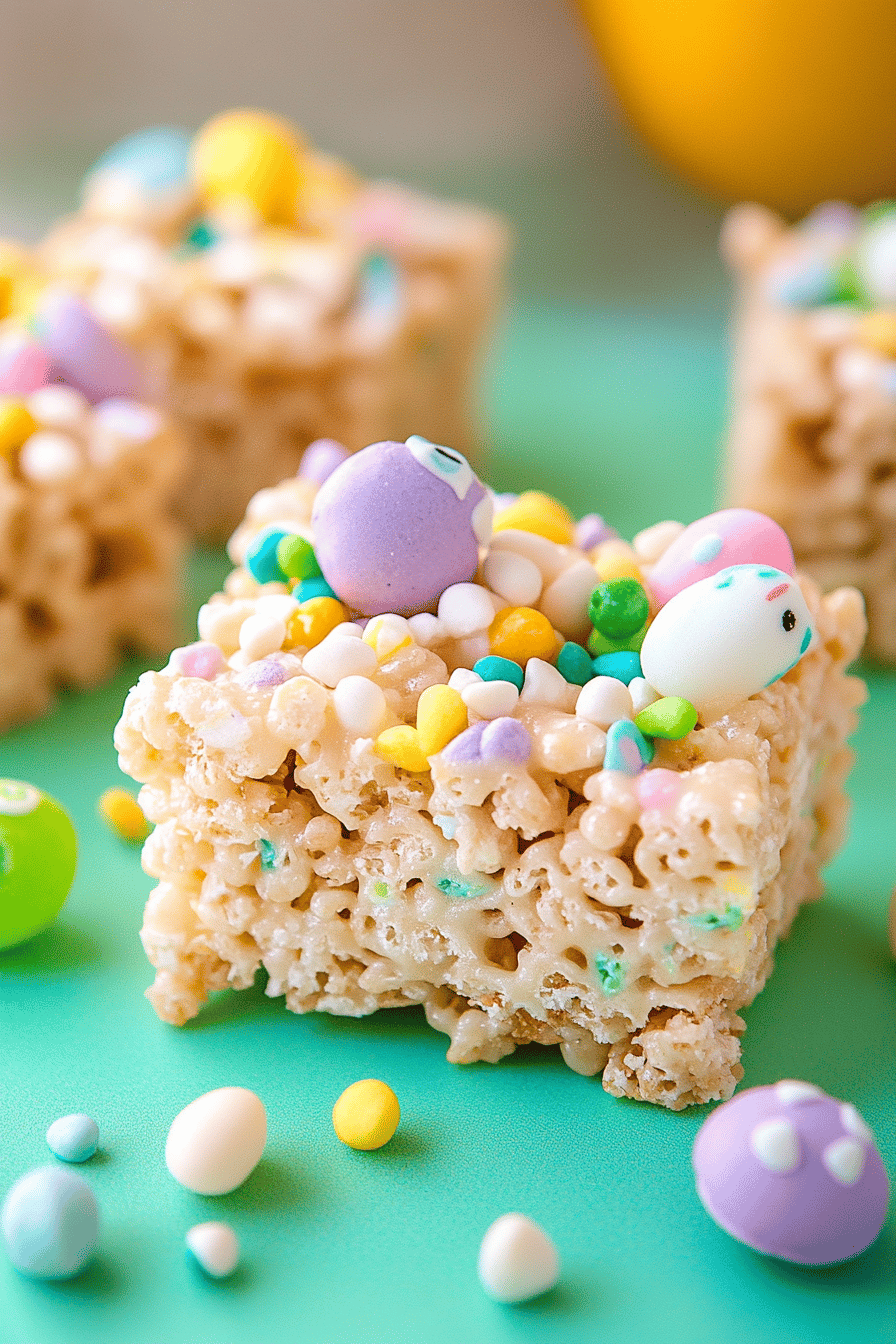
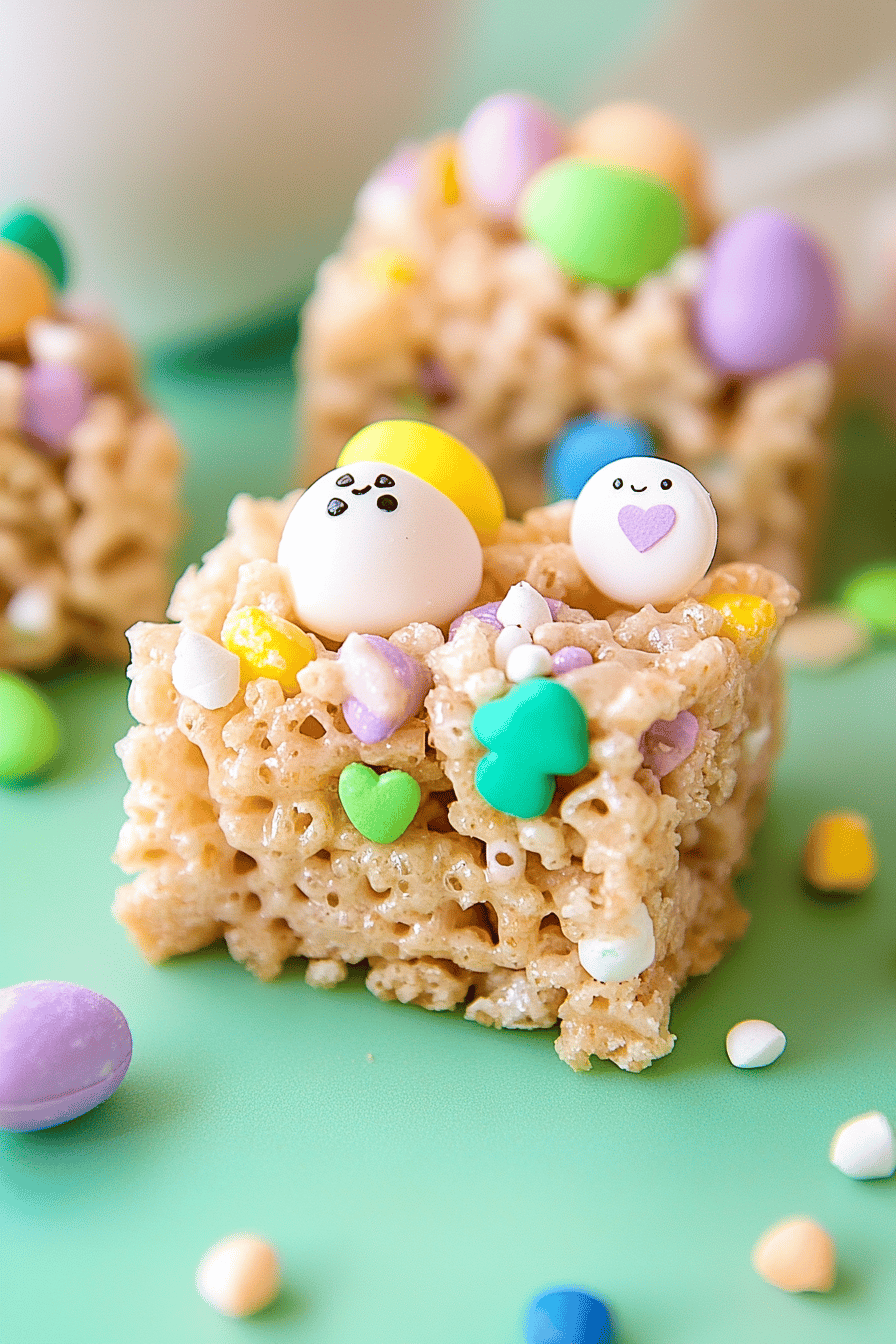
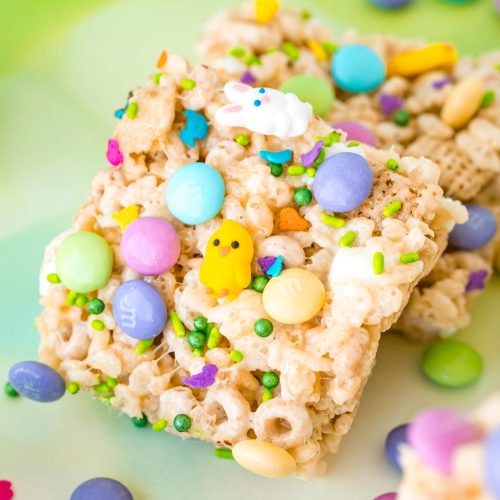
So, what exactly are Easter Rice Krispie Treats, you ask? Think of them as your classic, beloved Rice Krispie Treats, but dressed up for spring! They’re made from the same simple, comforting ingredients we all know and love: crispy rice cereal, gooey marshmallows, and creamy butter. The magic happens when we introduce a few festive elements that make them scream “Easter!” This usually involves a splash of vanilla, a touch of food coloring to get those lovely pastel hues, and often, some fun add-ins like sprinkles or even a drizzle of white chocolate. It’s essentially taking a childhood favorite and giving it a joyful, seasonal makeover. They’re not overly complicated, which is precisely why they’re so perfect for busy holidays. The beauty of these treats is their adaptability – you can make them as simple or as fancy as your heart desires, and they’ll always be a crowd-pleaser.
Why you’ll love this recipe?
What are some of the best Easter Rice Krispie Treats recipes?flavor is just pure comfort. That sweet, buttery marshmallow coating clinging to the crunchy cereal is a taste sensation that sparks instant happiness. Adding a hint of vanilla elevates it, making it feel a little more grown-up but still totally kid-approved. Then there’s the simplicity. Honestly, this is a lifesaver when you need a last-minute Easter treat. You can whip up a batch in under 20 minutes, and the active prep time is minimal. It’s the kind of recipe that even novice bakers can nail, and it feels so rewarding. Plus, it’s incredibly cost-efficient. Cereal, marshmallows, butter – these are pantry staples for most of us, making this a budget-friendly way to createversatility! This recipe is a fantastic canvas. You can dye the mixture any color you like, add sprinkles, mini chocolate chips, or even swirl in some colored candy melts. It’s perfect for Easter baskets, class parties, or just a special treat for your family. What I love most about this Easter Rice Krispie Treats recipe, though, is the sheer joy it brings. It’s a simple recipe that creates big smiles, and that’s truly priceless. It’s like a warm hug in edible form, and who doesn’t need that around the holidays?
How to Make Easter Rice Krispie Treats
Quick Overview
Making these festive treats is a breeze! You’ll melt butter and marshmallows together until gooey, stir in your crispy rice cereal and a hint of vanilla, then fold in those delightful pastel colors. Once it’s all combined into a sticky, sweet mass, you press it into a prepared pan. That’s it! The whole process is so straightforward, I often have my kids “help” by stirring in the cereal (under supervision, of course!). The beauty is in its speed and simplicity, proving that you don’t need fancy techniques or complex ingredients to create something truly special for Easter. It’s a foolproof method that always yields perfect results.
Ingredients
For the Main Batter:
* 6 cups crispy rice cereal: This is the backbone! Make sure it’s fresh. Stale cereal can lead to a tougher texture, and nobody wants that. You can find this in any grocery store, usually on the breakfast aisle. I always opt for the original brand, but store brands work just as well.
* 10 ounces marshmallows: These are crucial for that signature gooey texture. I usually use mini marshmallows because they melt faster and more evenly, which makes life easier. If you can only find the big ones, that’s totally fine, just chop them up a bit. Don’t use marshmallow fluff or creme; you need the melted whole marshmallows for the right consistency.
* 4 tablespoons unsalted butter: The butter adds richness and helps everything come together. Using unsalted butter gives you more control over the saltiness of your treats. I like to use good quality butter for the best flavor.
* 1 teaspoon vanilla extract: This is my little secret to elevating these treats! It adds a warmth and depth of flavor that you just don’t get with plain old cereal and marshmallows. Trust me, don’t skip this.
* Assorted gel food coloring: This is where the Easter magic happens! Gel colors are fantastic because they’re highly concentrated, meaning you get vibrant colors without adding too much liquid, which could affect the texture. Pastel pink, yellow, blue, and green are my favorites for Easter.
Step-by-Step Instructions
Step 1: Preheat & Prep Pan
First things first, let’s get our baking pan ready. You’ll need a 9×13 inch baking pan. I like to lightly grease it with cooking spray or butter, or even better, line it with parchment paper, leaving some overhang on the sides. This makes it super easy to lift the whole slab out later! Preheat your oven to 300°F (150°C). Even though we’re not really “baking” them in the traditional sense, a low oven temperature helps to set the treats without making them too hard or crunchy.
Step 2: Mix Dry Ingredients
In a large mixing bowl, pour in your 6 cups of crispy rice cereal. Make sure the bowl is big enough to hold everything comfortably. You’ll want to have your cereal ready to go once the marshmallow mixture is done. There’s no need to add anything else to the cereal just yet; we’ll add the gooey goodness in a bit.
Step 3: Mix Wet Ingredients
In a large saucepan over low heat, melt the 4 tablespoons of unsalted butter. Once the butter is mostly melted, add the 10 ounces of marshmallows. Stir constantly with a heatproof spatula or wooden spoon. You want the marshmallows to melt slowly and evenly. Keep the heat low to prevent scorching! Once the marshmallows are smooth and completely melted, remove the pan from the heat. Stir in the 1 teaspoon of vanilla extract. This is also the point where you’ll divide your marshmallow mixture into smaller bowls if you want multiple colors, or add food coloring directly if you’re going for one main color.
Step 4: Combine
Now for the fun part! Pour the melted marshmallow mixture over the crispy rice cereal in the large bowl. Working quickly, gently fold the cereal into the marshmallow mixture using your spatula until it’s all evenly coated. You don’t want to mash the cereal; just coat it. If you’re making multiple colors, divide the cereal mixture into separate bowls and gently fold in your colored marshmallow mixture into each.
Step 5: Prepare Filling
This step is actually part of Step 4 if you’re making multiple colors and swirling them. If you’re keeping it simple, you’ll just be combining the colored marshmallow mixture with the cereal. For those who like a swirl, you’ll want to dollop spoonfuls of the different colored marshmallow-cereal mixtures into your prepared pan, alternating colors, then gently press them together.
Step 6: Layer & Swirl
If you’ve made multiple colors, this is where you create that beautiful marbled effect. Gently spoon portions of each colored cereal mixture into your prepared pan. Don’t overthink it! Alternating colors randomly looks best. Then, use your greased spatula or even lightly greased hands to gently press the mixture into the pan. If you want a more marbled look, you can lightly swirl the colors together with a toothpick or the back of your spoon, but be careful not to overmix, or the colors will become muddy. For a solid color, just press the entire mixture evenly into the pan.
Step 7: Bake
Place the pan in your preheated oven at 300°F (150°C) for about 5-7 minutes. This short bake helps to set the treats and makes them a little chewier and less likely to fall apart. You’re not looking for browning here, just a gentle setting. Keep an eye on them so they don’t get too crisp.
Step 8: Cool & Glaze
Once they’ve had their short bake, carefully remove the pan from the oven. Let them cool completely in the pan on a wire rack. This is crucial! Trying to cut them while warm will result in a sticky mess. Once they are completely cool (this usually takes about 1-2 hours), you can add an optional glaze. For an Easter flair, I love a simple white chocolate drizzle or a dusting of powdered sugar mixed with a tiny bit of milk and food coloring. If glazing, melt white chocolate chips with a little oil or butter and drizzle over the cooled treats. Let the glaze set before slicing.
Step 9: Slice & Serve
Once everything is cooled and set, use the parchment paper overhang to lift the entire slab out of the pan onto a cutting board. Use a sharp knife (you can grease it slightly if it’s sticking) to cut the treats into squares or fun Easter shapes using cookie cutters. Serve immediately and watch them disappear!
What to Serve It With
These Easter Rice Krispie Treats are so versatile, they fit in perfectly at any Easter celebration, no matter the meal! For breakfast, imagine them as a fun, whimsical addition to a waffle or pancake spread. A small square alongside a stack of fluffy pancakes feels extra special. For brunch, they can add a playful touch to a more elegant spread. I love arranging them on a platter with fresh berries and maybe some mini chocolate eggs. They’re a guaranteed hit with both kids and adults, adding a bit of lightheartedness. As a delightful dessert, they’re simply perfect. They’re not too heavy after a big Easter meal, offering just the right amount of sweetness. I often serve them alongside a fruit salad or a light sorbet for a balanced finish. And for those spontaneous cozy snacks throughout the Easter weekend? These are unbeatable. Grab a cup of tea or coffee and a sweet, chewy treat – it’s pure comfort. My family tradition is to have a batch ready for our Easter egg hunt, and they are always the first thing the kids gravitate towards after finding all their hidden treasures. They pair wonderfully with a glass of cold milk for the little ones, or a sparkling cider for a festive touch.
Top Tips for Perfecting Your Easter Rice Krispie Treats
I’ve been making these Easter Rice Krispie Treats for years, and through a few kitchen mishaps (don’t we all have them?), I’ve picked up a few tricks that make all the difference. Firstly, when it comes to the cereal, make sure it’s fresh. Stale cereal is the enemy of a perfectly chewy treat; it’ll make them dry and crumbly instead of soft and yielding. I’ve learned to always check the expiration date! For the marshmallows, low and slow is the name of the game. Melting them over gentle heat prevents that burnt sugar taste and ensures a smooth, silky texture. I learned this the hard way when I once cranked the heat up and ended up with a tough, rubbery batch. Yuck! And don’t be tempted to overmix once the cereal is in. Gently folding is key. Overmixing can crush the cereal, leading to a dense, hard treat. Think of it as coating the cereal, not stirring it into oblivion. When it comes to swirling colors, less is more! A few gentle swirls with a toothpick create a beautiful, marbled effect. If you swirl too much, you’ll just end up with a muddy brown color, which isn’t quite the festive Easter look we’re going for. For ingredient swaps, I’ve experimented! If you’re dairy-free, you can absolutely use a good quality vegan butter and vegan marshmallows; the texture is surprisingly similar. I’ve also tried it with different types of crispy rice cereal, and while they all work, the classic cereal just has that perfect crunch-to-chew ratio. If you find your mixture is too sticky to handle, lightly greasing your hands with butter or cooking spray is a lifesaver. For baking, that short 5-7 minute stint in a low oven (300°F/150°C) is crucial. It helps set them and gives them a slightly chewier texture that I absolutely love. Without it, they can be a bit too soft and fall apart easily. Finally, for the glaze, consistency is key. If your white chocolate glaze is too thick, add a tiny bit more oil or shortening; if it’s too thin, let it sit for a minute or two to thicken up before drizzling. These little tips, born from experience, are what I believe elevate these simple Easter Rice Krispie Treats from good to absolutely fantastic.
Storing and Reheating Tips
One of the best things about these Easter Rice Krispie Treats is how well they store, making them perfect for making ahead. For room temperature storage, once they’re completely cooled and any glaze has set, I like to cut them into squares and store them in an airtight container. They’ll stay delightfully chewy and delicious for up to 3 days this way. If you’re layering them in the container, I recommend putting a piece of parchment paper between the layers to prevent sticking. For refrigerator storage, these treats can last a bit longer, up to a week, if you seal them in an airtight container. However, I find they can sometimes get a bit firmer in the fridge, so I usually opt for room temperature storage if I can. If you do refrigerate them, it’s a good idea to let them sit at room temperature for about 15-20 minutes before serving to soften them up. Now, for freezer instructions, these are fantastic for making even further ahead! You can freeze them whole or cut into squares. Wrap each treat very well in plastic wrap, then place them in a freezer-safe bag or airtight container. They’ll keep their best quality for up to 2 months. To thaw, simply transfer them from the freezer to the refrigerator overnight, then let them come to room temperature for about 30 minutes before enjoying. The glaze timing advice is simple: always add your glaze *after* the treats have completely cooled. If you glaze them while they’re warm, the glaze will melt and become a sticky mess. For treats that will be stored at room temperature or frozen, ensure the glaze is fully set before wrapping or freezing.
Frequently Asked Questions
Final Thoughts
There you have it, my friends – a simple yet utterly delightful way to bring some extra joy to your Easter celebrations. These Easter Rice Krispie Treats are more than just a recipe; they’re a little piece of nostalgia, a reminder of simpler times, and a guaranteed way to make everyone smile. They embody everything I love about holiday baking: it’s easy, it’s fun, and it brings people together. If you enjoy this recipe, you might also love my no-bake Easter cookies or my festive bunny-shaped brownies. They’re in a similar vein of easy, crowd-pleasing holiday treats. I truly hope you give these Easter Rice Krispie Treats a try. They are so forgiving and so rewarding, perfect for sharing with loved ones or just treating yourself. Let me know in the comments below how yours turn out, or if you have your own special Easter twists to add! I can’t wait to hear all about your delicious creations. Happy Easter baking!
Easter Rice Krispie Treats
Ingredients
Main Ingredients
- 3 tablespoons butter
- 10 ounces mini marshmallows
- 6 cups Rice Krispies cereal
- 0.25 teaspoons vanilla extract
For Decorating
- 1 cup white candy melts
- 0.5 cup Easter sprinkles
Instructions
Preparation Steps
- Grease a 9x13 inch pan with butter or non-stick spray. Alternatively, line with parchment paper and grease the parchment paper.
- In a large pot over low heat, melt the butter.3 tablespoons butter
- Add the mini marshmallows to the melted butter and stir until completely melted and smooth. Remove from heat.3 tablespoons butter
- Stir in the vanilla extract.3 tablespoons butter
- Add the Rice Krispies cereal to the marshmallow mixture and stir until well combined and evenly coated.3 tablespoons butter
- Press the mixture evenly into the prepared pan. You can use a greased spatula or your hands (lightly greased) to press it down.
- In a microwave-safe bowl, melt the white candy melts according to package directions. Stir until smooth.3 tablespoons butter
- Drizzle the melted candy melts over the Rice Krispie treats. Immediately sprinkle with Easter sprinkles before the candy melts set.3 tablespoons butter
- Let the candy melts set completely, then cut into squares.
