
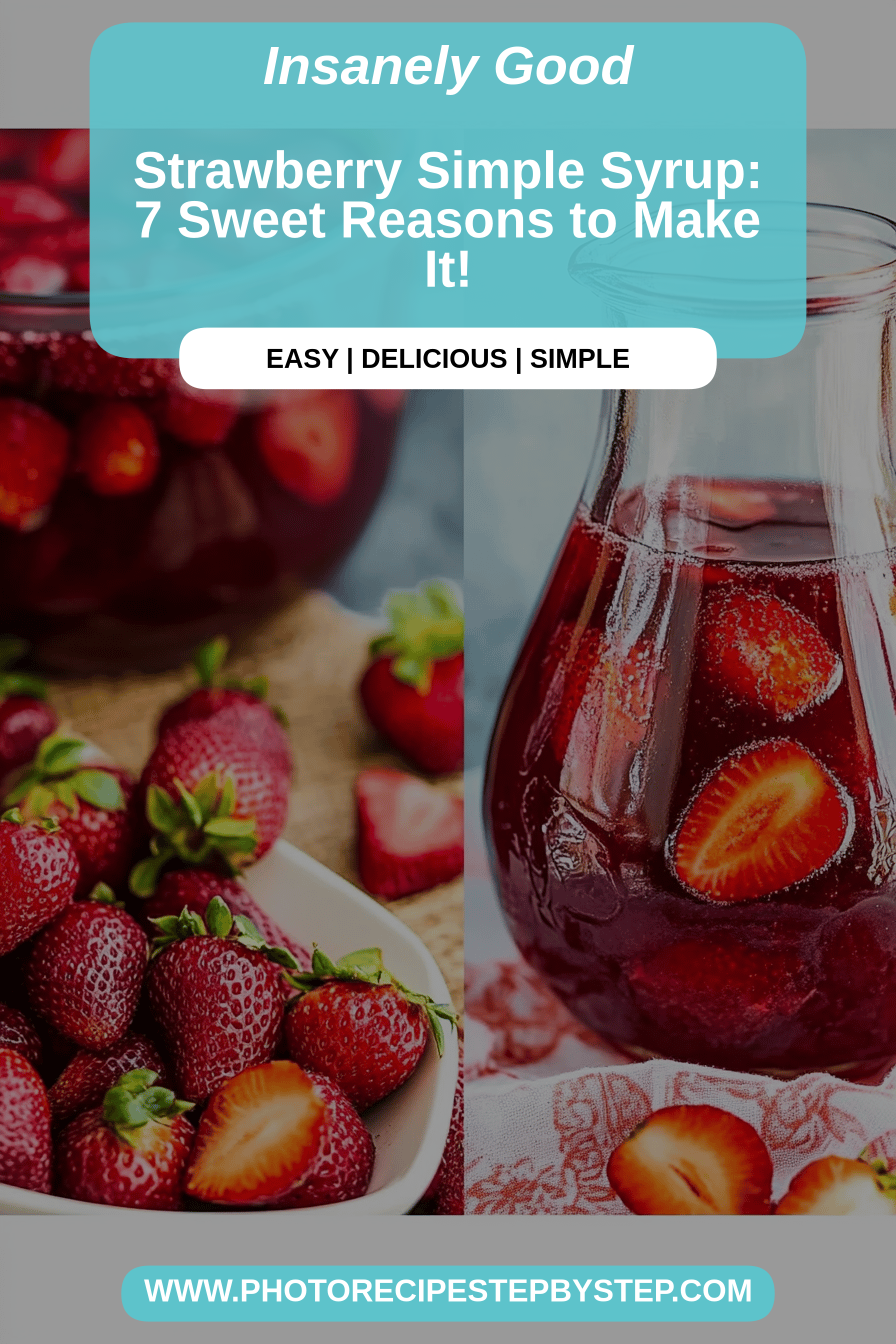
You know those days when you just need a little something *extra*? A little sparkle in your drink, a touch of sweetness in your dessert, a whisper of summer even when it’s chilly outside? That’s exactly when I reach for this strawberry simple syrup. It’s not just a sweetener; it’s like bottled sunshine, and honestly, it’s ridiculously easy to whip up. Forget those fancy store-bought syrups that taste faintly of chemicals; this homemade version is bursting with pure, unadulterated strawberry goodness. I’ve been making this for years, and it’s become such a staple in my kitchen. It’s my go-to for everything from jazzing up a glass of sparkling water to making the most incredible strawberry lemonade. If you love my raspberry coulis, you’re going to adore this strawberry syrup – it’s cut from the same simple, delicious cloth.
What is strawberry simple syrup?
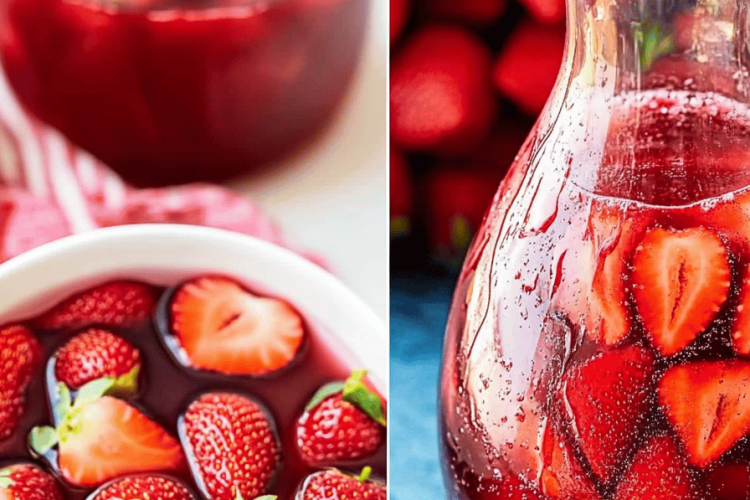
So, what exactly *is* strawberry simple syrup? At its heart, it’s just a basic simple syrup – equal parts sugar and water – that’s been infused with the vibrant flavor and color of fresh strawberries. Think of it as liquid strawberry magic! The name itself, “simple syrup,” hints at its straightforward nature. It’s essentially sugar dissolved in water, creating a smooth, syrupy liquid that’s perfect for sweetening beverages and dishes without that grainy texture you sometimes get from granulated sugar. When you add strawberries into the mix, you elevate it from a basic sweetener to something truly special. It’s a way to capture the peak-season sweetness of strawberries and have it on hand whenever a craving strikes. It’s not complicated, it’s not fussy, and that’s precisely why I love it so much.
Why you’ll love this recipe?
There are so many reasons why this strawberry simple syrup has earned a permanent spot in my recipe repertoire, and I’m willing to bet it will in yours too! First and foremost, the FLAVOR is absolutely out of this world. It tastes like the freshest, ripest strawberries you’ve ever had, concentrated into a wonderfully sweet liquid. It’s not artificial or cloying; it’s just pure, delightful fruitiness. Then there’s the SIMPLICITY. Seriously, if you can boil water, you can make this. It takes about 15 minutes from start to finish, and requires minimal effort. It’s a lifesaver for those busy weeknights when you want to add a little something special to your drink but don’t have time for complex preparations. And let’s talk COST-EFFICIENCY. Strawberries can be pricey, but buying them in season and turning them into this syrup means you get a huge amount of deliciousness for a relatively low cost, especially compared to specialty syrups. The VERSATILITY is also a huge selling point. I’ll get to all the ways you can use it in a bit, but trust me, it’s way beyond just drinks! What I love most about this recipe, though, is that it feels like such a treat, but it’s made with just a few humble ingredients. It’s a little bit of everyday luxury.
How do I make strawberry simple syrup?
Quick Overview
Making this strawberry simple syrup is a breeze! You’ll combine sugar and water in a saucepan, heat it until the sugar dissolves, then simmer it with fresh strawberries for a short while to infuse that gorgeous flavor and color. After a brief cooling period, you strain out the strawberries, and voilà – you have liquid gold! It’s a foolproof process that guarantees delicious results every single time, perfect for adding a burst of fruity sweetness to your favorite concoctions.
Ingredients
For the main syrup: For the main syrup: For the main syrup: For the main syrup: For the main syrup: For the main syrup: For
1 cup granulated sugar (this is the standard, but you can play around with it – more on that later!)
1 cup water
1 pint fresh strawberries, hulled and halved or quartered (use the best, ripest ones you can find; they make all the difference!)
Optional: A squeeze of fresh lemon juice (about 1 teaspoon) – this really brightens up the strawberry flavor!
Step-by-Step Instructions
Step 1: Prep Your Strawberries
Start by giving your strawberries a good rinse under cool water. Hull them (that means removing the green leafy tops) and then slice them in half or quarters, depending on their size. The smaller you cut them, the more surface area there is for the flavor to infuse, so don’t be shy about chopping them up a bit!
Step 2: Combine Sugar and Water
Grab a medium saucepan. Pour in your granulated sugar and then add the water. Place the saucepan over medium heat.
Step 3: Dissolve the Sugar
Stir the sugar and water mixture constantly with a whisk or spoon. You want to make sure all the sugar crystals dissolve completely. Keep stirring until the liquid is clear and no gritty sugar remains at the bottom. Don’t let it boil vigorously at this stage, just a gentle heat is perfect.
Step 4: Add the Strawberries
Once the sugar is fully dissolved, add your prepped strawberries to the saucepan. If you’re using it, add that little squeeze of lemon juice now too. Give everything a gentle stir.
Step 5: Simmer and Infuse
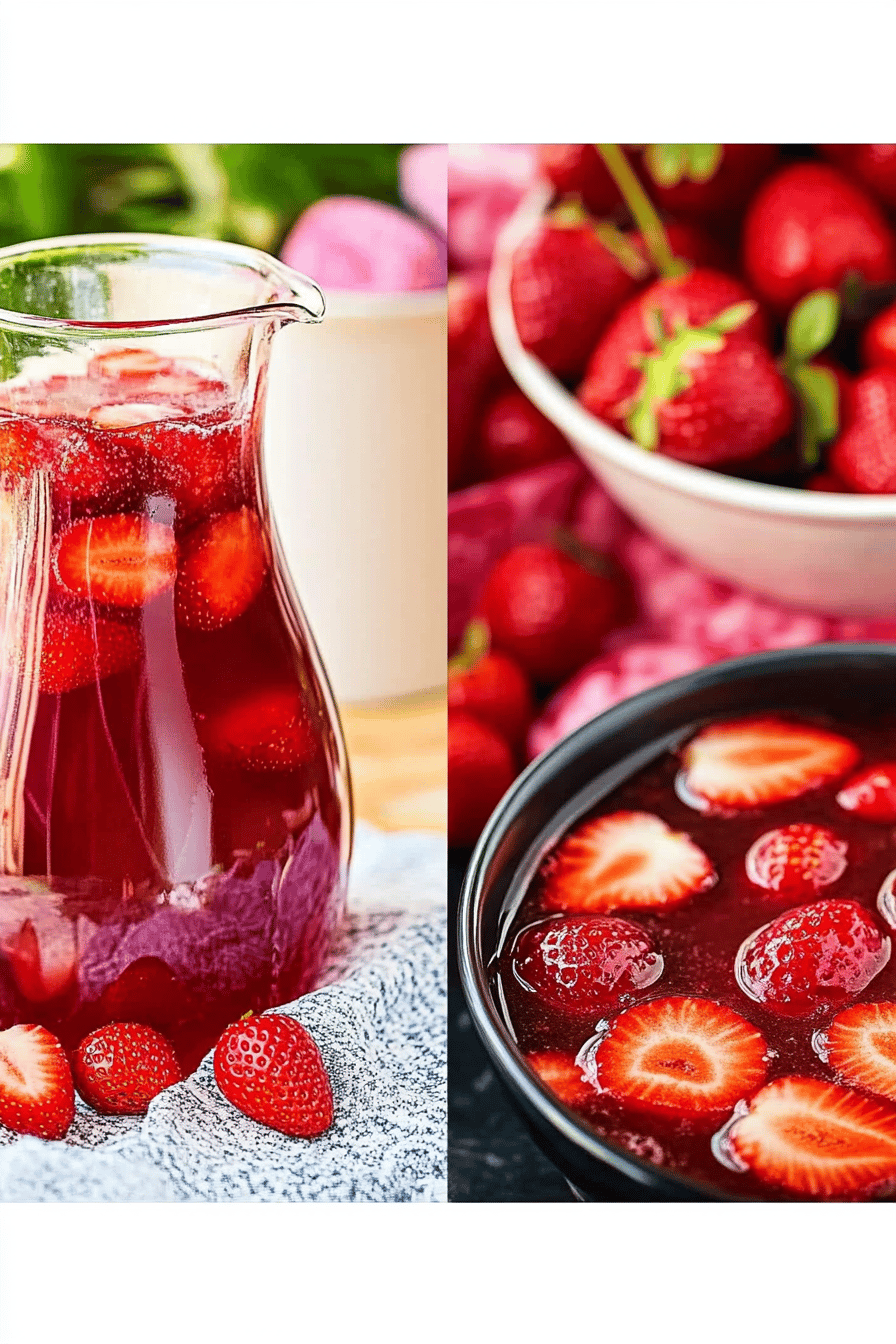
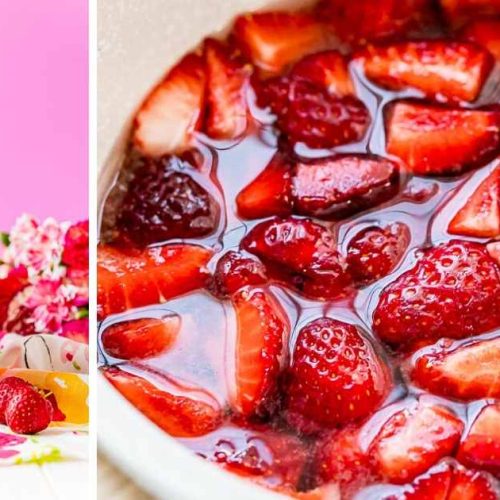
Bring the mixture to a gentle simmer. Once it’s simmering, reduce the heat to low and let it cook for about 10-15 minutes. You’ll see the strawberries soften and release their beautiful pink color into the syrup. The syrup itself will thicken up slightly. Stir occasionally. This is where all the magic happens – the water and sugar are infusing with that incredible strawberry essence.
Step 6: Cool Slightly
After about 15 minutes of simmering, remove the saucepan from the heat. Let it sit for another 10-15 minutes to allow the flavors to deepen even further. The longer it sits off the heat, the more intense the strawberry flavor will become, so feel free to let it steep a bit longer if you like.
Step 7: Strain the Syrup
Now for the straining part. Place a fine-mesh sieve over a clean bowl or a heatproof measuring cup. Carefully pour the strawberry mixture through the sieve. Use the back of a spoon to gently press down on the strawberries, coaxing out as much of the delicious syrup as possible. Don’t go crazy with the pressing, though; you don’t want any pulp to go through. You’ll be left with the most gorgeous, vibrant strawberry syrup!
Step 8: Chill and Store
Once you’ve strained your syrup, let it cool completely to room temperature. Then, transfer it into an airtight container, like a pretty glass jar or bottle. Pop it in the refrigerator. It’s best served chilled!
What to Serve It With
Oh, the possibilities are endless! This strawberry simple syrup is a true kitchen chameleon. For BREAKFAST, it’s phenomenal drizzled over pancakes, waffles, or French Toast. Imagine a stack of fluffy pancakes, a dollop of whipped cream, and a generous pour of this vibrant syrup – pure bliss! It’s also divine stirred into yogurt or oatmeal for a quick, flavorful start to your day. At BRUNCH, it adds a touch of elegance. Mix it into mimosas for a strawberry twist, or use it to sweeten iced tea or coffee. It’s also fantastic in a strawberry mojito or a simple spritzer with a sprig of mint. For DESSERT, this is where it truly shines. Drizzle it over pound cake, angel food cake, or ice cream. It makes a spectacular base for cocktails or mocktails after dinner. And for those COZY SNACKS, I love using it to sweeten my sparkling water when I’m craving something sweet in the afternoon but don’t want anything too heavy. It’s also a lifesaver for making quick popsicles for the kids on a hot day. Honestly, any time you need a touch of fruity sweetness, reach for this!
Top Tips for Perfecting Your Strawberry Simple Syrup
I’ve learned a few things over the years of making this, and I’m happy to share them with you! For the STRAWBERRIES, always use the ripest ones you can find. They have the most intense flavor and color. If your strawberries aren’t super flavorful, don’t be afraid to add a little extra lemon juice – it really wakes up the fruit. When it comes to MIXING, the key is dissolving the sugar completely before adding the fruit. This ensures a smooth syrup. Avoid over-simmering, though; you don’t want the liquid to reduce too much, or it will become too thick. The SWIRL CUSTOMIZATION isn’t really applicable here as it’s a syrup, but if you were making something *with* the syrup, like a cake, you could swirl the syrup into the batter! For INGREDIENT SWAPS, while I adore the classic sugar and water, you can experiment. Using honey or maple syrup instead of sugar will change the flavor profile significantly, making it less “pure strawberry” and more complex. For a vegan option, stick with sugar! BAKING TIPS aren’t directly relevant to the syrup itself, but if you’re using it in baked goods, ensure it’s fully cooled. For GLAZE VARIATIONS, remember this *is* the glaze for many things! But if you wanted a thicker glaze *from* the syrup, you could simmer it longer, but be careful it doesn’t crystallize. Another tip: if you end up with a LOT of leftover strawberries after straining, don’t toss them! Mash them up and add them to smoothies or use them as a topping for yogurt.
Storing and Reheating Tips
Keeping this delicious strawberry simple syrup fresh is super easy! Store it in an airtight container, like a glass jar with a tight-fitting lid, in the REFRIGERATOR. It will last beautifully for about 2-3 weeks. You’ll know it’s still good if it smells fresh and vibrant. I usually keep a jar in my fridge at all times. For ROOM TEMPERATURE storage, I wouldn’t recommend it for more than a day or two, especially if your kitchen is warm, as the sugar can encourage microbial growth. FREEZER INSTRUCTIONS are a great option if you want to make a big batch and save it for later! You can freeze it in ice cube trays for easy portioning, or in small freezer-safe containers or bags. It should last for a good 6 months to a year in the freezer, though the color might fade a little over time. To THAW, simply take it out of the freezer and let it come to room temperature. For GLAZE TIMING ADVICE, it’s always best to add the glaze (this syrup) to your finished product right before serving for the freshest look and taste. If you’re making something like a cake and want to moisten it with syrup, you can brush it on while the cake is still warm, but before adding any other frostings or glazes.
Frequently Asked Questions
Final Thoughts
Honestly, this strawberry simple syrup is one of those recipes that just makes life a little brighter. It’s so simple, yet the impact it has on everything from your morning coffee to your evening cocktail is incredible. It’s a little reminder that you don’t need complicated ingredients or techniques to create something truly delicious and beautiful. I hope you’ll give this a try and experience the pure joy of homemade strawberry flavor. If you love bright, fruity flavors, you might also want to check out my recipe for homemade blueberry syrup – it’s another pantry essential that’s just as easy and delightful! I can’t wait to hear how you use this strawberry simple syrup. Let me know in the comments below how it turns out and what amazing creations you come up with! Happy syrup-making!
Strawberry Simple Syrup
Ingredients
Main Ingredients
- 2 cups strawberries hulled and sliced
- 1 cup granulated sugar
- 1 cup water
Instructions
Preparation Steps
- Combine sliced strawberries, granulated sugar, and water in a medium saucepan.
- Bring the mixture to a simmer over medium heat, stirring to dissolve the sugar.
- Once simmering, reduce heat to low and let it cook for about 10-15 minutes, stirring occasionally, until the strawberries have softened and released their juices.
- Remove from heat and let the syrup steep for another 10 minutes to infuse the flavor.
- Strain the syrup through a fine-mesh sieve into a clean jar or bottle, pressing gently on the solids to extract as much liquid as possible. Discard the solids.
- Allow the syrup to cool completely before storing it in the refrigerator.
