

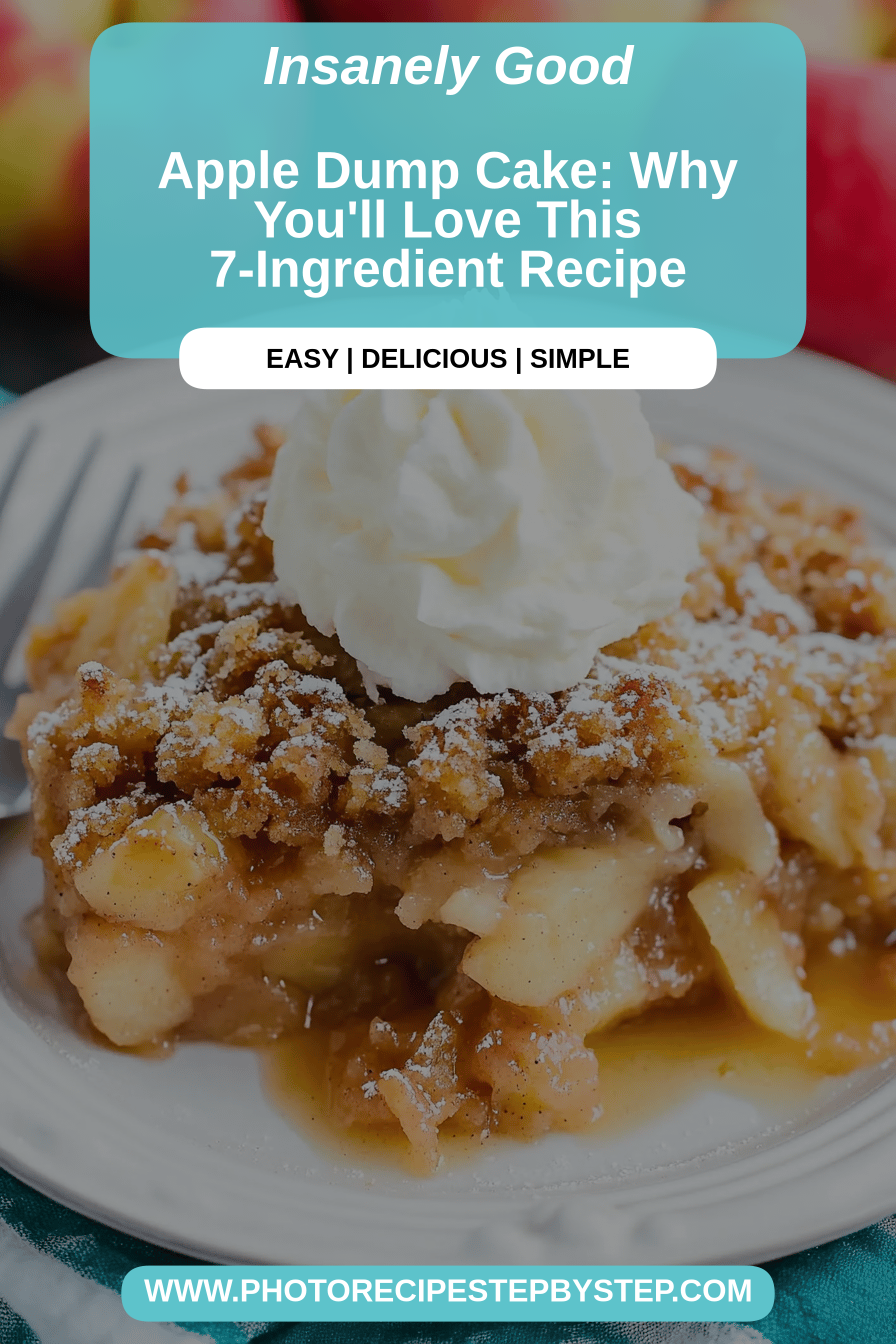
Oh, you guys! I have to tell you about this apple dump cake. It’s become my absolute go-to, especially when the autumn air starts to bite and all I want is something warm, comforting, and bursting with apple-cinnamon goodness. Honestly, it’s the kind of dessert that makes you feel like you’ve accomplished something grand, even if you barely broke a sweat. My family goes absolutely bonkers for it, and it’s gotten to the point where my kids will straight-up ask for “that easy apple cake” when they see the leaves changing. It reminds me a little bit of the classic Apple Pie, but without all the fuss of rolling out dough. If you love a good baked apple dessert but sometimes dread the prep work, then this apple dump cake is going to be your new best friend. It’s seriously that simple, and I promise, the flavor is out of this world!
What is an apple dump cake?
So, what exactly *is* an apple dump cake, you ask? Well, the name pretty much says it all! It’s a dessert where you literally “dump” most of the ingredients into a baking dish and then bake it until it’s bubbly, golden, and irresistible. There’s no creaming butter and sugar, no complicated layering, and definitely no pastry dough to worry about. Think of it as a super-lazy, super-delicious cousin to an apple crisp or apple cobbler. The magic happens because you pour a cake-like batter over a layer of apples, and as it bakes, the batter transforms into this tender, cakey topping that gets all golden and slightly crispy around the edges, while the apples underneath soften and create this luscious, saucy filling. It’s essentially a one-dish wonder that delivers all the cozy flavors we love about fall baking, with practically zero effort.
Why you’ll love this recipe?
There are so many reasons why this apple dump cake has earned a permanent spot in my recipe rotation, and I just know you’re going to fall in love with it too. First off, the flavor! It’s like pure autumnal bliss. You get that warm, comforting hug of baked apples, perfectly spiced with cinnamon and a hint of nutmeg, all topped with this wonderfully tender, golden cake. It’s sweet without being cloying, and the texture contrast between the soft apples and the slightly crisp topping is just divine. What I love most, though, is the sheer simplicity. I’m talking about a recipe that you can whip up on a weeknight when you’re exhausted but still crave something homemade and delicious. It’s a lifesaver! And let’s not forget about the cost-efficiency. Most of the ingredients are pantry staples, making it a really budget-friendly treat. Plus, it’s so versatile! You can easily adapt it for different holidays or even just your mood. While it’s a far cry from a traditional apple pie or a fancy layer cake, this apple dump cake offers a unique kind of magic – pure, unadulterated comfort food that always hits the spot. It’s the kind of recipe that makes people think you spent hours in the kitchen, when in reality, you probably just took about 10 minutes to assemble it.
How do I make [Recipe Name]?
Quick Overview
This apple dump cake is all about simplicity and maximum flavor with minimum fuss. You’ll essentially combine a few key ingredients for the Cake Batter, prepare your apples with warming spices, and then “dump” everything into a baking dish. The oven does the rest, transforming those simple ingredients into a golden, bubbly masterpiece. What makes this method so special is how the cake batter melds with the apples as it bakes, creating an integrated texture that’s utterly comforting. It’s foolproof, even for baking novices, and always results in a showstopper!
Ingredients
For the Main Batter:
- 2 cups all-purpose flour (spooned and leveled) – The foundation for our cakey topping.
- 1 ½ cups granulated sugar – For that perfect sweetness.
- 1 tablespoon baking powder – This is what gives our dump cake that lovely lift.
- 1 teaspoon ground cinnamon – The quintessential fall spice!
- ½ teaspoon ground nutmeg – Adds a little extra warmth and depth.
- ¼ teaspoon salt – Balances out the sweetness.
- 1 cup milk (any kind works, dairy or non-dairy!) – I’ve even tested this with almond milk and it actually made it even creamier!
- ½ cup unsalted butter, melted – The key to a tender, rich crumb.
- 1 teaspoon vanilla extract – For that classic comforting aroma and flavor.
For the Filling:
- 6 cups sliced, peeled apples (about 5-6 medium apples) – I love using a mix of Honeycrisp and Granny Smith for a balance of sweet and tart.
- ½ cup packed light brown sugar – Gives the apples a wonderful caramel-like sweetness.
- 2 tablespoons all-purpose flour – Helps to thicken the apple juices.
- 1 tablespoon lemon juice – Brightens up the apple flavor and prevents browning.
- 1 teaspoon ground cinnamon – More cinnamon, because you can never have too much!
- ½ teaspoon ground ginger (optional, but adds a nice zing!)
For the Glaze:
- ½ cup powdered sugar
- 2-3 tablespoons milk (or water, or even apple cider!)
- ½ teaspoon vanilla extract

Step-by-Step Instructions
Step 1: Preheat & Prep Pan
First things first, get your oven preheated to 375°F (190°C). Grab a 9×13 inch baking dish – any kind will do, glass or metal. You don’t need to grease it meticulously; a light spray of cooking oil or a little butter will be just fine. This dish is going to hold all that deliciousness, so make sure it’s ready to go!
Step 2: Mix Dry Ingredients
In a large bowl, whisk together the 2 cups of all-purpose flour, 1 ½ cups granulated sugar, 1 tablespoon baking powder, 1 teaspoon cinnamon, ½ teaspoon nutmeg, and ¼ teaspoon salt. Make sure everything is really well combined. We want those leavening agents and spices distributed evenly so you don’t get any weird pockets of flavor.
Step 3: Mix Wet Ingredients
In a separate medium bowl, whisk together the 1 cup of milk, ½ cup melted unsalted butter, and 1 teaspoon vanilla extract until smooth. Don’t worry if the butter is still a little warm; it’s actually helpful here.
Step 4: Combine
Now, pour the wet ingredients into the dry ingredients. Stir just until everything is combined and you have a thick, batter-like consistency. Be careful not to overmix! A few small lumps are perfectly okay. Overmixing can make the cake tough, and we definitely don’t want that. This batter will seem quite thick, and that’s exactly what we’re going for.
Step 5: Prepare Filling
In another bowl (yes, another bowl, but it’s worth it!), toss your sliced and peeled apples with ½ cup packed light Brown sugar, 2 tablespoons all-purpose flour, 1 tablespoon lemon juice, 1 teaspoon cinnamon, and ½ teaspoon ginger if you’re using it. Toss gently until the apples are well coated. This step ensures the apples are perfectly seasoned and the filling will have a lovely, syrupy texture.
Step 6: Layer & Swirl
Pour about half of the apple mixture evenly into your prepared baking dish. Then, spoon the cake batter over the apples. Don’t worry about spreading it perfectly; it will spread as it bakes. Now, dollop the remaining apple mixture over the top of the batter. Using a butter knife or a skewer, gently swirl the apples into the batter a few times. This creates those beautiful pockets of apple goodness within the cakey topping. Don’t over-swirl; we just want a hint of marbling.
Step 7: Bake
Pop the dish into your preheated oven. Bake for 35-45 minutes, or until the top is golden brown and a toothpick inserted into the cakey part comes out clean. The edges should be bubbly, and the aroma wafting from your oven will be absolutely heavenly. Keep an eye on it, as oven temperatures can vary.
Step 8: Cool & Glaze
Once it’s out of the oven, let it cool for at least 15-20 minutes. This is crucial! It allows the cake to set and the juices to thicken. While it’s cooling, whisk together the ½ cup powdered sugar, 2-3 tablespoons milk (or water/cider), and ½ teaspoon vanilla extract in a small bowl until you have a smooth, pourable glaze. Drizzle this over the slightly cooled dump cake. If you want a thicker glaze, add more powdered sugar; if you want it thinner, add a tiny bit more liquid.
Step 9: Slice & Serve
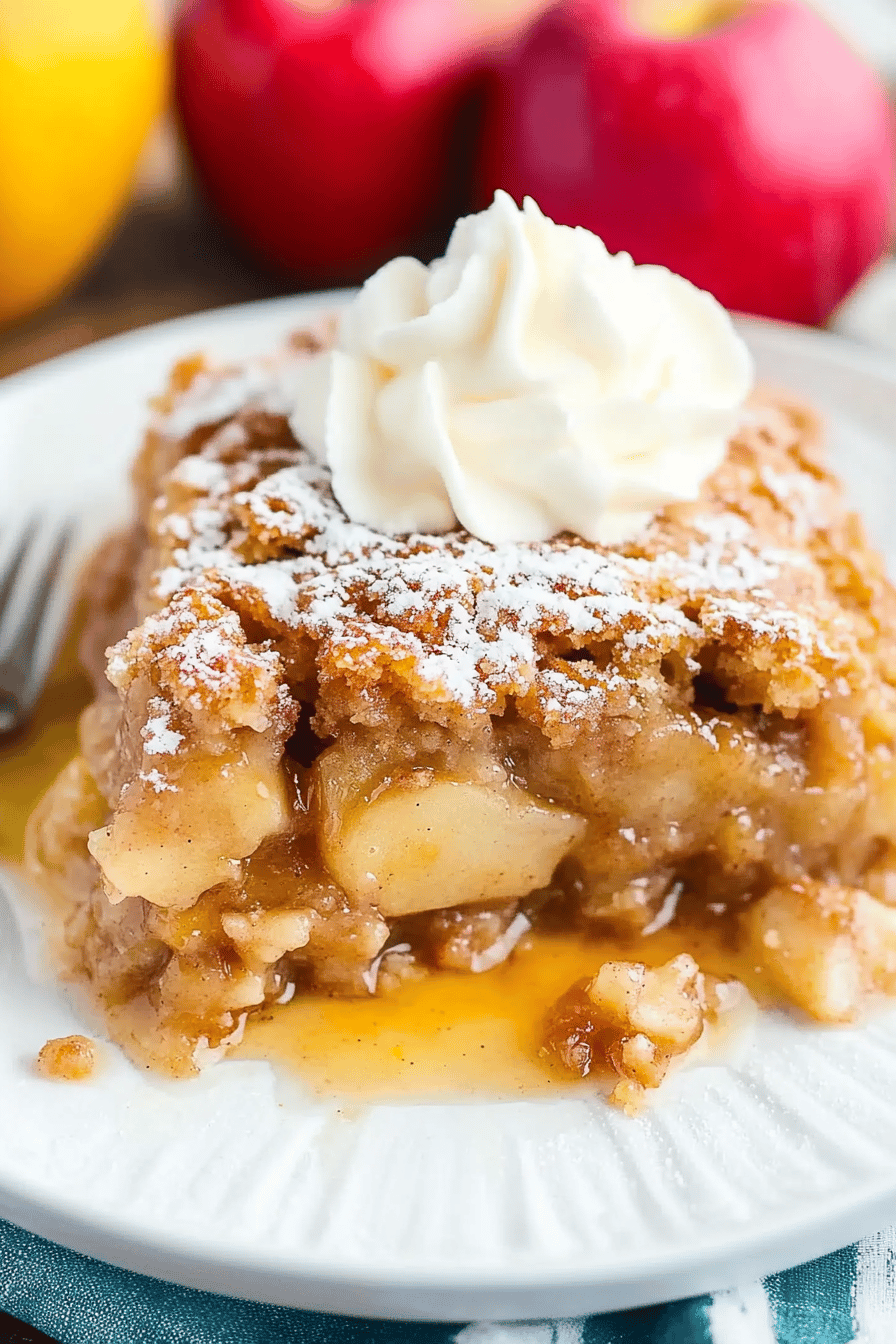
Slice into generous portions and serve warm. It’s absolutely divine on its own, but even better with a scoop of vanilla ice cream or a dollop of whipped cream. Trust me, this apple dump cake is the definition of comfort in a dish!
What to Serve It With
This apple dump cake is so wonderfully versatile; it can really fit into almost any meal or occasion. For a cozy breakfast or brunch, I love serving a warm slice with a strong cup of coffee or a creamy latte. It feels so indulgent and makes for a fantastic start to the day, especially on a chilly weekend morning. For a more elegant brunch spread, I’ll sometimes cut it into smaller, neat squares and arrange them on a platter, perhaps with some fresh berries on the side. As a dessert, it’s a total crowd-pleaser. Imagine serving this after a hearty dinner; it’s the perfect sweet ending. My family’s favorite way is with a generous scoop of good quality vanilla ice cream that melts into the warm cake and apples – pure bliss! For those moments when you just need a sweet pick-me-up, this dump cake is perfect. I’ll often just have a small bowl on its own in the afternoon, maybe with a glass of milk. It’s just that satisfying. I’ve even served it at holiday gatherings, and it always gets rave reviews and disappears in minutes. The warm apple and cinnamon aromas fill the house and instantly create a festive atmosphere.
Top Tips for Perfecting Your [Recipe Name]
I’ve made this apple dump cake more times than I can count, and over the years, I’ve picked up a few little tricks that I think make it even better. When it comes to the apples, don’t shy away from using a mix of varieties. Honeycrisp for sweetness and a slight crunch, and Granny Smith for that perfect tartness really balance each other out beautifully. Make sure you peel them though; the skins can get a bit tough in this style of baking. I also find that slicing them about ¼-inch thick works best – too thin and they’ll turn to mush, too thick and they might not cook through completely. For the batter, the key is not to overmix it. Seriously, just stir until it’s *barely* combined. You want to avoid developing the gluten too much, otherwise, your topping can become dense or gummy. A few lumps are your friend here! When you’re layering, don’t stress about making it look perfect. The swirling is where you can get creative! I usually just use a butter knife and make a few figure-eights through the batter and apples. It creates those lovely pockets of apple goodness, but doesn’t disrupt the cake batter too much. If you’re feeling adventurous with ingredient swaps, I’ve experimented with adding chopped pecans or walnuts to the apple filling for a little extra crunch – it’s delicious! For the baking, keep an eye on your oven. If your topping is browning too quickly before the center is cooked, you can loosely tent the dish with foil. And that glaze? It’s optional, but highly recommended! If you want a thinner glaze, add milk a teaspoon at a time until you reach your desired consistency. For a richer flavor, you can even swap out some of the milk for apple cider or a splash of rum (if you’re feeling fancy!).
Storing and Reheating Tips
This apple dump cake is incredibly forgiving when it comes to storing and reheating, which is another reason why I love it so much. If you happen to have any leftovers (which is rare in my house!), you can store it right in the baking dish. Covered tightly with plastic wrap or foil, it will keep well at room temperature for about a day, though I prefer to refrigerate it if it’s going to be longer than that, especially in warmer weather. In the refrigerator, it will stay fresh for up to 3-4 days. The flavors actually meld and deepen a bit overnight, making it even tastier the next day! When you’re ready to reheat, you’ve got a few options. For a single serving, a quick zap in the microwave usually does the trick, just about 30-60 seconds until warmed through. If you want to reheat a larger portion or get that lovely crispness back on top, pop the baking dish in a preheated oven at 300°F (150°C) for about 10-15 minutes, or until heated through. I often reheat mine uncovered so the topping doesn’t get soggy. Regarding the glaze, I always recommend adding it *after* the cake has cooled a bit and right before serving, or after reheating. If you glaze it and then store it for a long time, the glaze can sometimes get a little sticky or absorb too much moisture. For freezing, I haven’t personally frozen this baked dump cake as it’s usually devoured quickly, but I imagine it would freeze reasonably well. You’d want to cool it completely, then wrap it very tightly in plastic wrap and then foil. It should keep its quality for about 2-3 months. Thaw it overnight in the refrigerator and then reheat as usual. Freezing it without the glaze is probably best, then add a fresh glaze after reheating.
Frequently Asked Questions
Final Thoughts
So there you have it – my favorite apple dump cake! It’s proof that you don’t need to be a master baker to create something truly delicious and heartwarming. This recipe has saved me on so many occasions when guests popped over unexpectedly or when I just had a craving for something sweet and comforting. The ease with which it comes together, combined with that incredible taste of warm, spiced apples topped with a tender cake, is just unbeatable. It’s a recipe that brings joy, comfort, and that wonderful feeling of home. If you’re looking for other simple yet satisfying desserts, you might also enjoy my easy banana bread or my no-bake chocolate cheesecake. But for now, give this apple dump cake a try. I honestly can’t wait to hear what you think, and I’d love to see your creations if you share them on social media! Tag me, or leave a comment below with your own tips and tricks. Happy baking, everyone!
Easy Apple Dump Cake
Ingredients
Main Ingredients
- 6 pounds apples peeled, cored, and sliced (like Honeycrisp, Gala, or Fuji)
- 0.5 cup butter melted
- 1 box yellow cake mix 15.25 oz
- 1 cup caramel sauce warmed
Instructions
Preparation Steps
- Preheat your oven to 375 degrees F (190 degrees C). Lightly grease a 9x13 inch baking dish.
- Spread the sliced apples evenly into the prepared baking dish.6 pounds apples
- Pour the melted butter over the apples.6 pounds apples
- Evenly sprinkle the dry yellow cake mix over the buttered apples.6 pounds apples
- Drizzle the warmed caramel sauce over the cake mix.6 pounds apples
- Bake for 35-40 minutes, or until the topping is golden brown and the apples are bubbly. If the top starts to brown too quickly, you can loosely tent it with foil.
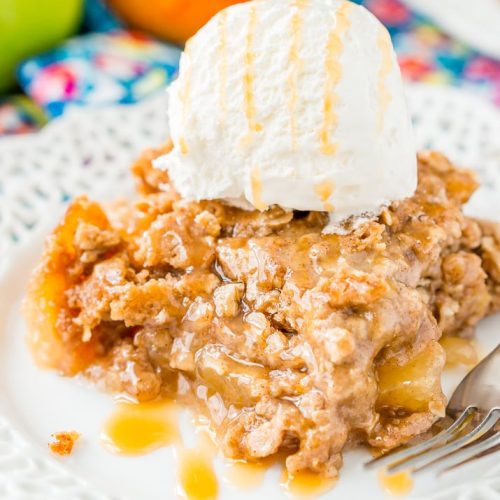
- Let the dump cake cool slightly before serving. It's delicious served warm with vanilla ice cream or whipped cream.
