
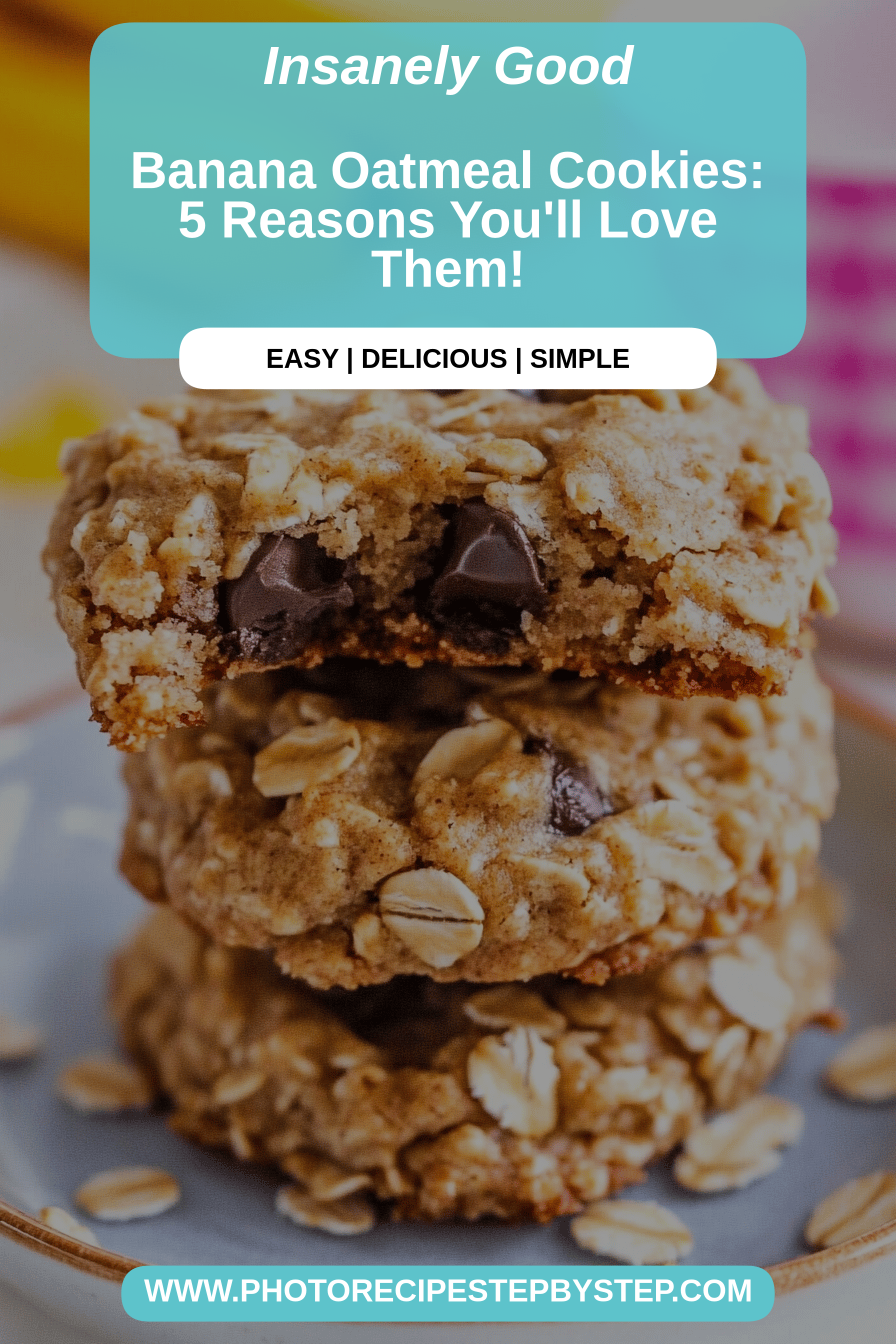
There are certain recipes that just feel like home, you know? For me, these banana Oatmeal Cookies are exactly that. They’re not fussy, they don’t require a million fancy ingredients, and they always, always turn out wonderfully. Honestly, they remind me a little of my grandma’s apple crisp, but in a handheld, perfectly portable package. It’s that comforting, slightly sweet, wholesome goodness that just makes you feel good from the inside out. I first started making these when my kids were little and I needed a quick, healthy-ish snack that they’d actually eat without complaint. Fast forward a few years, and they’re still a constant request! These banana oatmeal cookies are my secret weapon for busy mornings, after-school treats, or even a late-night craving when I don’t want to commit to a whole cake. They’re simple enough that even a beginner baker can nail them, and delicious enough that seasoned bakers will keep coming back.
What are banana oatmeal cookies?
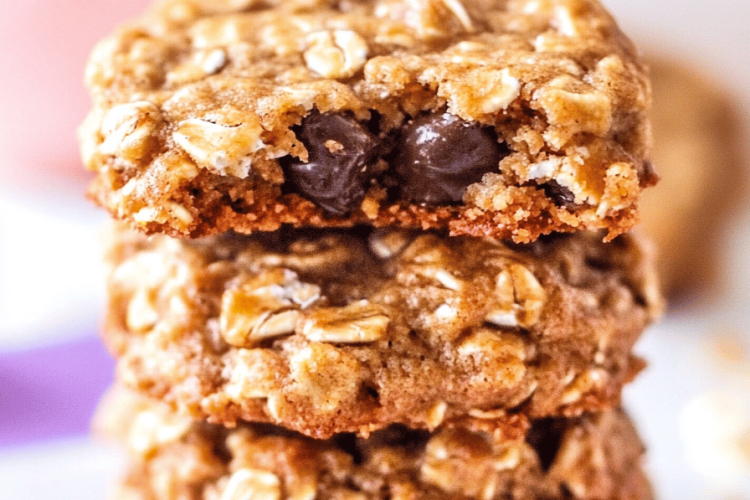
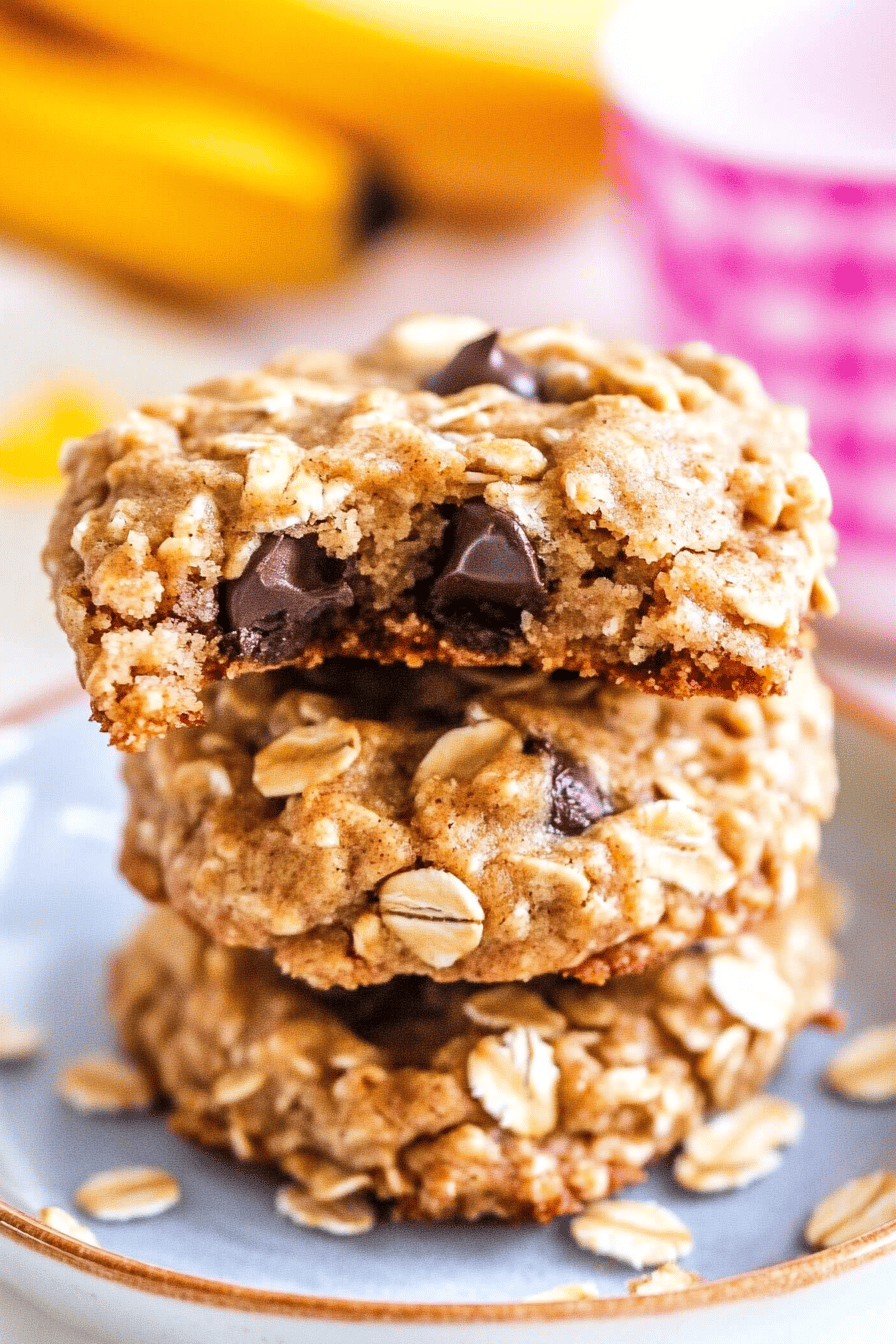
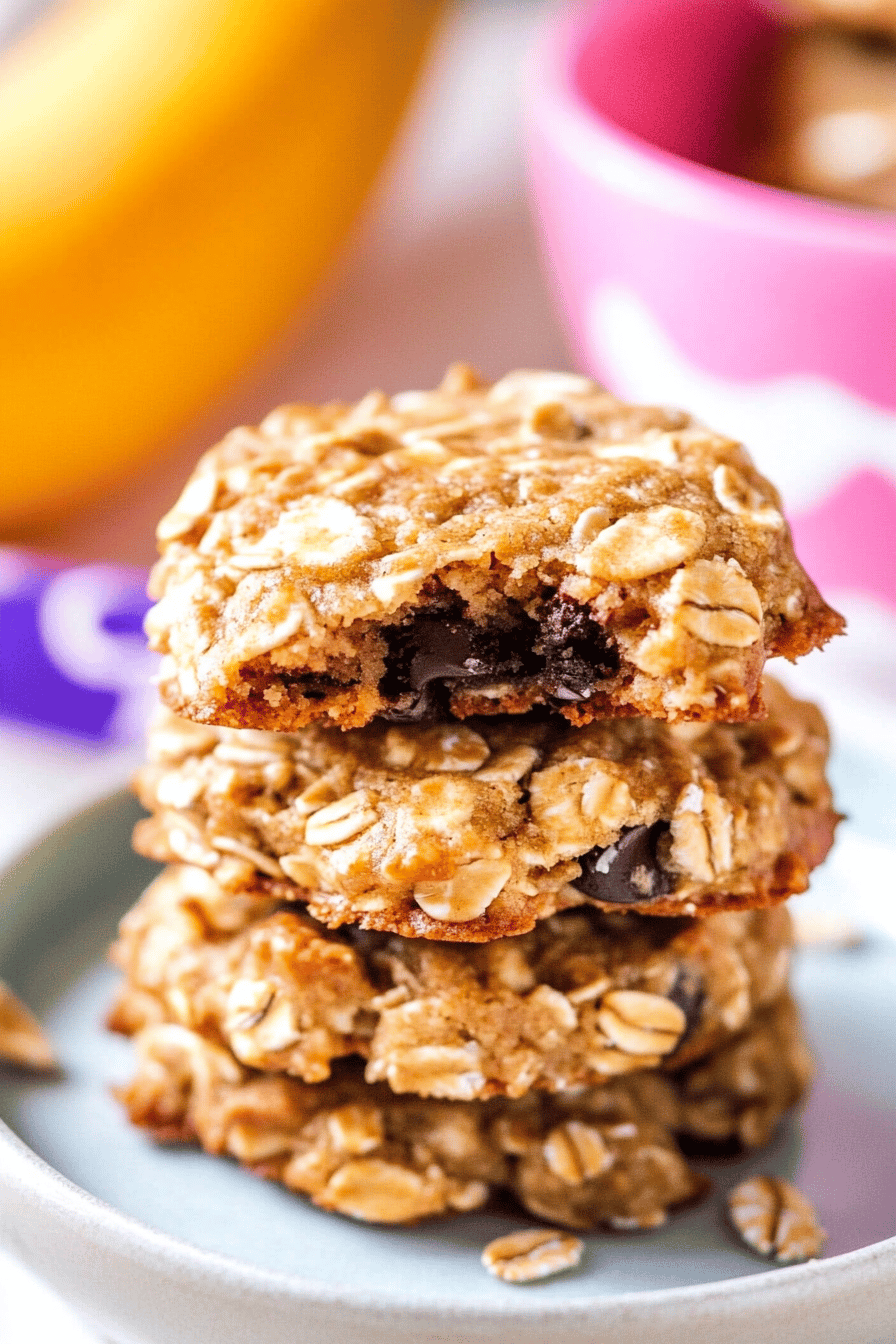
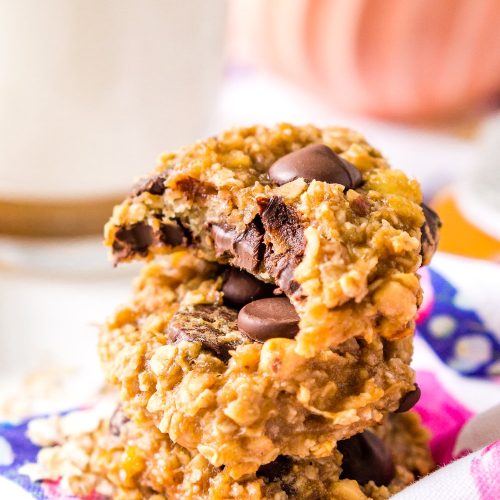
So, what exactly are these magical little things? Think of them as a super-easy, naturally sweet, chewy cookie that’s packed with goodness. They’re essentially a marriage between your classic oatmeal cookie and the beloved banana bread. Instead of relying heavily on refined sugars and butter, we let ripe bananas work their magic, providing moisture, sweetness, and that signature comforting flavor. The oats give them a wonderful chewy texture and a hearty feel. They’re not overly sweet like some store-bought cookies, which is precisely why I love them. They’re the kind of cookie that feels indulgent but doesn’t leave you feeling heavy. It’s a simple concept, really: mash some ripe bananas, mix in oats and a few pantry staples, and bake them into golden perfection. It’s the kind of thing that makes your kitchen smell amazing while they’re baking, a scent that’s pure comfort.
Why you’ll love this recipe?
Oh, where do I even start with why you’ll absolutely adore these banana oatmeal cookies? First off, the FLAVOR is just divine. You get that warm, cozy sweetness from the bananas, perfectly complemented by the nutty depth of the oats. It’s a gentle sweetness, not overwhelming, so you can really taste the wholesome ingredients. Then there’s the SIMPLICITY. Seriously, if you can mash a banana and stir things together, you can make these. I’ve whipped up batches of these cookies on a Tuesday evening with a million other things to do, and they were ready before dinner. They are incredibly forgiving, which is a huge plus in my book. Plus, they’re wonderfully COST-EFFECTIVE. Most of the ingredients are pantry staples you likely already have: bananas, oats, a little flour, some cinnamon. No expensive extracts or specialty items needed! And the VERSATILITY? It’s a baker’s dream. You can add chocolate chips, nuts, dried fruit – the possibilities are endless. I’ve even made them with a sprinkle of cinnamon sugar on top before baking, which is divine. They stand out from other cookies because they offer that satisfying chewiness of an oatmeal cookie but with the moist, tender crumb and natural sweetness that only ripe bananas can provide. It’s a delightful departure from the usual, and that’s why they’ve earned a permanent spot in my recipe rotation. They’re a hug in cookie form, and who doesn’t need that?
How do you make banana oatmeal cookies?
Quick Overview
Making these banana oatmeal cookies is a breeze! You’ll simply mash your ripe bananas, then whisk together your dry ingredients. Next, you’ll combine the wet and dry, fold in any mix-ins you fancy, drop spoonfuls onto a baking sheet, and bake until golden brown. It’s a straightforward process that delivers incredibly satisfying results. The beauty lies in its simplicity and how few steps separate you from a warm, delicious cookie. Trust me, the aroma filling your kitchen will be worth it!
Ingredients
For the Main Batter:
* 2-3 very ripe bananas, mashed (about 1 to 1 ¼ cups). The riper, the sweeter and more flavorful! Look for those speckled brown ones.
* 1 ½ cups rolled oats (old-fashioned oats work best for texture; quick oats can make them a bit mushy).
* ½ cup all-purpose flour (or a gluten-free blend if you prefer).
* ½ teaspoon baking soda.
* ½ teaspoon ground cinnamon (or more if you’re a cinnamon lover like me!).
* ¼ teaspoon salt.
* 1 teaspoon vanilla extract (optional, but it really boosts the flavor).
* 2 tablespoons melted coconut oil or unsalted butter (or any neutral oil). I sometimes use a light olive oil in a pinch, and it works too!
* Optional: ½ cup chocolate chips, chopped nuts, or dried cranberries.
For the Filling:
[This recipe doesn’t traditionally have a separate filling, but if you’re feeling adventurous, you could add a swirl of Peanut Butter or a dollop of fruit jam to the center before baking!]
For the Glaze:
* ½ cup powdered sugar.
* 1-2 tablespoons milk (dairy or non-dairy) or lemon juice.
* A tiny pinch of salt.
* Optional: a drop of vanilla extract.
Step-by-Step Instructions
Step 1: Preheat & Prep Pan
First things first, let’s get your oven preheated to 350°F (175°C). While the oven is warming up, grab a couple of baking sheets and line them with parchment paper. This is a trick I learned years ago to make cleanup a breeze and ensure your cookies don’t stick. You want a non-stick surface so those beautiful cookies slide right off.
Step 2: Mix Dry Ingredients
In a medium-sized bowl, whisk together your rolled oats, flour, baking soda, cinnamon, and salt. Giving them a good whisk ensures that the leavening agent (baking soda) and the spices are evenly distributed throughout the dry ingredients. This is important for consistent baking and flavor in every single bite. You’re looking for a nice, uniform mixture.
Step 3: Mix Wet Ingredients
In a larger bowl, mash your very ripe bananas until they’re nice and smooth. You want them to be as lump-free as possible. Then, stir in the melted coconut oil (or butter/oil) and the vanilla extract, if you’re using it. Give it a good stir until everything is well combined.
Step 4: Combine
Now, it’s time to bring it all together! Pour the dry ingredients into the bowl with the wet ingredients. Gently fold them together using a spatula or wooden spoon until just combined. Be careful not to overmix! Overmixing can lead to tougher cookies, and we want these to be wonderfully chewy and tender. Stop as soon as you don’t see any dry flour streaks. If you’re adding chocolate chips or nuts, gently fold them in now.
Step 5: Prepare Filling (Optional)
If you’re feeling fancy and want a little surprise inside, this is the time to prep your “filling.” For a Peanut Butter swirl, you can warm a few tablespoons of peanut butter slightly so it’s easier to drizzle. For jam, just have your favorite ready to go. We’ll incorporate this in the next step!
Step 6: Layer & Swirl (If Adding Filling)
If you’re going with the extra filling, drop spoonfuls of the cookie dough onto your prepared baking sheets first. Then, gently add a small dollop of peanut butter or jam to the center of each cookie dough mound. You can then use a toothpick to swirl it in slightly, or just leave it as a lovely surprise center. Don’t over-swirl, or it might get messy! If you’re not adding a filling, just proceed to the next step of shaping the cookies.
Step 7: Bake
Drop rounded spoonfuls of the cookie dough onto your prepared baking sheets, leaving about 2 inches between them. I usually use a tablespoon or a cookie scoop for consistency. Gently flatten the tops slightly with the back of your spoon. Bake for 12-18 minutes, or until the edges are golden brown and the centers are set. The exact time will depend on your oven and how large you make your cookies, so keep an eye on them. They might look a little soft in the middle when they come out, but they’ll firm up as they cool.
Step 8: Cool & Glaze
Once baked, let the cookies cool on the baking sheets for about 5-10 minutes. This is important because they are delicate when hot. Then, carefully transfer them to a wire rack to cool completely. While they’re cooling, whisk together your powdered sugar, milk (or lemon juice), salt, and vanilla extract until you have a smooth, drizzly glaze. If it’s too thick, add a tiny bit more liquid; if it’s too thin, add a bit more powdered sugar. Once the cookies are fully cooled, drizzle the glaze over them. This is optional, but it adds a lovely touch!
Step 9: Slice & Serve
And there you have it! Your delicious banana oatmeal cookies are ready to be devoured. They’re perfect warm, at room temperature, or even slightly chilled. Slice them in half if you want to share (though I wouldn’t blame you if you kept them all to yourself!). They look especially lovely with that little drizzle of glaze.
What to Serve It With
These banana oatmeal cookies are wonderfully versatile, and honestly, they’re amazing all on their own! But if you’re looking to pair them with something, I’ve got a few ideas that I’ve tried and loved. For a simple BREAKFAST treat, they are fantastic alongside a hot cup of coffee or a steaming mug of tea. I often pack a couple in my lunch bag to enjoy mid-morning. For a lovely BRUNCH spread, they can add a touch of sweetness to a more savory spread. Imagine them nestled on a platter with fresh fruit, yogurt parfaits, and maybe some mini quiches. A glass of cold milk or a light sparkling juice would be perfect here. As a sweet DESSERT, they’re a lighter alternative to heavier cakes or pies. I love them with a scoop of vanilla bean ice cream or a drizzle of chocolate sauce. And for those COZY SNACKS, they are absolutely perfect with a warm cup of hot chocolate on a chilly evening, or just enjoyed with a glass of milk while curled up with a good book. My kids absolutely love them with their afternoon milk, and they disappear in minutes! They’re also a hit at potlucks and picnics because they travel so well. Just about any time you’re craving something sweet and comforting, these cookies will hit the spot.
Top Tips for Perfecting Your Banana Oatmeal Cookies
I’ve made these banana oatmeal cookies more times than I can count, and over the years, I’ve picked up a few tricks that I think make them even better. Here are my top tips to ensure your cookies turn out perfectly every time! First, the ZUCCHINI PREP – wait, I mean BANANA PREP! Ha! Funny slip. The key is using *very ripe* bananas. I’m talking the ones with lots of brown spots, almost black. They’re naturally sweeter and mash into a wonderfully smooth consistency. Don’t be afraid of them; they are your flavor powerhouses here! For MIXING ADVICE, remember my warning about overmixing. Just stir until the dry ingredients are incorporated. If you see streaks of flour, keep going, but stop as soon as it’s gone. Overmixing develops the gluten too much, which can lead to tough cookies, and we want tender, chewy goodness. For SWIRL CUSTOMIZATION (if you add chocolate chips or nuts), try to distribute them evenly as you fold them in. It ensures you get a lovely bit of chocolate or crunch in every bite. For INGREDIENT SWAPS, I’ve found that you can successfully swap the coconut oil for melted butter or a neutral vegetable oil (like canola or sunflower) with great results. If you’re out of all-purpose flour, a 1:1 gluten-free baking blend usually works just fine, but always check the blend’s specifics. For BAKING TIPS, I always recommend baking them on the middle rack of your oven. This provides the most even heat. If your oven tends to run hot, you might want to reduce the temperature by 10-15 degrees or shorten the baking time slightly. Always trust your eyes and the smell of your kitchen – when they’re golden brown around the edges and smell amazing, they’re likely done! For GLAZE VARIATIONS, if you find the glaze too sweet, a squeeze of lemon juice cuts through it beautifully. Alternatively, you can skip the glaze altogether and just dust them with a little powdered sugar or cinnamon sugar once cooled. I once accidentally used lime juice instead of lemon in the glaze, and it was surprisingly delicious! So don’t be afraid to experiment a little.
Storing and Reheating Tips
These banana oatmeal cookies are quite sturdy, which is one of the reasons I love them so much for meal prep and snacks. If you’re storing them at ROOM TEMPERATURE, keep them in an airtight container. They should stay fresh and delicious for about 3-4 days. The oats and bananas give them a good shelf life, but I find they are best within the first couple of days. For REFRIGERATOR STORAGE, they’ll last even longer, about a week. Again, an airtight container is key. They’ll firm up a bit in the fridge, which I actually quite like – they have a satisfying chew. For FREEZER INSTRUCTIONS, these cookies freeze beautifully! You can freeze them either baked or as dough balls. If freezing baked cookies, wrap them tightly in plastic wrap, then place them in a freezer-safe bag or container. They’ll keep well for up to 2-3 months. To thaw, simply let them come to room temperature on the counter. If you’re freezing the dough, scoop the cookie dough balls onto a parchment-lined baking sheet, freeze until solid, then transfer them to a freezer bag. You can then bake them directly from frozen, adding a few extra minutes to the baking time. GLUE TIMING ADVICE: I always recommend applying the glaze *after* the cookies have cooled completely, especially if you plan to store them. If you glaze them while warm, the glaze will melt and become messy. For cookies going into the freezer, I’d suggest glazing them *after* they’ve thawed to keep the glaze looking its best.
Frequently Asked Questions
Final Thoughts
There you have it – my beloved banana oatmeal cookies! I truly hope you give these a try. They’re more than just a recipe; they’re a little bit of comfort, a touch of nostalgia, and a whole lot of simple deliciousness. They’re proof that you don’t need complicated steps or fancy ingredients to make something truly wonderful. These cookies are proof that sometimes, the simplest things are the most special. If you loved these, you might also enjoy my Fluffy Blueberry Pancakes for another breakfast favorite, or perhaps my No-Bake Energy Bites for more wholesome snack ideas. Let me know in the comments below how your banana oatmeal cookies turned out! I’d love to hear about any variations you tried or how your family enjoyed them. Happy baking, and may your kitchen always smell as delightful as mine does when these are in the oven!
Banana Oatmeal Cookies
Ingredients
Main Ingredients
- 2 medium ripe bananas
- 1.5 cup rolled oats
- 0.5 cup all-purpose flour
- 0.5 teaspoon baking soda
- 0.25 teaspoon cinnamon
- 0.125 teaspoon salt
- 0.5 cup chocolate chips optional
Instructions
Preparation Steps
- Preheat oven to 350°F (175°C). Line a baking sheet with parchment paper.
- In a large bowl, mash the ripe bananas until smooth.
- Stir in the rolled oats, flour, baking soda, cinnamon, and salt. Mix until just combined.
- If using, fold in the chocolate chips.
- Drop rounded tablespoons of dough onto the prepared baking sheet.
- Bake for 10-14 minutes, or until the edges are golden brown and the centers are set.
- Let cool on the baking sheet for a few minutes before transferring to a wire rack to cool completely.
