
There are certain smells that just hug you from the inside out, aren’t there? The aroma of cinnamon wafting through the house on a crisp autumn afternoon, or the rich, decadent scent of chocolate baking – it’s pure comfort. This recipe for a hot chocolate bar isn’t just a dessert; it’s an experience, a warm embrace on a chilly evening, and honestly, it’s my absolute go-to when I need a little magic in my life. Forget those instant packets, friends, we’re talking about the real deal here, a velvety smooth, deeply chocolatey concoction that will have your taste buds singing. It’s the kind of treat that makes even the most chaotic days feel a little bit brighter, and let me tell you, my kids ask for this hot chocolate bar at least once a week, especially when the snow starts to fall. It rivals any fancy coffee shop drink I’ve ever tried, but it’s so much more personal and way more fun.
What is hot chocolate?
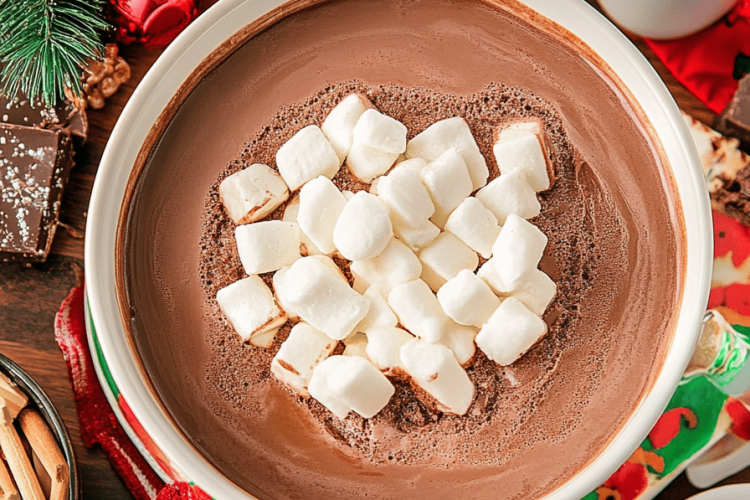
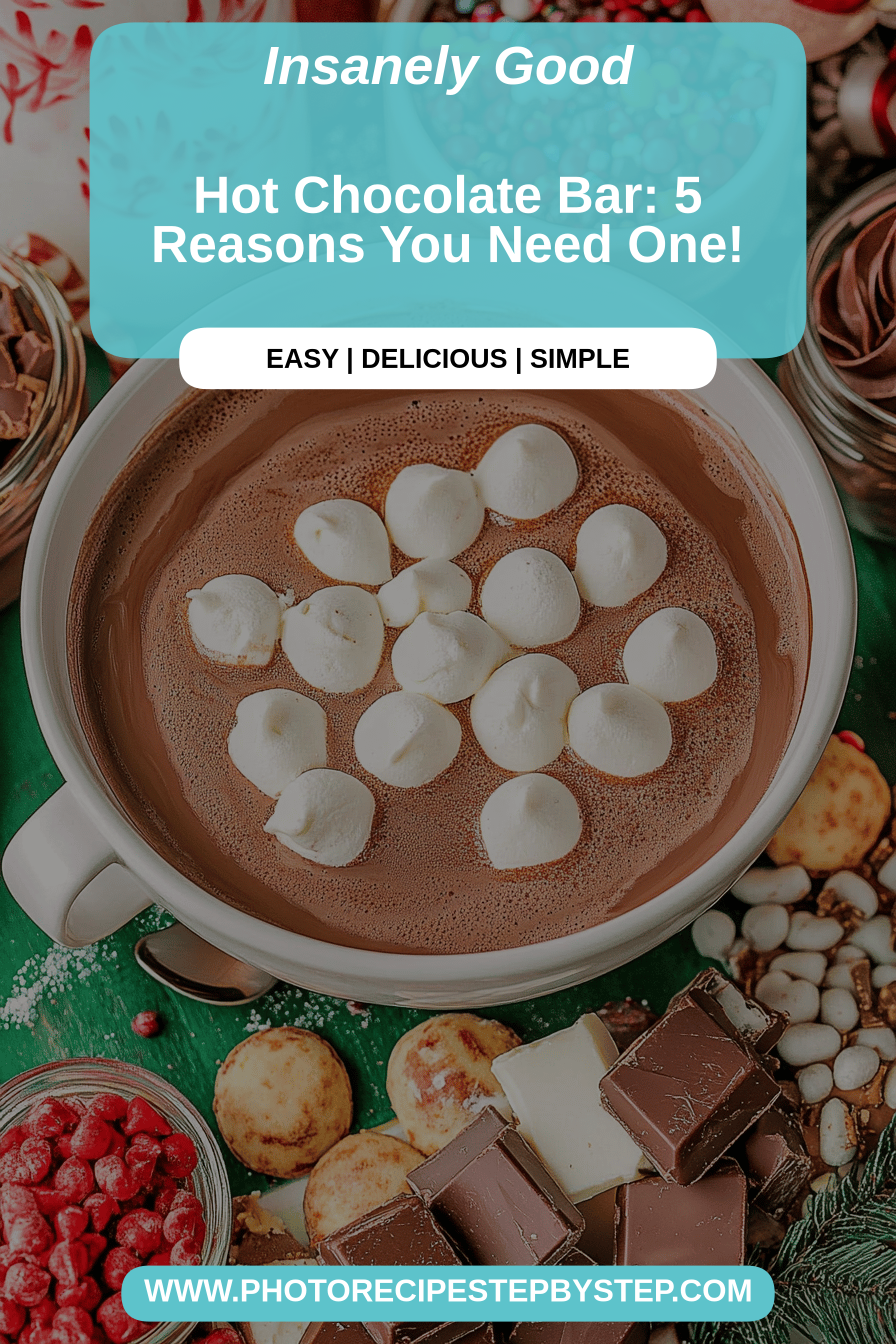
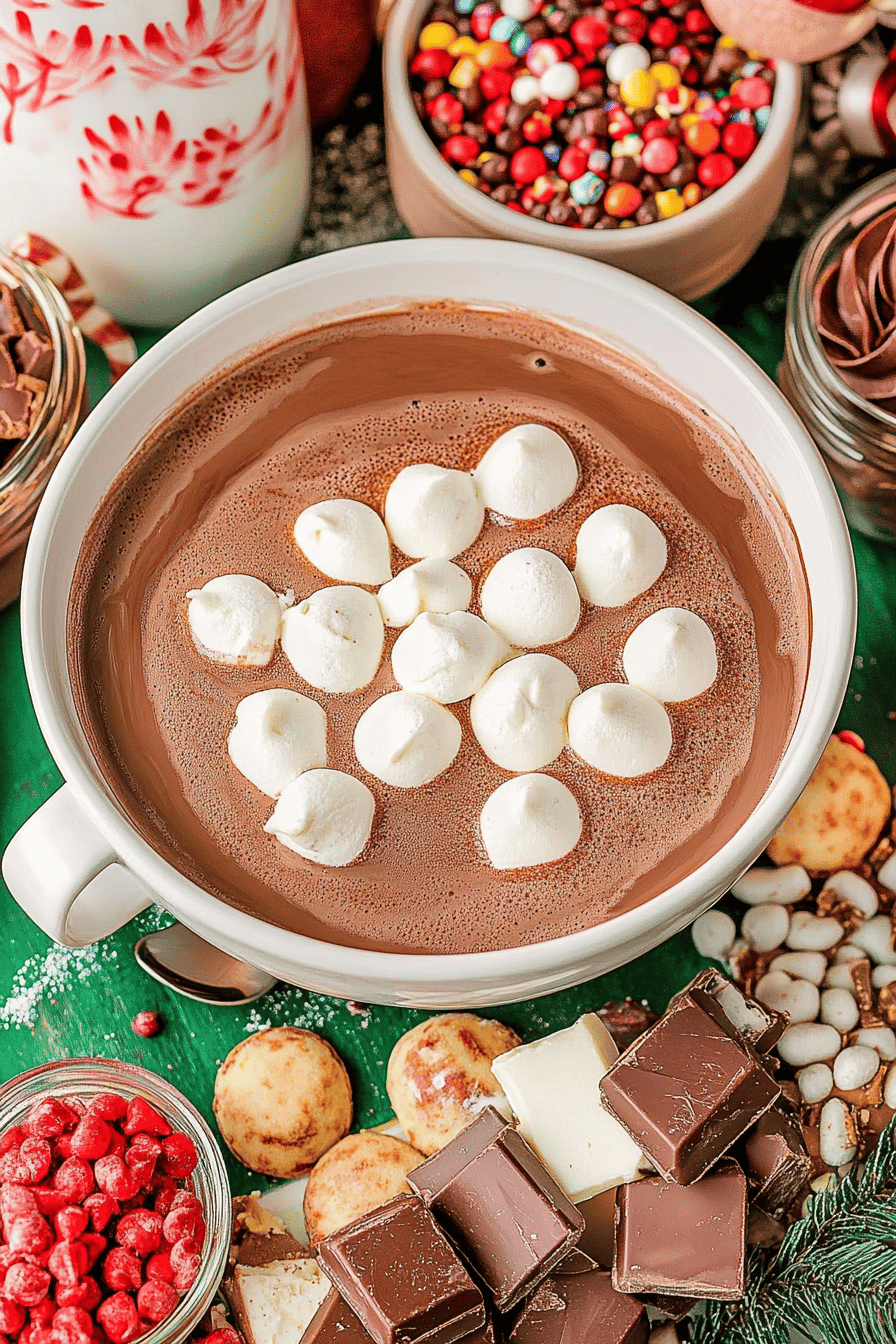
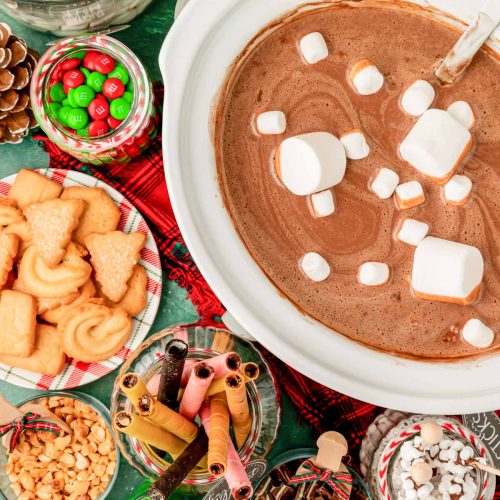
So, what exactly is a hot chocolate bar? Think of it as the ultimate DIY dessert experience, but instead of building a pizza or a taco, you’re crafting your perfect cup of hot chocolate. It’s a station set up with a base of incredibly rich, homemade hot chocolate, surrounded by an array of delicious toppings and mix-ins that let everyone customize their own mug of cozy. It’s essentially taking the simple joy of a warm drink and elevating it to a full-blown celebration. The idea is to have a warm, decadent hot chocolate ready to go, and then let your guests (or your family!) go wild with the possibilities. It’s less about a strict recipe and more about creating an atmosphere of fun and deliciousness. It’s playful, interactive, and endlessly adaptable, making it perfect for everything from casual family nights to holiday gatherings.
Why you’ll love this recipe?
Oh, where do I even begin with why I adore this hot chocolate bar setup? First and foremost, the flavor is just out of this world. We’re talking about a deep, complex chocolate taste that’s not too sweet, with just the right amount of richness. It’s the kind of chocolate flavor that makes you close your eyes and savor every sip. And the simplicity! Honestly, it’s surprisingly easy to whip up the base. You don’t need fancy ingredients or a culinary degree. It’s mainly pantry staples that come together in less time than it takes to decide which movie to watch. Plus, it’s so incredibly cost-effective compared to buying gourmet hot chocolate mixes or going out for fancy drinks. The real magic, though, is its versatility. You can tailor it to anyone’s preferences. If you love Dark Chocolate, you can lean into that. Prefer milk chocolate? Easy. Want a hint of spice? We’ve got you covered. This is a recipe that truly shines because it allows for so much personalization. I’ve tried making other hot chocolates before, and they always felt a little… flat. This one, though, has a depth and creaminess that just keeps me coming back for more. It’s the perfect solution when you’re craving something sweet at 10 pm but don’t want to bake a whole cake – it feels indulgent without being a huge commitment.
How do I make [Recipe Name]?
Quick Overview
The heart of our hot chocolate bar is a luxuriously smooth, rich hot chocolate base. We’ll gently heat milk with high-quality cocoa powder and sugar, then whisk in real chocolate for an unbelievably decadent flavor. The beauty of this method is its simplicity; it’s much faster than you’d think and results in a taste miles beyond anything from a packet. Once the base is ready, the fun really begins as you lay out all the goodies for your guests to create their dream mug!
Ingredients
For the main hot chocolate base: 1 tsp. For the main hot chocolate base: 1 tsp. For
We start with good quality whole milk – I find it gives the creamiest texture, but you can certainly experiment with 2% or even a rich dairy-free alternative like oat milk (I tested this with oat milk and it actually made it even creamier!). You’ll need about 6 cups of milk for a good batch. Then, for that intense chocolate flavor, we use unsweetened cocoa powder – about 1/2 cup. Don’t skimp on quality here; Dutch-processed cocoa powder will give you a smoother, less acidic chocolate taste. For sweetness, about 1/2 cup of granulated sugar is a good starting point, but you can always adjust this to your liking. And here’s my secret weapon for extra richness: 4 ounces of good quality dark chocolate (60-70% cacao), finely chopped. Melting this in adds a whole new dimension of flavor and luxurious texture. A pinch of salt is crucial too; it really helps to bring out the chocolate flavor. And for a hint of warmth, a teaspoon of vanilla extract stirred in at the end.
For the Toppings Bar:
This is where the real fun happens! I always have a few staples:
- Whipped cream: Homemade is best, but a good quality store-bought one works in a pinch.
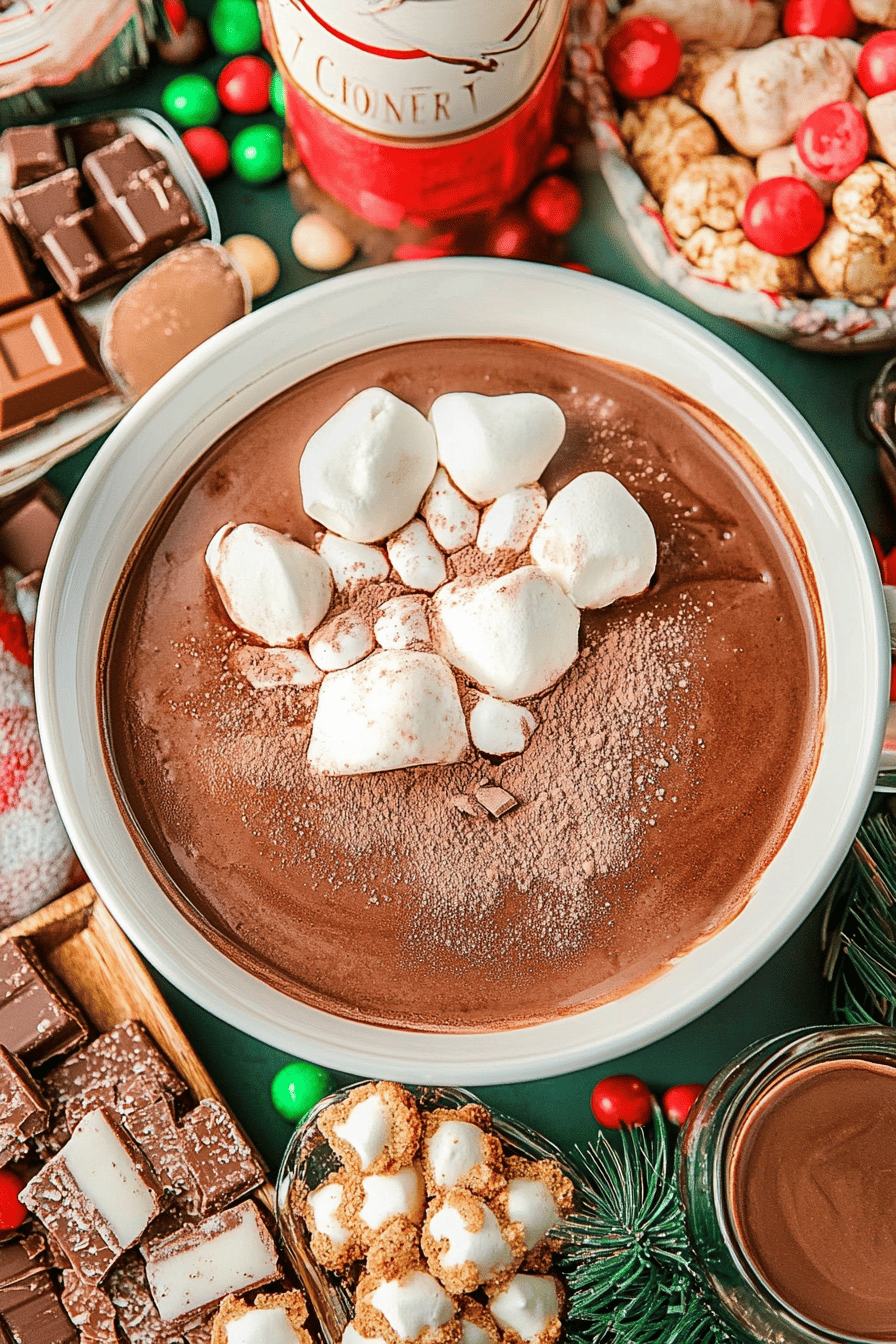
- Mini marshmallows: A classic for a reason!
- Chocolate shavings or mini chocolate chips: For that extra chocolatey punch.
- Caramel sauce or dulce de leche: Drizzled on top or mixed in.
- Peppermint sticks or crushed candy canes: Especially wonderful during the holidays.
- Flavored syrups: Like caramel, hazelnut, or even raspberry.
- Sprinkles: For a pop of color and fun!
- Dusted cocoa powder or cinnamon: For a subtle, aromatic finish.
- Salted Caramel bits: A personal favorite for a sweet and salty kick.
- Chopped nuts: Like toasted pecans or walnuts for crunch.
Get creative! You can also add things like a sprinkle of chili powder for a Mexican hot chocolate vibe, or some orange zest for a chocolate-orange twist. The possibilities are truly endless.
For the Filling (Optional but highly recommended!):
If you want to take it up another notch, consider a flavored filling. A dollop of chocolate ganache at the bottom of the mug before you pour the hot chocolate adds an extra layer of decadence. Or, a swirl of Peanut Butter – just warm it up slightly so it’s pourable. A few raspberries or some cherry compote can also add a beautiful fruity contrast.
Step-by-Step Instructions
Step 1: Preheat & Prep Pan
First things first, grab a good-sized saucepan – something sturdy that can handle medium heat. You don’t need to grease or prepare it in any special way for the hot chocolate base itself. Just make sure it’s clean and ready to go. I usually have my mugs lined up nearby, ready for their cozy contents.
Step 2: Mix Dry Ingredients
In your saucepan, before you turn on any heat, whisk together the unsweetened cocoa powder, granulated sugar, and that pinch of salt. Whisking them together while they’re dry helps to break up any clumps in the cocoa powder and ensures they’re evenly distributed before the milk goes in. This is a small step, but it really makes a difference in achieving a super smooth, lump-free hot chocolate.
Step 3: Mix Wet Ingredients
Now, pour in about 1 cup of the milk. Whisk this into the dry ingredients until you have a smooth, thick paste. This is called a cocoa slurry, and it’s key to preventing lumps later on. Once you have that lovely smooth paste, gradually whisk in the remaining milk until everything is well combined.
Step 4: Combine
Turn the heat under the saucepan to medium. Stir constantly as the milk heats up. You don’t want to boil it, just bring it to a gentle simmer. Once it’s warm and steamy, add in your finely chopped dark chocolate. Keep stirring gently until the chocolate is completely melted and incorporated, making the mixture even richer and glossier. This usually takes about 5-8 minutes. If you notice any small bits of chocolate not melting, you can turn the heat down even lower and continue stirring. Don’t rush this part!
Step 5: Prepare Filling
While the hot chocolate base is warming, get your optional fillings ready. If you’re using a ganache, melt some chocolate with a bit of cream. If you’re using Peanut Butter, warm it slightly in a small saucepan or microwave until it’s pourable. Have your caramel sauce and any other liquid toppings ready to go in small squeeze bottles or bowls.
Step 6: Layer & Swirl
This step is all about the presentation and that extra bit of indulgence! If you’re using a filling, add a tablespoon or two to the bottom of each mug. Then, carefully pour the hot chocolate base over the filling. You can even do a gentle swirl with a skewer if you want to create a marbled effect, though it’s not necessary.
Step 7: Bake
There’s no baking required for the hot chocolate itself! The process is all stovetop. Just ensure you’re cooking it over medium heat and stirring constantly to prevent scorching. The total cooking time for the base is usually around 10-15 minutes until it’s hot and the chocolate is melted through.
Step 8: Cool & Glaze
Once your hot chocolate base is ready, stir in the vanilla extract. Taste it and adjust sweetness if needed – you can add a little more sugar or even a touch of maple syrup if you prefer. If you’re using a glaze as a topping (like a chocolate drizzle or caramel), apply it right before serving. For the hot chocolate itself, let it sit off the heat for a minute or two before pouring into mugs to ensure it’s not scalding hot.
Step 9: Slice & Serve
Pour the hot chocolate into your favorite mugs. Then, it’s time for the best part: decorating! Let everyone choose their own adventure with the toppings. Serve immediately while it’s warm and cozy. The scent alone will make everyone gather around!
What to Serve It With
This hot chocolate bar is practically a meal in itself, but here are some ideas to make the experience even more special, depending on the occasion:
For Breakfast: While hot chocolate isn’t typically a breakfast item for us, a lighter version can be lovely. Think a thinner hot chocolate with just a hint of cocoa and sweetened with maple syrup, served alongside warm scones or fluffy pancakes. It’s a little treat to kick off a special weekend morning.
For Brunch: This is where the hot chocolate bar can really shine! Elevate it with sophisticated toppings like a sprinkle of sea salt, a dusting of espresso powder in the base, or a drizzle of high-quality dark chocolate sauce. Pair it with mini quiches, fruit platters, or even some delicate financiers. It adds a touch of whimsy and indulgence to any brunch spread.
As Dessert: This is its natural habitat! Serve the hot chocolate bar after a nice dinner. Think of it as a deconstructed dessert. The rich chocolate is perfect following something savory. You can even add some small dessert bites to the bar itself, like mini brownies or chocolate chip cookies for dipping. It’s a fun alternative to a traditional cake or pie.
For Cozy Snacks: This is my favorite! On a rainy afternoon or a cold evening, just setting up a simple hot chocolate bar with whipped cream, marshmallows, and maybe some chocolate chips is pure bliss. It’s the ultimate comfort food that requires minimal effort but delivers maximum coziness. We often do this during movie nights, and it’s always a huge hit. My kids love picking out their own unique toppings, and it turns a regular evening into a special event. I’ve found that serving it with some biscotti or shortbread cookies is also fantastic for dipping!
Top Tips for Perfecting Your Hot Chocolate Bar
I’ve made this hot chocolate bar more times than I can count, and over the years, I’ve picked up a few tricks that really make a difference. Here are my top tips for ensuring yours is absolutely perfect:
Zucchini Prep: (Wait, what? Why zucchini? Ah, I think you might be confusing this with another recipe! This is for hot chocolate, but I do have a fantastic zucchini bread recipe if you’re interested!) For hot chocolate, the key is good quality ingredients. For the chocolate base, make sure you’re using real chocolate, not just cocoa powder, for that luxurious depth. And if you’re using cocoa, Dutch-processed will give you a smoother, richer flavor. Don’t use old, stale cocoa powder!
Mixing Advice: The absolute most important thing is to whisk continuously while heating the milk. This prevents a skin from forming on top and, more critically, stops the bottom from scorching. If you see any little bits of chocolate not melting, reduce the heat to low and keep stirring gently. Patience is key here for that perfectly smooth texture. Also, make sure your cocoa powder is sifted if it’s clumpy before you start mixing it into the milk.
Swirl Customization: If you’re adding fillings or drizzles, a long skewer or a chopstick is your best friend for creating beautiful swirls. Gently insert it into the mug after pouring the hot chocolate and make a few figure-eight motions. Don’t overdo it, or you’ll just muddy the colors. For a more controlled drizzle, use squeeze bottles with narrow tips for your sauces.
Ingredient Swaps: For the milk, whole milk gives the richest result, but I’ve had great success with half-and-half for an extra decadent treat. If you’re dairy-free, oat milk is a fantastic substitute, or even a blend of almond and coconut milk. For the chocolate, use what you love! Milk chocolate makes it sweeter, while a higher percentage of dark chocolate makes it more intense. You can even use a mix of both. And for sweetness, maple syrup or agave can be used, though they might slightly alter the flavor profile. Experiment with a touch of cinnamon or cayenne pepper in the base for a Mexican-inspired kick!
Baking Tips: (Again, no baking involved here! But if we were talking about baked goods, I’d say know your oven!) For hot chocolate, it’s all about stovetop temperature control. Keep it on medium-low and stir. If it starts to look like it’s going to boil vigorously, pull it off the heat for a moment. You want it steaming and hot, but not aggressively bubbling. Aim for a smooth, velvety consistency before you start adding toppings.
Glaze Variations: For drizzles, consistency is crucial. If your caramel sauce is too thick, warm it slightly. If it’s too thin, you can try simmering it down a bit. A simple ganache is just equal parts melted chocolate and warm cream, stirred until smooth. For a quick chocolate drizzle, melt some chocolate chips with a tiny bit of coconut oil or vegetable oil to thin them out. Don’t forget a sprinkle of flaky sea salt on top of any caramel or chocolate drizzle – it’s a game-changer!
Storing and Reheating Tips
Leftover hot chocolate? It’s rare in my house, but it happens! Here’s how to keep it delicious:
Room Temperature: Honestly, I wouldn’t recommend storing the prepared hot chocolate base at room temperature for more than a couple of hours, especially if you have added milk and chocolate to it. It’s best enjoyed fresh. If you have toppings left over, they can be stored separately. Whipped cream should be refrigerated. Marshmallows and sprinkles are fine in airtight containers at room temperature.
Refrigerator Storage: The pure hot chocolate base (before any toppings are added!) can be stored in an airtight container in the refrigerator for up to 3-4 days. It will thicken when cold, so you’ll need to gently reheat it. Just pour it back into a saucepan and heat it over low heat, stirring constantly, until it’s warm again. You might need to add a splash of milk to loosen it up. Make sure it’s thoroughly heated through before serving.
Freezer Instructions: This is a great option if you want to make a big batch ahead of time! Let the hot chocolate base cool completely, then pour it into freezer-safe containers or individual portions in ice cube trays. It should last for up to 2-3 months. To thaw, transfer it to the refrigerator overnight and then reheat as described above. You can also freeze portions in freezer bags, laying them flat for easy storage. Just be aware that freezing can sometimes slightly alter the texture, so reheating carefully is key.
Glaze Timing Advice: If you’re storing leftover hot chocolate, it’s best to add any drizzles or whipped cream just before serving. They tend to lose their appeal in the fridge or freezer. Store any leftover sauces, like caramel or chocolate syrup, in their own airtight containers in the refrigerator.
Frequently Asked Questions
Final Thoughts
Honestly, setting up a hot chocolate bar is one of my favorite ways to bring a little extra joy and warmth into our home. It’s more than just a sweet treat; it’s about creating memories, sharing laughter, and indulging in simple pleasures together. The smell of the rich chocolate filling the house, the excitement on everyone’s faces as they choose their toppings – it’s pure magic. I truly believe this is a recipe that everyone should have in their repertoire, whether you’re hosting a party or just having a quiet night in. It’s endlessly adaptable and always a crowd-pleaser. If you’re a fan of rich, comforting flavors, I also think you might enjoy my recipe for Decadent Chocolate Lava Cakes, which offers a similar level of indulgence! I can’t wait to hear how your hot chocolate bar turns out. Please leave a comment below and tell me about your favorite topping combinations, or share your own unique twists! Happy creating and happy sipping!
Ultimate Hot Chocolate Bar
Ingredients
Hot Chocolate Base
- 8 cups milk whole milk recommended
- 1 cup heavy cream
- 1 cup unsweetened cocoa powder
- 1 cup granulated sugar
- 1 teaspoon vanilla extract
- 0.5 teaspoon salt
Toppings Bar
- mini marshmallows
- whipped cream
- chocolate shavings
- caramel sauce
- peppermint sticks
- sprinkles
- chocolate chips
Instructions
Preparation Steps
- In a large saucepan, whisk together cocoa powder, sugar, and salt.
- Gradually whisk in milk and heavy cream until smooth.
- Heat over medium heat, stirring constantly, until hot chocolate is steaming and slightly thickened. Do not boil.
- Remove from heat and stir in vanilla extract.
- Pour the hot chocolate into a serving carafe or dispenser.
- Set up your toppings bar with all the desired toppings in separate bowls or containers.
- Serve the hot chocolate with an array of toppings for everyone to customize their own drink.
