
There are some recipes that just instantly transport you back to your childhood, aren’t there? For me, that’s definitely this Hippie Juice. It’s not just a cake; it’s pure comfort and nostalgia wrapped up in a perfectly moist, subtly spiced package. I remember my Grandma making this whenever we visited, and the aroma would fill her tiny kitchen, making us all gather around, eager for a slice. It’s got that wonderful zucchini bread vibe, but it’s somehow lighter, almost like a tender cake that’s just begging for a dollop of cream cheese frosting or a simple glaze. Honestly, if you’ve ever loved a good quick bread or a simple Coffee Cake, you are going to fall head over heels for this Hippie Juice. It’s one of those recipes that just feels like a hug from the inside.
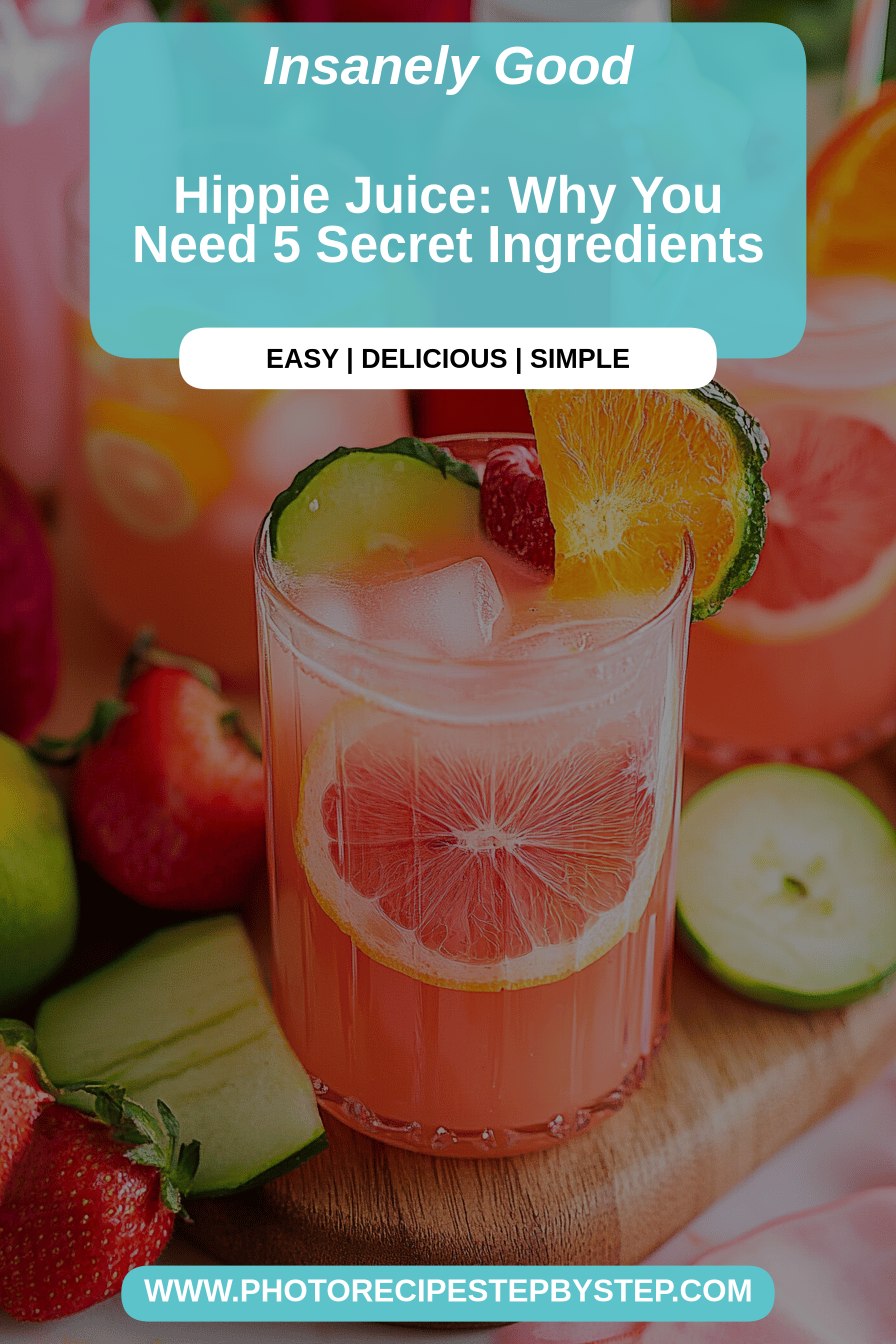
What is hippie juice?
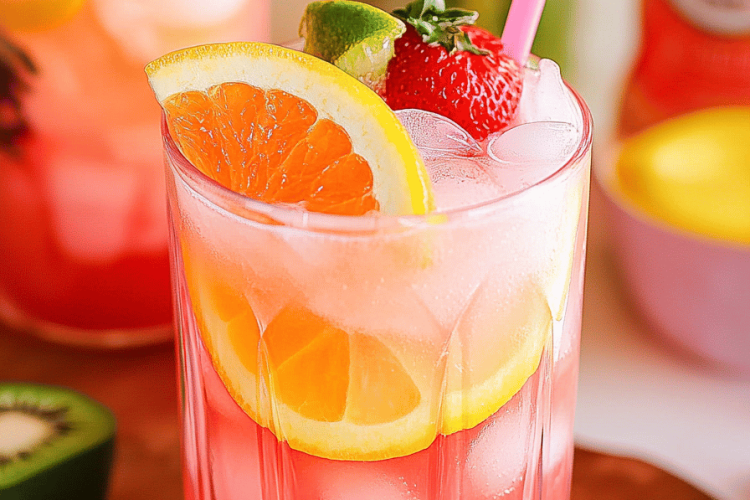
So, what exactly *is* Hippie Juice? That’s a question I get asked a lot! The name itself is a little quirky, right? I like to think of it as a delightfully moist and tender cake, often made with grated zucchini (hence the “hippie” association with wholesome ingredients!). It’s not a dense, heavy loaf; it’s more of a light, almost melt-in-your-mouth cake that’s incredibly forgiving. It often has warm spices like cinnamon and nutmeg, giving it that cozy, familiar flavor. Think of it as the most perfect, fuss-free dessert or snack you can imagine. It’s essentially a celebration of simple, good-for-you ingredients coming together to create something truly magical and utterly delicious. It’s the kind of treat that makes you feel good about what you’re eating, without sacrificing an ounce of flavor or enjoyment.
Why you’ll love this recipe?
What is the secret behind Hippie Juice?flavor is just divine. It’s not overly sweet, which I really appreciate, and the hint of cinnamon and nutmeg is just perfect. The zucchini keeps it incredibly moist, so you never have to worry about a dry cake. Speaking of moist, that leads me to the simplicity. This recipe is a lifesaver on busy nights or when you need a quick treat. You can whip up the batter in a matter of minutes, and most of the ingredients are probably already in your pantry or fridge. It’s the kind of recipe you can make even if you’re a beginner baker – seriously, it’s that foolproof!
What is the importance of talking about the environment?cost-efficiency. Zucchini is usually pretty affordable, and the rest of the ingredients are standard baking staples. It’s a fantastic way to make a crowd-pleasing dessert without breaking the bank. But what truly sets this apart for me is its versatility. I love serving this warm with a scoop of vanilla ice cream, but it’s also fantastic for breakfast with a cup of coffee, or as a light dessert after dinner. It’s so adaptable! If you enjoy my Spiced Apple Crumble or my banana bread Muffins, I have a feeling this Hippie Juice is going to become a new favorite. It really bridges the gap between a comforting quick bread and a more elegant cake, making it perfect for almost any occasion.
How to Make Hippie Juice
Quick Overview
The beauty of this Hippie Juice recipe is its straightforward approach. You’ll be mixing your dry ingredients, then your wet ingredients, combining them gently, and baking until golden and wonderfully fragrant. The zucchini is the secret weapon here, lending incredible moisture without any overpowering flavor. It truly is as simple as mixing and baking. You don’t need any fancy equipment, just a couple of bowls, a whisk, and a baking pan. I’ve made this countless times, and it never fails to impress, even with its humble name. It’s proof that the most delicious things often come from the simplest methods.
Ingredients
For the Main Batter:
3 cups all-purpose flour (I sometimes use half whole wheat for a nuttier flavor, but all-purpose is classic)
1 teaspoon baking soda
1/2 teaspoon baking powder
1/2 teaspoon salt
1 tablespoon ground cinnamon (don’t skimp, this is key!)
1 teaspoon ground nutmeg
1/4 teaspoon ground cloves (optional, but adds a lovely warmth)
1 1/2 cups granulated sugar (you can reduce this slightly if you prefer, but it helps with moisture)
3 large eggs, at room temperature
1 cup vegetable oil (or a neutral oil like canola; I’ve even tested with melted coconut oil, and it works beautifully!)
1 teaspoon vanilla extract
2 cups grated zucchini, well-drained (this is crucial! See tips below)
For the Filling:
1/2 cup brown sugar, packed
1 tablespoon ground cinnamon
1/2 cup chopped walnuts or pecans (optional, but I love the crunch)
For the Glaze:
1 cup powdered sugar
2-3 tablespoons milk (or a dairy-free alternative)
1/2 teaspoon vanilla extract
Step-by-Step Instructions
Step 1: Preheat & Prep Pan
First things first, get your oven preheated to 350°F (175°C). This is a standard baking temperature that works perfectly for this recipe. While the oven is heating up, prepare your baking pan. I usually use a 9×13 inch baking pan for this, but an 8×8 inch square pan will also work, it will just be a bit thicker and take longer to bake. Grease and flour your pan generously. You can use butter or cooking spray for greasing, and then a light dusting of flour. This step is super important to ensure your Hippie Juice releases easily after baking without any sticking or tearing. If you’re using a bundt pan, make sure to grease and flour it really well, getting into all those nooks and crannies.
Step 2: Mix Dry Ingredients
In a large mixing bowl, whisk together your flour, baking soda, baking powder, salt, cinnamon, nutmeg, and cloves (if you’re using them). Whisking them together well ensures that the leavening agents (baking soda and powder) and the spices are evenly distributed throughout the batter. This is what guarantees a consistent rise and flavor in every bite. You want to see a nice, uniform color without any streaks of spices. This step takes less than a minute, but it makes a big difference in the final texture of your cake.
Step 3: Mix Wet Ingredients
In a separate, medium-sized bowl, whisk together the granulated sugar, eggs, vegetable oil, and vanilla extract. Beat them together until they’re well combined and the mixture is smooth. You’re not looking for stiff peaks or anything fancy here, just a good, emulsified mixture. Make sure the sugar is mostly dissolved into the wet ingredients. If your eggs are cold, they might seize up a little with the oil, but just keep whisking, and it will come together. The vanilla extract is for fragrance and flavor, and it really adds that little something special.
Step 4: Combine
Now, pour the wet ingredients into the bowl with the dry ingredients. Using a spatula or a wooden spoon, gently fold them together until *just* combined. It’s really important not to overmix here. Overmixing can develop the gluten in the flour too much, resulting in a tougher cake. You want to see just a few streaks of flour remaining. Then, gently fold in your grated, well-drained zucchini. Again, mix until it’s just incorporated. The batter will be thick, and that’s exactly what you want. If it seems too thick, don’t worry, the zucchini will add moisture during baking.
Step 5: Prepare Filling
This step is optional but highly recommended if you want that extra burst of flavor and texture. In a small bowl, mix together the Brown sugar, cinnamon, and chopped nuts (if using). This creates a lovely spiced layer that will meld beautifully into the cake as it bakes. It’s such a simple step but it adds so much depth to the final product. I often make this filling while the batter is resting for a minute or two, so it’s ready to go when you need it.
Step 6: Layer & Swirl
Pour about half of the batter into your prepared baking pan and spread it evenly. Sprinkle the brown sugar-cinnamon-nut mixture evenly over the top of this batter layer. Then, dollop the remaining batter over the filling. You don’t need to be too precise here; just get it on there. Now, here’s the fun part: you can either gently swirl it with a knife or skewer, or just let it bake as is. If you swirl, try not to overdo it, you still want distinct layers of flavor. The goal is a beautiful marbled effect that looks as good as it tastes.
Step 7: Bake
Place the pan in your preheated oven and bake for about 30-40 minutes for a 9×13 inch pan, or 40-50 minutes for an 8×8 inch pan or a bundt pan. The exact baking time will vary depending on your oven. You’ll know it’s done when a toothpick inserted into the center comes out clean, or with just a few moist crumbs attached. The top should be golden brown and slightly firm to the touch. Resist the urge to open the oven door too early, as this can cause the cake to sink.
Step 8: Cool & Glaze
Once baked, remove the Hippie Juice from the oven and let it cool in the pan on a wire rack for about 15-20 minutes. This allows it to set up properly. While it’s cooling, prepare the glaze. In a small bowl, whisk together the powdered sugar, milk, and vanilla extract until smooth and pourable. If it’s too thick, add a tiny bit more milk; if it’s too thin, add a bit more powdered sugar. Once the cake has cooled slightly, drizzle the glaze over the top. You can do this while it’s still warm, and the glaze will melt slightly, creating a beautiful sheen.
Step 9: Slice & Serve
Let the glaze set for a few minutes, then carefully slice the Hippie Juice into squares. It’s best served warm or at room temperature. The aroma as you slice it is just heavenly. You can serve it as is, or with a dollop of whipped cream or a side of Cream Cheese frosting if you’re feeling extra indulgent. It’s truly a crowd-pleaser and disappears in minutes at my house!
What to Serve It With
This Hippie Juice is so wonderfully versatile, it’s a joy to serve for pretty much any occasion. For a simple, comforting breakfast, I love a warm slice with a good cup of coffee or a soothing herbal tea. It’s substantial enough to keep you satisfied until lunch. For a more elegant brunch spread, it pairs beautifully with fresh fruit salads, a quiche, or some crispy bacon. I like to cut it into smaller, bite-sized squares for easy grabbing. As a decadent dessert, it’s incredible served warm with a scoop of good quality vanilla bean ice cream or a drizzle of caramel sauce. It’s also fantastic with a rich chocolate ganache if you want to go all out! And for those cozy, rainy afternoons, it’s the perfect companion to a glass of milk or a warm mug of cider. My family has a tradition of having this as a special weekend treat, and it always feels like a little celebration, no matter what we’re doing.
Top Tips for Perfecting Your Hippie Juice
Over the years, I’ve learned a few tricks that make this Hippie Juice recipe consistently amazing. The most crucial step, hands down, is the zucchini prep. After grating your zucchini, you *must* squeeze out as much moisture as possible. I usually wrap it in a clean kitchen towel or cheesecloth and wring it out really well. If you skip this, your cake can become too wet and dense, and it won’t bake properly. Also, grating it finely makes it disappear into the batter more easily.
When it comes to mixing, remember my earlier advice: don’t overmix! Just bring the wet and dry ingredients together until they’re combined. A few small lumps are perfectly fine. Overmixing develops the gluten, which can make your cake tough instead of tender. For the swirl customization, don’t go overboard with the knife. A few gentle drags are enough to create a lovely marbled effect. You want to see defined layers of the spiced filling peeking through. If you want to get creative with ingredient swaps, you can try using half almond flour for a slightly nuttier flavor, though it might make it a bit denser. You can also add a handful of chocolate chips or dried cranberries to the batter for an extra treat. For baking tips, always know your oven. Ovens can vary, so using a toothpick test is the most reliable way to check for doneness. If the top is browning too quickly before the inside is cooked, you can loosely tent it with foil.
And for the glaze variations, don’t feel limited to the basic vanilla glaze! You could add a little lemon zest for a citrusy kick, or even a touch of maple syrup for a different flavor profile. A simple dusting of powdered sugar is also lovely if you prefer something lighter. I’ve even made a cream cheese glaze which is absolutely divine, though it does make it a bit more decadent. These little adjustments can really make the recipe your own and ensure you get perfect results every time.
Storing and Reheating Tips
One of the best things about this Hippie Juice is how well it keeps. If you’re lucky enough to have leftovers, storing it properly is key to maintaining its deliciousness. For room temperature storage, I usually keep it covered loosely with plastic wrap or in an airtight container for up to 2 days. Make sure it’s completely cooled before covering, otherwise, you’ll trap steam and make it soggy. It’s perfect for grabbing a slice for a quick snack.
If you think you’ll need more than a couple of days, refrigerator storage is your best bet. Wrap the cooled cake tightly in plastic wrap, then place it in an airtight container. It will stay fresh and moist in the fridge for up to 5 days. When you want a slice, you can eat it cold, or gently warm it in the microwave for about 15-20 seconds for that fresh-from-the-oven feel. For longer storage, freezer instructions are a lifesaver. Wrap individual slices or the whole cake tightly in plastic wrap, then in aluminum foil, and place in a freezer-safe bag or container. It can be kept frozen for up to 3 months. To thaw, simply remove it from the freezer and let it come to room temperature on the counter, or thaw it gently in the refrigerator overnight. For the glaze, I usually wait to add it until *after* the cake has been thawed or reheated. If you glaze it before freezing, the glaze can sometimes become sticky or watery upon thawing, so it’s best to apply it fresh if possible.
Frequently Asked Questions
Final Thoughts
There you have it – my beloved Hippie Juice recipe! I genuinely hope you give this a try. It’s one of those recipes that has earned a permanent spot in my recipe box because it’s just so reliable, delicious, and brings such a smile to everyone who tries it. It’s the perfect example of how simple, wholesome ingredients can come together to create something truly special. Whether you’re looking for a comforting breakfast treat, a delightful dessert, or a perfect afternoon snack, this Hippie Juice is sure to hit the spot. It’s a recipe that makes me feel good every time I bake it, and I really hope it does the same for you!
If you do make this Hippie Juice, please come back and let me know how it turned out! I absolutely love hearing your stories and seeing your creations. Feel free to share your own twists and tips in the comments below. And if you enjoyed this recipe, you might also love my Moist Carrot Cake or my Best Ever Banana Bread. Happy baking, and enjoy every single moist, delicious bite!
Hippie Juice
Ingredients
Main Ingredients
- 0.5 oz Blue Curacao liqueur
- 0.5 oz Melon liqueur
- 0.5 oz Cranberry juice
Instructions
Preparation Steps
- Fill a shot glass with ice.
- Slowly pour in the Blue Curacao liqueur.
- Carefully layer the Melon liqueur on top.
- Finish by gently pouring the Cranberry juice over the back of a spoon.
