
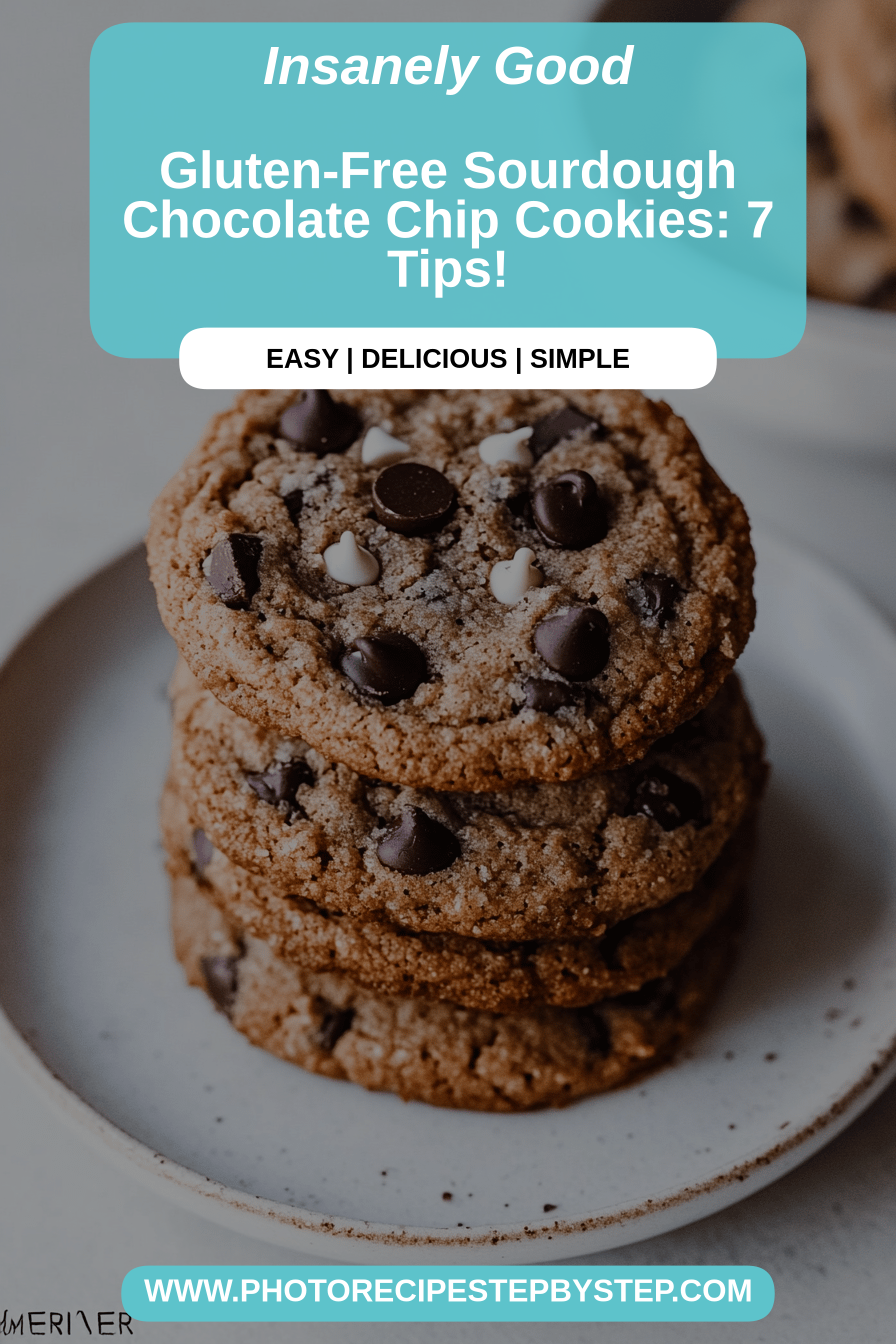
Oh, these cookies! If there’s one thing that instantly takes me back to my childhood, it’s the smell of Chocolate Chip Cookies baking. But let’s be honest, sometimes those classic recipes can be a bit… heavy. And then there’s the gluten factor, which can make enjoying a homemade treat a challenge for so many of us. For years, I’d tried to find a gluten-free chocolate chip cookie recipe that hit all the right notes – chewy center, slightly crisp edges, and that perfect chocolatey goodness without that weird, gritty texture some gluten-free bakes get. I swear, I nearly gave up! But then, this gem landed in my lap, and it’s been a game-changer. Seriously, my family devours these, and they have no idea they’re gluten-free. They taste just as good, if not better, than any traditional cookie I’ve ever made. This recipe is my go-to when a serious craving hits, and it’s surprisingly simple to whip up, even on a weeknight. I can’t wait for you to try them!
What are gluten free chocolate chip cookies?
So, what exactly makes these gluten-free chocolate chip cookies so special? Think of them as your classic comfort cookie, elevated. We’re talking about that irresistible combination of rich, melty chocolate chips nestled into a wonderfully chewy, tender cookie. The “gluten-free” part isn’t just a label here; it’s the secret sauce that makes them approachable for everyone, regardless of dietary needs. We achieve that perfect texture by using a specific blend of gluten-free flours that mimic the structure of traditional wheat flour without any of the fuss. It’s essentially a perfected version of that nostalgic cookie you probably grew up with, but made with modern ingredients that make it accessible and incredibly delicious for anyone looking for fantastic gluten-free chocolate chip cookies. No chalky aftertaste, no crumbly mess – just pure cookie bliss.
Why you’ll love this recipe?
Honestly, there are so many reasons why this gluten-free chocolate chip cookie recipe has earned a permanent spot in my recipe binder. First and foremost, the FLAVOR is absolutely out of this world. The balance of sweet and rich chocolate is just perfect, and the cookies have this wonderful depth of flavor that you just don’t find in every gluten-free bake. They’re not overly sweet, which I really appreciate, and the chocolate chips get all melty and gooey in the oven – pure heaven! Then there’s the SIMPLICITY. I know baking can sometimes feel daunting, but this recipe is surprisingly straightforward. You don’t need any fancy equipment or techniques. Most of the ingredients are probably already in your pantry, and the steps are easy to follow. I’ve had friends who claim they “can’t bake” make these with no problems! Plus, it’s incredibly COST-EFFICIENT. Using a good gluten-free flour blend can sometimes feel like an investment, but this recipe uses just the right amount, making it budget-friendly without compromising on taste or texture. And talk about VERSATILITY! These cookies are perfect on their own, of course, but they’re also amazing crumbled over ice cream, dipped in milk, or even given a fancy sprinkle of sea salt on top. What I love most about this recipe is that it’s genuinely forgiving. I’ve made a few tweaks over time – sometimes adding a pinch of espresso powder to the dough to really make the chocolate pop, or swapping in dark chocolate chunks for an even richer taste – and it always turns out fantastic. It’s the kind of cookie that feels special but is so easy to make that you can enjoy it any day of the week. It’s become my go-to for potlucks, bake sales, and just those moments when only a warm, homemade cookie will do. These gluten-free chocolate chip cookies are a true crowd-pleaser, guaranteed!
How do I make gluten-free chocolate chip cookies?
Quick Overview
Making these incredible gluten-free chocolate chip cookies is a breeze! You’ll start by creaming butter and sugar until light and fluffy, then mixing in your eggs and vanilla. Next, you’ll combine your dry ingredients – a good quality gluten-free flour blend, baking soda, and salt – and gently fold them into the wet ingredients. Finally, stir in those glorious chocolate chips, scoop the dough onto baking sheets, and bake until they’re golden brown around the edges and still a little soft in the center. The whole process, from start to finish, takes about 30 minutes, making it a perfect treat even when you’re short on time. Trust me, the aroma filling your kitchen is worth every second.
Ingredients
For the Main Batter:
Butter: 1 cup (2 sticks), softened. Using unsalted butter is best so you can control the salt content. Make sure it’s truly softened, not melted! It makes a world of difference in the texture.
Granulated Sugar: 3/4 cup. This provides sweetness and helps with that classic cookie crispness.
Brown sugar: 3/4 cup, packed. I love using dark brown sugar here; it adds moisture and a lovely caramel undertone that complements the chocolate so well. Light brown sugar works too if that’s what you have.
Eggs: 2 large. These bind everything together and add richness. I usually let mine sit out for about 15-20 minutes before using so they aren’t ice cold, which can sometimes affect the creaming process.
Vanilla Extract: 2 teaspoons. Don’t skimp on the vanilla! It enhances all the other flavors, especially the chocolate.
Gluten-Free All-Purpose Flour Blend: 2 1/4 cups. This is key! I’ve had the most success with blends that contain a mix of rice flour, tapioca starch, and potato starch. Look for one that’s designed for baking, ideally one that already includes xanthan gum. If yours doesn’t have xanthan gum, you’ll need to add about 1 teaspoon.
Baking Soda: 1 teaspoon. This gives the cookies their lift and helps them spread just right.
Salt: 1/2 teaspoon. Balances the sweetness and really makes the chocolate flavors pop.
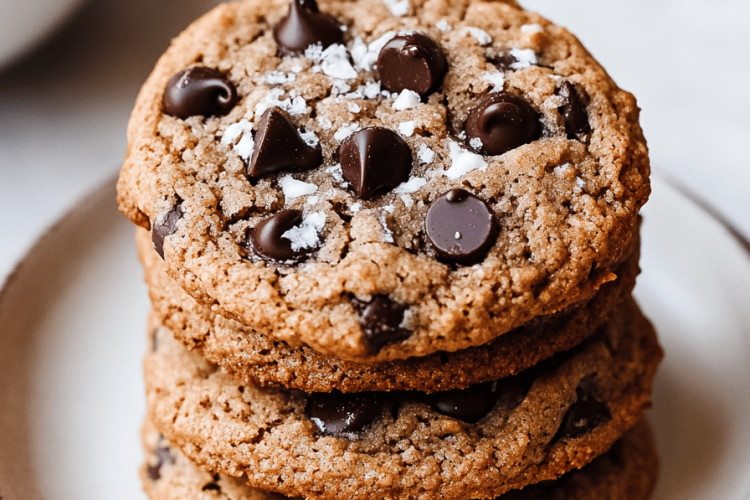
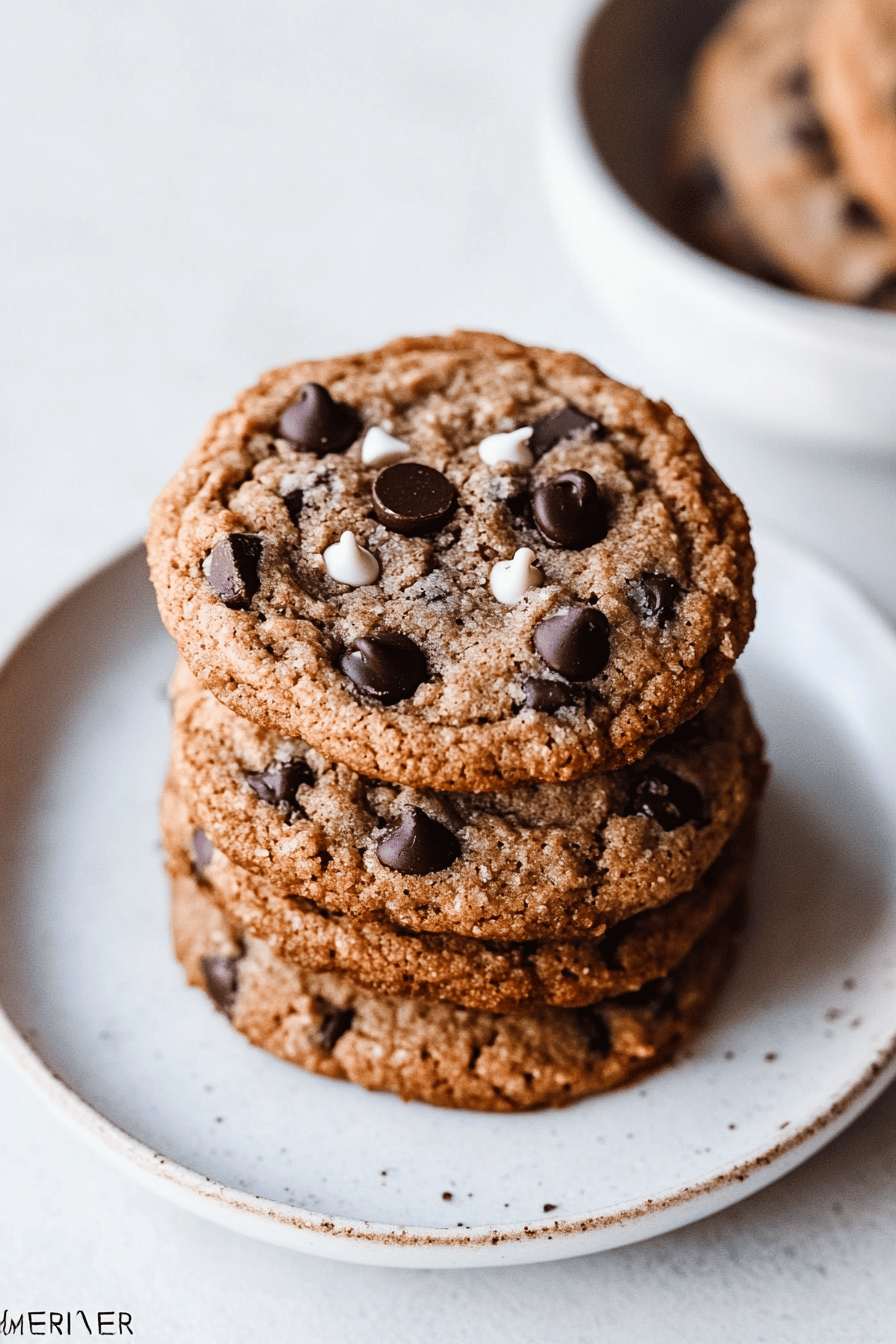
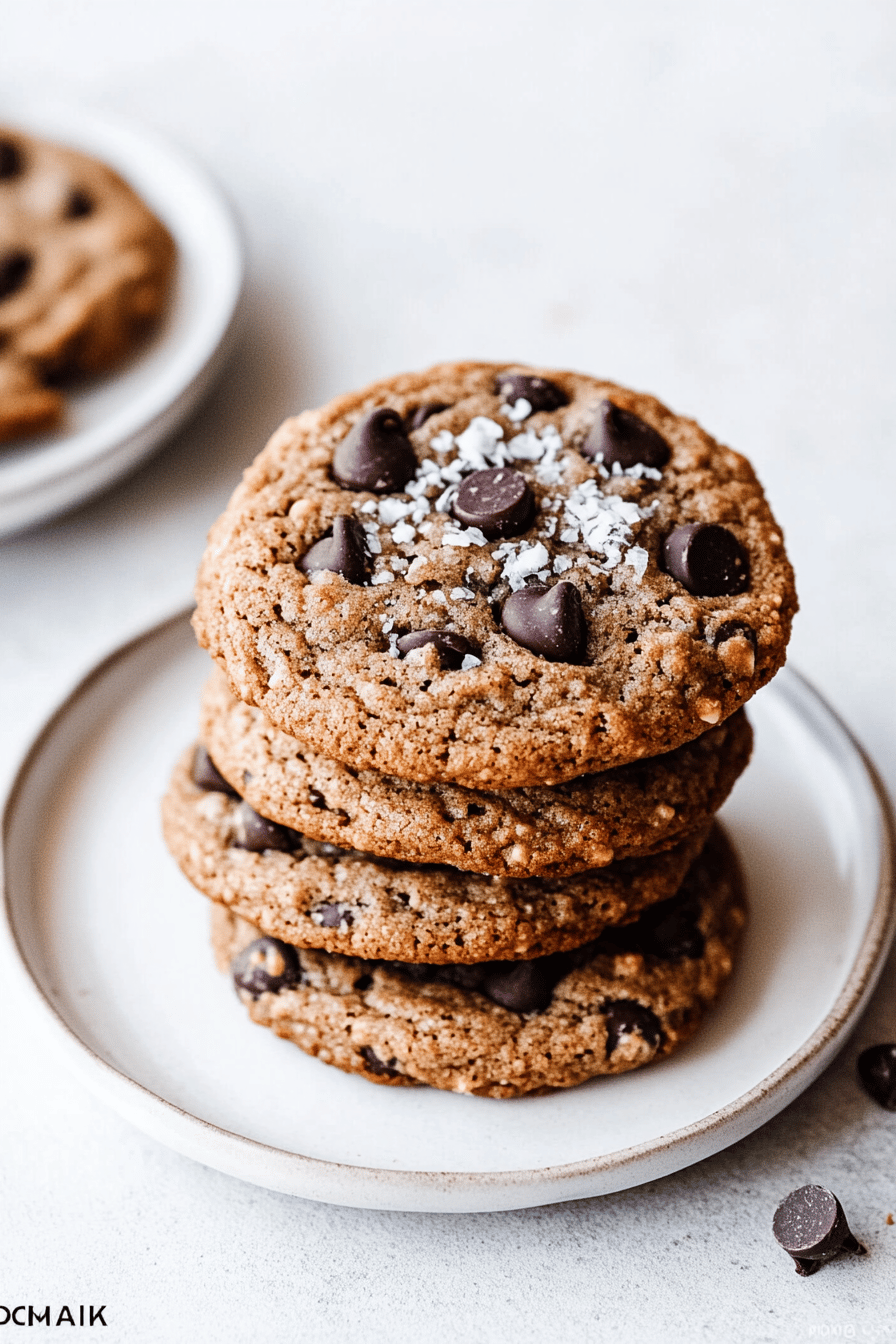
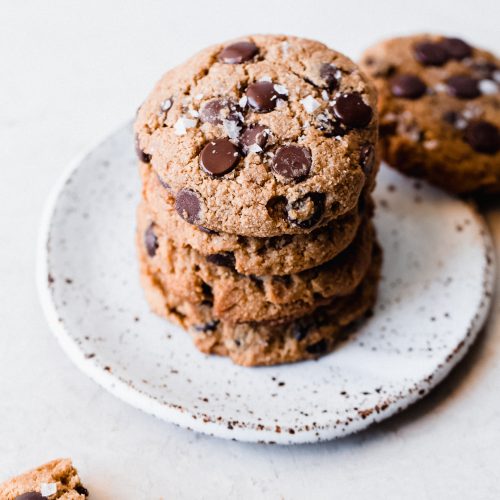
Chocolate Chips: 2 cups. My absolute favorite are semi-sweet, but you can use milk chocolate, dark chocolate, or even a mix! For gluten-free chocolate chip cookies, I always double-check the label just to be safe.
For the Optional Toppings (Highly Recommended!):
Flaky Sea Salt: A generous pinch for sprinkling on top before baking. It sounds fancy, but it makes a huge difference, adding a little pop of saltiness that cuts through the sweetness beautifully.
Step-by-Step Instructions
Step 1: Preheat & Prep Pan
First things first, let’s get our oven ready. Preheat it to 375°F (190°C). While the oven is heating up, line two baking sheets with parchment paper. This is a total lifesaver for cleanup and ensures your cookies don’t stick. Parchment paper is my best friend in the kitchen!
Step 2: Mix Dry Ingredients
In a medium bowl, whisk together your gluten-free flour blend, baking soda, and salt. Whisking them together ensures that the leavening agent and salt are evenly distributed throughout the flour, which is crucial for consistent cookies. You don’t want any surprise salty bites!
Step 3: Mix Wet Ingredients
In a large bowl, cream together the softened butter, granulated sugar, and packed brown sugar. Beat them with an electric mixer (or a whisk and some serious arm power!) until the mixture is light, fluffy, and pale yellow. This usually takes about 2-3 minutes. Then, beat in the eggs, one at a time, making sure each is fully incorporated before adding the next. Stir in the vanilla extract. This is where the magic starts to happen!
Step 4: Combine
Gradually add the dry ingredients to the wet ingredients, mixing on low speed (or stirring with a spatula) until just combined. Be careful not to overmix here! Overmixing can develop the starches in gluten-free flour too much, leading to tougher cookies. Stop mixing as soon as you no longer see streaks of flour. The dough should be thick and a little sticky.
Step 5: Prepare Filling
This step is straightforward – it’s all about the chocolate chips! Gently fold in the chocolate chips using a spatula or wooden spoon until they are evenly distributed throughout the dough. I like to reserve a handful of chocolate chips to press onto the tops of the cookies before baking for that extra-wow factor.
Step 6: Layer & Swirl
This step is all about forming the cookies. Drop rounded tablespoons of dough onto your prepared baking sheets, leaving about 2 inches between each cookie to allow for spreading. If you’re using flaky sea salt, now is the time to sprinkle it over the tops of the unbaked dough balls. It’s a small step, but it really elevates the cookies!
Step 7: Bake
Bake for 9-12 minutes, or until the edges are golden brown and the centers look slightly underbaked. This is the secret to chewy cookies! They’ll continue to set up as they cool. My oven runs a little hot, so I often find myself checking them around the 9-minute mark. Keep an eye on them, as baking times can vary.
Step 8: Cool & Glaze
Once baked, let the cookies cool on the baking sheets for 5 minutes. This allows them to firm up enough to be moved without falling apart. Then, carefully transfer them to a wire rack to cool completely. If you want to add a glaze (though honestly, they don’t need it!), let them cool completely before drizzling. For a simple vanilla glaze, whisk together about 1 cup of powdered sugar with 1-2 tablespoons of milk and a splash of vanilla until you reach your desired consistency.
Step 9: Slice & Serve
Once fully cooled, these gluten-free chocolate chip cookies are ready to be devoured! They are absolutely divine when still slightly warm, with gooey chocolate. They also hold up beautifully once completely cooled, making them perfect for packing in lunchboxes or enjoying with an afternoon cup of tea. Enjoy them just as they are, or with a tall glass of milk!
What to Serve It With
These gluten-free chocolate chip cookies are so versatile, they fit into almost any occasion! For Breakfast, imagine a couple of these warm cookies alongside a strong cup of coffee or a creamy latte. They’re a much more exciting start to the day than plain toast, and that touch of sweetness feels like a treat. For Brunch, they make a wonderful addition to a dessert table. You can arrange them nicely on a platter with some fresh berries, or even serve them with a dollop of whipped cream. They’re a delightful little bite that everyone will enjoy. As a Dessert, well, this is their natural habitat! They’re fantastic on their own, but I also love serving them slightly warmed with a scoop of vanilla bean ice cream – talk about indulgence! For Cozy Snacks, this is where they truly shine in my home. After a long day, having a warm, chewy cookie with a cold glass of milk is pure comfort. My kids always ask for this when they’ve had a tough day at school. Another personal favorite is pairing them with a cozy herbal tea in the evening. They are also great for sharing with friends when they pop over unexpectedly; they always disappear in minutes!
Top Tips for Perfecting Your Gluten-Free Chocolate Chip Cookies
I’ve learned a thing or two about making the best gluten-free chocolate chip cookies over the years, and I’m happy to share my secrets with you! First, about the flour: **Using a good quality gluten-free all-purpose flour blend is non-negotiable.** I’ve tested so many, and the ones that work best usually have a balance of rice flour, tapioca starch, and potato starch. If your blend doesn’t contain xanthan gum, you’ll need to add about 1 teaspoon to the dry ingredients. This is what gives the cookies structure and chewiness, mimicking gluten. My next piece of advice is about **mixing**. It’s crucial not to overmix the dough once the flour is added. Overmixing can make gluten-free baked goods tough or gummy. Mix until just combined, and don’t worry if the dough looks a little shaggy – it’ll come together. For the best texture, **don’t overbake them!** I like my cookies to be slightly underbaked in the center when I pull them out of the oven. They continue to cook on the hot baking sheet, and this is what gives them that irresistible chewy texture. Pulling them out when the edges are golden and the centers are still soft is the key. When it comes to **chocolate chips**, don’t be afraid to experiment! I love a mix of semi-sweet and dark chocolate chunks for a really rich flavor. If you want a truly decadent cookie, consider chopping up a good quality chocolate bar instead of using chips – it melts beautifully and creates lovely pools of chocolate. For **baking**, make sure your oven is accurately preheated. I often use an oven thermometer to double-check mine. Also, letting the dough chill in the refrigerator for at least 30 minutes before baking can make a big difference in spread and texture. It allows the flour to hydrate and the fats to firm up. If you find your cookies are spreading too much, this is a great trick! And finally, my personal favorite touch: **sprinkling with flaky sea salt** just before baking. It sounds simple, but it elevates the whole cookie, balancing the sweetness and enhancing the chocolate flavor. It’s one of those little things that makes a huge impact. I’ve also tried adding a pinch of espresso powder to the dough, which I learned from a baker friend, and it really makes the chocolate flavor sing without making the cookies taste like coffee – give it a whirl!
Storing and Reheating Tips
Storing these delicious gluten-free chocolate chip cookies properly will ensure they stay fresh and delicious for days. For **Room Temperature Storage**, once completely cooled, store them in an airtight container. They’ll stay wonderfully chewy for about 3-4 days. If your kitchen is particularly warm or humid, you might want to place a small piece of parchment paper between layers to prevent sticking. For **Refrigerator Storage**, while I don’t typically refrigerate them as they can sometimes dry out a bit, if you live in a very hot climate or want to extend their life, you can store them in an airtight container in the fridge for up to a week. Just be aware they might lose a little bit of their chewiness. To bring them back to their former glory, a quick 10-15 seconds in the microwave can work wonders! **Freezer Instructions** are your best friend for longer storage. You can freeze the baked cookies for up to 3 months. Make sure they are completely cool, then wrap them individually in plastic wrap, and then place them in a freezer-safe bag or container. To thaw, simply leave them at room temperature for about 30 minutes. If you want that fresh-baked warm cookie experience, pop them in a 350°F (175°C) oven for about 5 minutes after thawing. For the **Glaze**, I highly recommend applying it only when you’re ready to serve. Glazed cookies don’t store as well at room temperature and can get sticky. If you’re freezing, it’s best to freeze the unglazed cookies and glaze them after thawing and reheating. Enjoying them fresh is truly the best way, but these storage tips will help you savor them for longer!
Frequently Asked Questions
Final Thoughts
There you have it – my absolute favorite gluten-free chocolate chip cookies! I truly believe this recipe captures the essence of what a perfect cookie should be: comforting, delicious, and utterly satisfying. The fact that they’re gluten-free is just a bonus that makes them accessible to so many more people. They’re proof that you don’t have to sacrifice flavor or texture when you choose to bake gluten-free. I really hope you give these a try, and that they bring as much joy to your kitchen as they do to mine. If you love this recipe, you might also enjoy my recipes for chewy oatmeal raisin cookies or my surprisingly moist banana bread – both are fantastic if you’re in a baking mood! Let me know in the comments below how yours turn out, or if you have any special twists you like to add. I always love hearing from you all! Happy baking, and enjoy every single delicious bite!
Gluten-Free Chocolate Chip Cookies
Ingredients
Main Ingredients
- 0.5 cup Unsalted butter, softened
- 0.75 cup Granulated sugar
- 0.5 cup Packed light brown sugar
- 2 large Eggs
- 1 teaspoon Vanilla extract
- 2.5 cups Gluten-free all-purpose flour blend (with xanthan gum)
- 1 teaspoon Baking soda
- 0.5 teaspoon Salt
- 2 cups Semi-sweet chocolate chips
Instructions
Preparation Steps
- Preheat your oven to 375°F (190°C). Line baking sheets with parchment paper.
- In a large bowl, cream together the softened butter, granulated sugar, and brown sugar until light and fluffy.
- Beat in the eggs one at a time, then stir in the vanilla extract.
- In a separate medium bowl, whisk together the gluten-free flour blend, baking soda, and salt.
- Gradually add the dry ingredients to the wet ingredients, mixing until just combined. Do not overmix.
- Stir in the chocolate chips.
- Drop rounded tablespoons of dough onto the prepared baking sheets, about 2 inches apart.
- Bake for 10-12 minutes, or until the edges are golden brown and the centers are still slightly soft.
- Let the cookies cool on the baking sheets for a few minutes before transferring them to a wire rack to cool completely.
