
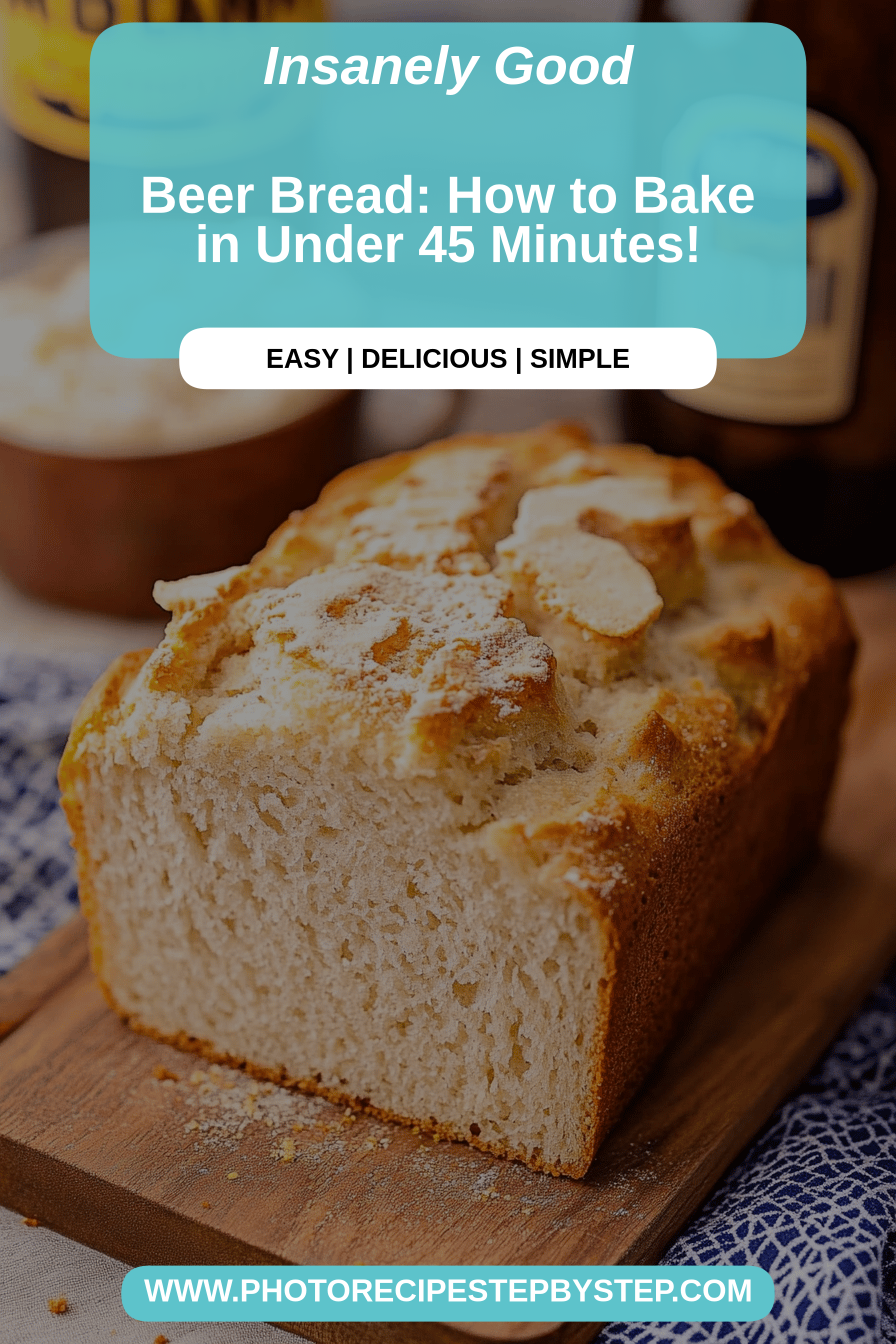
You know those days? The ones where you *really* want something homemade and comforting, but the thought of a complex baking project makes you want to just… order pizza? Yeah, I’ve been there more times than I care to admit! But for those moments, I have a secret weapon that never, ever fails me: my absolute favorite Beer Bread. Seriously, this stuff is magic. It’s the kind of recipe that makes you feel like a baking wizard, even if your culinary skills usually stop at boiling water. It’s so ridiculously simple, yet the flavor is out of this world. If you’ve ever thought about making your own bread but were intimidated by yeast and kneading, this beer bread is your perfect starting point. It’s even better than those fancy artisan loaves you see at the bakery, and you can whip it up in a flash.
What is beer bread?
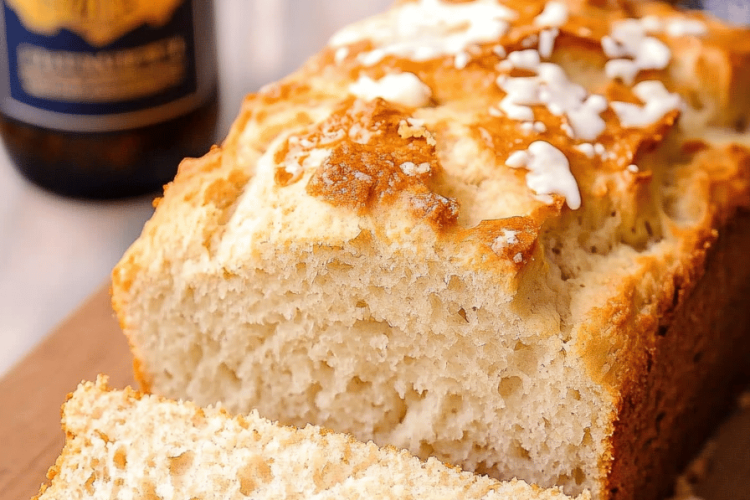
So, what exactly *is* this magical beer bread? At its heart, it’s a quick bread, meaning it uses a leavening agent like baking powder instead of yeast. The “beer” part? Well, that’s where the magic happens. You use beer as your liquid ingredient, and it does so much more than just add moisture. The carbonation in the beer helps give the bread a wonderfully light and airy texture, and the sugars and malt in the beer contribute a fantastic depth of flavor that you just can’t get with water or milk. Think of it as the easiest, most forgiving loaf of bread you’ll ever encounter. It’s essentially a dense, moist, slightly sweet cake-like bread that’s incredibly satisfying. It’s the opposite of fussy; it’s more of a “dump and stir” kind of situation, which is precisely why I adore it so much.
Why you’ll love
I love beer bread, and I knowflavor is just incredible. It has this subtle, malty sweetness with a hint of beer that makes it so interesting and satisfying. It’s not overly sweet, so it works for breakfast, lunch, or even a snack. Then there’s the simplicity – and I cannot stress this enough! You literally mix a few dry ingredients, pour in a can of beer, and bake. That’s it. No waiting for dough to rise, no complicated kneading techniques. It’s the kind of recipe I can throw together on a Tuesday night when I’m exhausted but still want something special. It’s incredibly cost-efficient too. Most of the ingredients are pantry staples, and a can of beer is much cheaper than a fancy yeast starter or specialty flours. Plus, you can use whatever beer you have on hand! I’ve used everything from a light lager to a robust stout, and each one gives a slightly different, but always delicious, result. What really sets this apart for me, though, is its versatility. I’ve made this beer bread plain, I’ve added cheese, herbs, even a swirl of jam. It’s perfect for serving alongside a hearty soup or stew, or just slathered with butter on its own. If you love my easy What are some good cinnamon swirl, you’re going to adore this. It has that same comforting, homemade vibe but with a unique twist. This beer bread is truly a lifesaver on busy nights and always a crowd-pleaser. My kids actually ask for it more often than they ask for cookies sometimes!
How to Make Beer Bread
Quick Overview
The process for making this beer bread is refreshingly simple. You’ll start by whisking together your dry ingredients, then stir in a can of your favorite beer. Pour the batter into a prepared loaf pan and bake until golden brown and a toothpick comes out clean. It’s that easy! The magic lies in the beer itself, which acts as both the liquid and a leavening agent, creating a tender crumb and a wonderfully subtle flavor. No proofing, no fuss, just pure, delicious, homemade bread in under an hour.
Ingredients
For the Main Batter:
This is the heart of our beer bread, and it’s surprisingly straightforward. I always make sure I have these on hand:
- 3 cups all-purpose flour: I usually just grab whatever brand is on sale. No need for anything fancy here!
- 1 cup granulated sugar: This gives it that lovely subtle sweetness. You can reduce it slightly if you prefer a less sweet bread, but I find this amount perfect.
- 1 tablespoon baking powder: This is our primary leavening agent, working with the beer to give it that lift. Make sure it’s fresh!
- 1 teaspoon salt: Just a touch to balance the sweetness and enhance all the other flavors.
- 1 (12-ounce) can beer, at room temperature: This is the star! I usually go for a lager or an ale – something easy drinking. The key is to have it at room temperature so it mixes in smoothly. If it’s cold, it can shock the dry ingredients.
For the Filling:
This is where you can get creative! While plain beer bread is amazing, adding a little something extra takes it to another level.
- 1/4 cup melted butter: For richness and that beautiful golden crust.
- 2 tablespoons brown sugar: Adds a lovely caramel note.
- 1 teaspoon cinnamon: My go-to spice, but feel free to experiment!
- Optional: 1/2 cup chopped nuts, chocolate chips, or dried fruit: Pecans are fantastic, or a handful of mini chocolate chips is always a hit with the kids!
For the Glaze:
This is totally optional, but I think it makes the beer bread look and taste even more special.
- 1/2 cup powdered sugar: For that classic sweet topping.
- 2-3 tablespoons milk or beer: Milk makes it creamier, but a splash of beer can add another layer of flavor. Start with 2 tablespoons and add more until you get your desired consistency.
Step-by-Step Instructions
Step 1: Preheat & Prep Pan
First things first, get your oven preheated to 375°F (190°C). Then, grab a standard 9×5 inch loaf pan. Grease it really well with butter or non-stick cooking spray. I like to go a little extra with the greasing; nobody wants their beautiful beer bread stuck to the pan, right? It’s a small step, but it’s crucial for easy removal.
Step 2: Mix Dry Ingredients
In a large mixing bowl, whisk together the flour, granulated sugar, baking powder, and salt. Whisking is important here because it helps to aerate the flour and distribute the leavening agents evenly. You want a nice, uniform mixture with no lumps. This ensures your bread rises evenly.
Step 3: Mix Wet Ingredients
Now, here’s the easy part. Open your room-temperature can of beer. Gently pour it directly into the dry ingredients. Don’t be alarmed if it’s a little foamy; that’s the carbonation working its magic! The beer is the only liquid you need, and it’s the key to that unique texture and flavor.
Step 4: Combine
Using a wooden spoon or a spatula, stir the wet and dry ingredients together until *just* combined. Seriously, stop mixing as soon as you don’t see any dry flour streaks. Overmixing can develop the gluten too much, which can lead to a tougher bread. A few lumps are perfectly fine; in fact, they’re often a good sign!
Step 5: Prepare Filling
While your batter is resting for just a moment, quickly melt your butter in a small bowl. Stir in the brown sugar and cinnamon. If you’re adding any nuts, chocolate chips, or dried fruit, mix them in now. This little flavor boost is totally optional but highly recommended!
Step 6: Layer & Swirl
Pour about half of the beer bread batter into your prepared loaf pan. Drizzle about half of the melted butter and sugar mixture over the top. If you’re adding extra mix-ins, sprinkle half of them here. Then, pour the remaining batter on top, followed by the rest of the butter mixture and any remaining mix-ins. You can use a knife or a skewer to gently swirl the filling through the batter. Don’t over-swirl; you want distinct ribbons of flavor!
Step 7: Bake
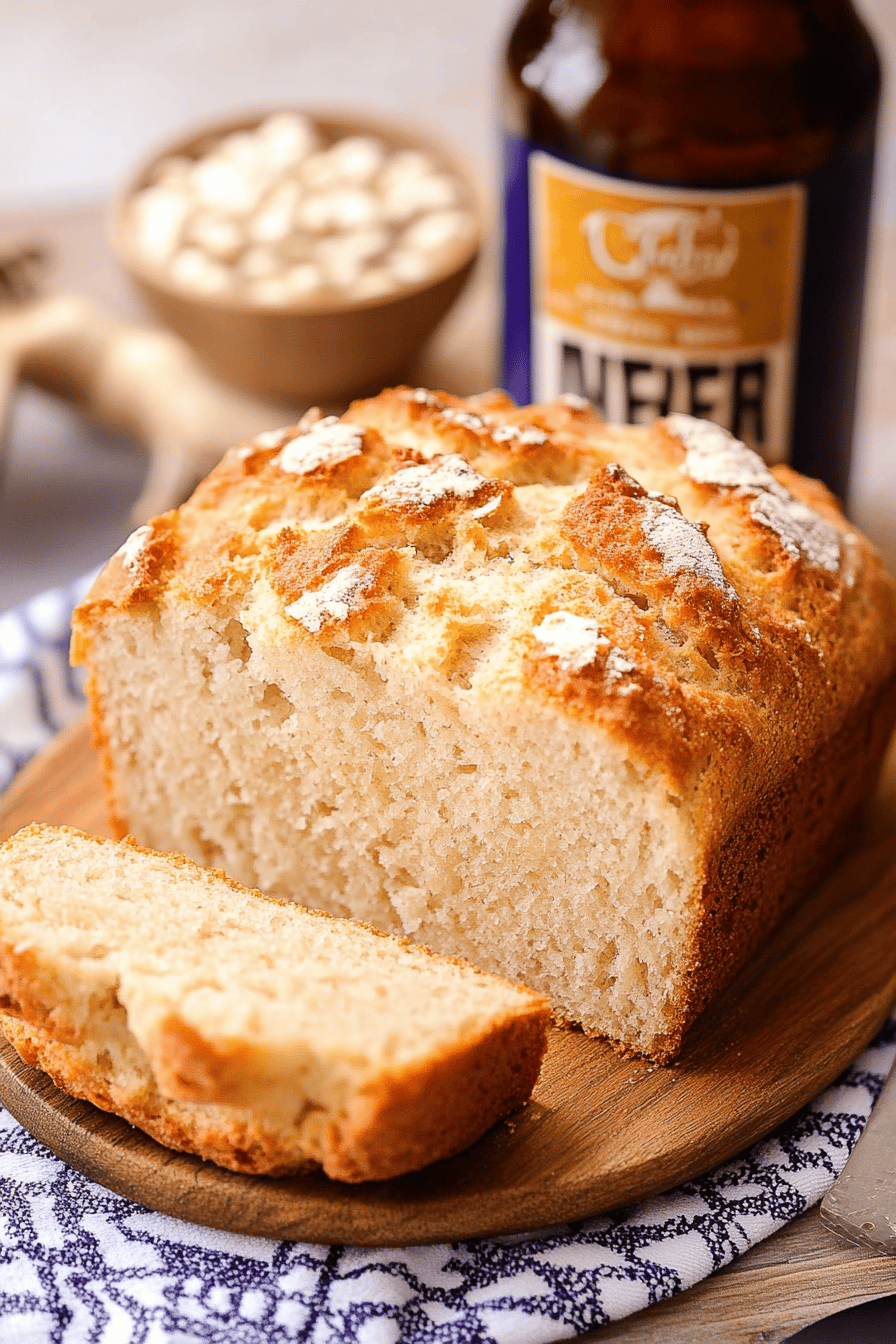
Place the loaf pan in your preheated oven. Bake for about 50-60 minutes. The exact time can vary depending on your oven, so keep an eye on it. You’ll know it’s done when the top is a beautiful golden brown and a toothpick inserted into the center comes out clean. If the top starts to get too brown before the inside is cooked, you can loosely tent it with aluminum foil.
Step 8: Cool & Glaze
Once baked, let the beer bread cool in the pan for about 10-15 minutes. This allows it to set up properly. Then, carefully invert it onto a wire rack to cool completely. If you’re making the glaze, whisk together the powdered sugar and milk (or beer) until smooth. Drizzle this over the cooled loaf. The glaze will set up as it sits.
Step 9: Slice & Serve
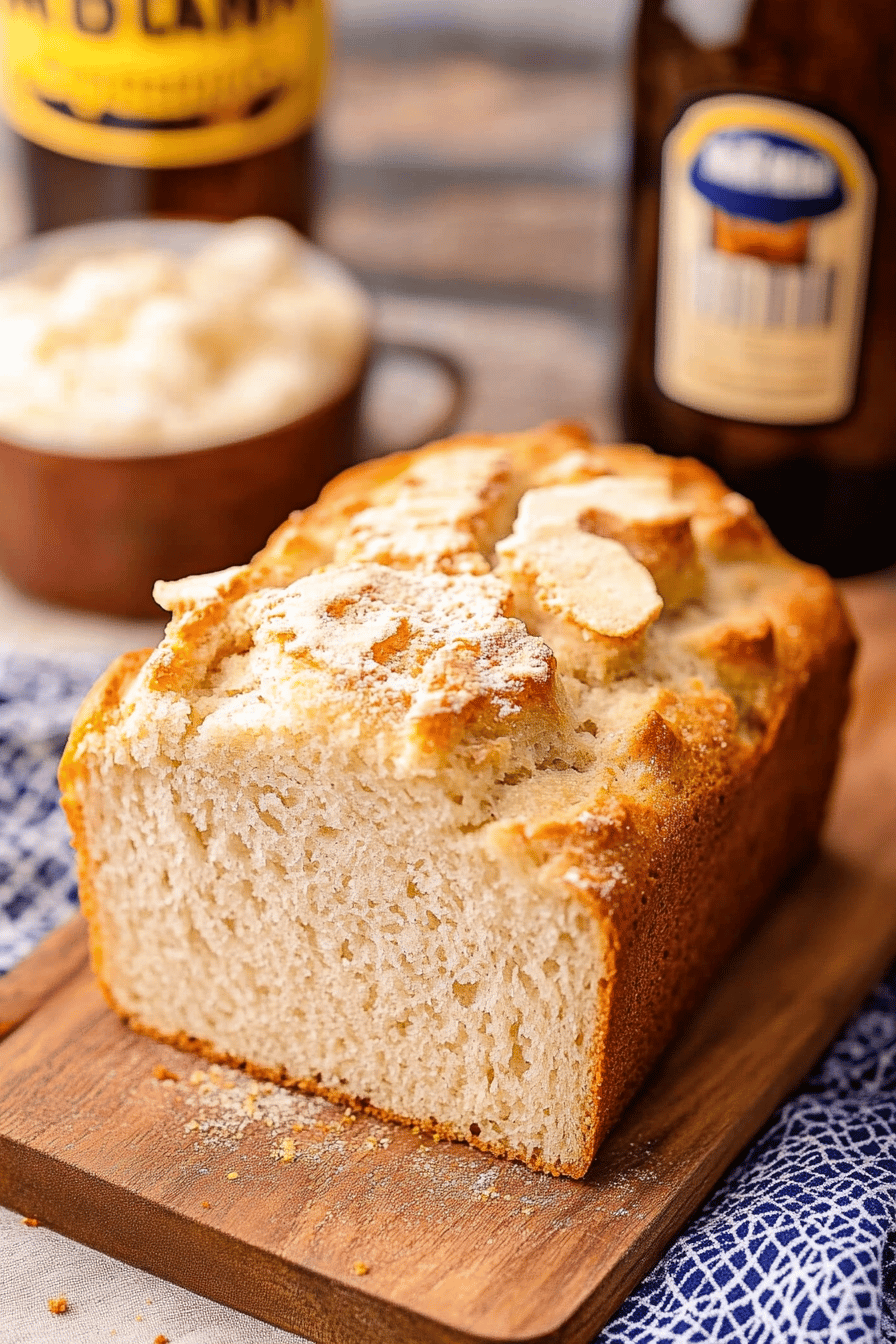
Once cooled and glazed (or not, it’s delicious either way!), slice your beer bread with a serrated knife. I love serving it warm, where the butter and sugar are still a bit gooey. It’s perfect on its own, toasted, or with a generous smear of butter. Enjoy!
What to Serve It With
This beer bread is such a chameleon; it truly fits in everywhere! For breakfast, I love it toasted and served with a dollop of my homemade berry jam. The slightly sweet, malty notes pair beautifully with coffee or a nice cup of tea. It’s a step up from toast but still super quick. For brunch, it’s a showstopper. I usually serve slices alongside scrambled eggs, crispy bacon, and some fresh fruit salad. A mimosa or a sparkling cider is the perfect beverage pairing. It feels elegant without being fussy, which is my favorite kind of brunch food! As a dessert, it’s surprisingly sophisticated. A warm slice with a scoop of vanilla ice cream and a drizzle of caramel sauce is pure bliss. It’s also fantastic with a cup of strong coffee after dinner when you want something sweet but don’t want to bake a whole cake. And for those cozy snacks, there’s nothing better than a thick slice, still warm from the oven, slathered with butter. It’s pure comfort food. My family tradition is to have it whenever we have chili or stew – it’s the perfect carb to soak up all those delicious flavors. Honestly, any way you slice it, this beer bread is a winner!
Top Tips for Perfecting Your Beer Bread
Over the years, I’ve tinkered and tested, and I’ve picked up a few tricks that I think make this beer bread truly spectacular. First, about the beer: while any beer works, I find that a slightly malty lager or a mild ale gives the best flavor. Avoid anything super hoppy or bitter, as it can come through in the finished bread. Room temperature beer is non-negotiable for me; it mixes so much more smoothly and helps with the texture. When you’re mixing the batter, remember: less is more. Seriously, don’t be tempted to keep stirring until it’s perfectly smooth. A few lumps are good! Overmixing develops the gluten and can make your bread tough, and we want it tender and moist. For the filling, I love the brown sugar and cinnamon combo, but I’ve also experimented with adding a teaspoon of espresso powder to the dry ingredients for a coffee-infused loaf, or even some shredded cheddar cheese and a pinch of jalapeño for a savory twist. If you’re going the savory route, you might want to reduce the sugar in the main batter slightly. For the swirl, I find that using a thin layer of the filling mixture is best. If you put too much, it can make the bread soggy in that area. And when it comes to baking, every oven is a little different. Use the toothpick test as your guide. If the top is browning too quickly, don’t be afraid to loosely tent it with foil. This allows the inside to cook through without burning the exterior. For the glaze, the key is consistency. If it’s too thin, it’ll just run off. If it’s too thick, it can be hard to drizzle. Aim for a thick but pourable consistency, and apply it to a completely cooled loaf for the best results. I once accidentally used cold beer, and let me tell you, the texture was just not the same. Lesson learned!
Storing and Reheating Tips
This beer bread is so good, you might not have leftovers, but if you do, here’s how to keep it delicious. At room temperature, it stays fresh for about 2-3 days. Just wrap it tightly in plastic wrap or place it in an airtight container. I’ve found it tastes best when eaten within the first day, but it’s still perfectly good for a couple of days after. If you want to keep it longer, the refrigerator is your friend. Wrap it well in plastic wrap, then a layer of foil, or put it in a freezer bag. It should keep well in the fridge for up to a week, although the texture might change slightly. For longer storage, freezer instructions are key! Wrap individual slices or the whole loaf tightly in plastic wrap, then in aluminum foil, and then place in a freezer-safe bag. It’ll last in the freezer for up to 3 months. To thaw, let it come to room temperature, or you can gently reheat slices in a toaster oven or a low oven. If you’ve glazed your bread, I find it’s best to add the glaze *after* you’ve reheated it, especially if you’re freezing it. Glaze a thawed loaf just before serving for the freshest taste. Honestly, though, this beer bread is so quick to make, sometimes it’s just easier to whip up a fresh one!
Frequently Asked Questions
Final Thoughts
Honestly, this beer bread recipe is one of those things that makes me so happy to share. It’s proof that you don’t need a lot of fancy ingredients or complicated techniques to make something truly delicious and comforting. It’s simple, it’s forgiving, and it always turns out beautifully. The aroma that fills your kitchen while it bakes is just heavenly, and the taste is something special. It’s the perfect bread for beginners, busy parents, or anyone who just wants a fantastic loaf of bread without the fuss. If you enjoyed this recipe, you might also want to try my easy no-knead focaccia for another bread-making adventure that’s surprisingly simple!
I really hope you give this beer bread a try. It’s become a staple in my home, and I have a feeling it might become one in yours too. Let me know in the comments below how yours turns out, or if you tried any fun variations! I love hearing your stories. Happy baking, everyone!
Easy Beer Bread
Ingredients
Main Ingredients
- 3 cups all-purpose flour
- 0.25 cup granulated sugar
- 2 teaspoons baking powder
- 1 teaspoon salt
- 12 ounces beer, at room temperature any lager or ale will work
For Topping (Optional)
- 2 tablespoons butter, melted
- 0.5 teaspoon garlic powder
- 0.5 teaspoon dried parsley
Instructions
Preparation Steps
- Preheat your oven to 375°F (190°C). Grease and flour a 9x5 inch loaf pan.
- In a large bowl, whisk together the flour, sugar, baking powder, and salt.
- Pour in the beer and stir until just combined. Be careful not to overmix.
- Pour the batter into the prepared loaf pan and spread it evenly.
- If desired, mix the melted butter with garlic powder and parsley, and drizzle over the top of the batter.
- Bake for 45-50 minutes, or until a wooden skewer inserted into the center comes out clean.
- Let the bread cool in the pan for 10 minutes before transferring it to a wire rack to cool completely.
