
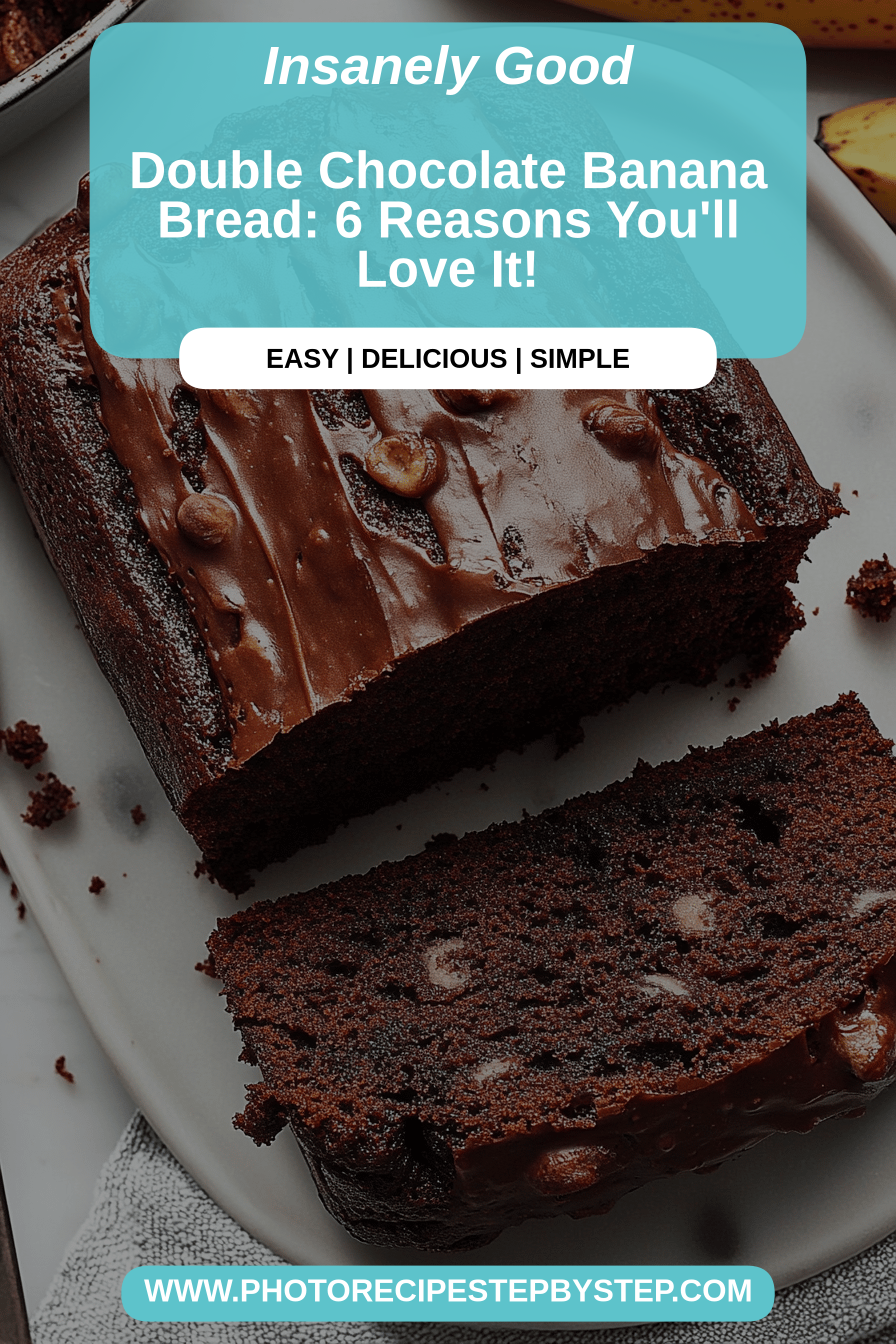
Oh, banana bread. Just saying the words conjures up the warmest feelings, doesn’t it? For me, it’s pure comfort in a slice. It’s that sweet, sweet aroma that fills the house on a Sunday morning, beckoning everyone to the kitchen. It’s the perfect way to use up those speckled, overripe bananas that are just begging for a second life. I’ve tried so many variations over the years, from incredibly dense, almost cake-like versions to ones that were just… fine. But this? This is the one. It’s the recipe that’s become a staple, the one my family requests again and again. It’s like a hug in edible form, and honestly, it’s even better than a simple banana loaf because of a little secret ingredient that makes it sing. If you’ve ever felt that desperate craving for something sweet and comforting but didn’t want to spend hours in the kitchen, this banana bread is your answer. It’s wonderfully moist, packed with flavor, and surprisingly simple to whip up.
What is Heavenly Banana Bread?
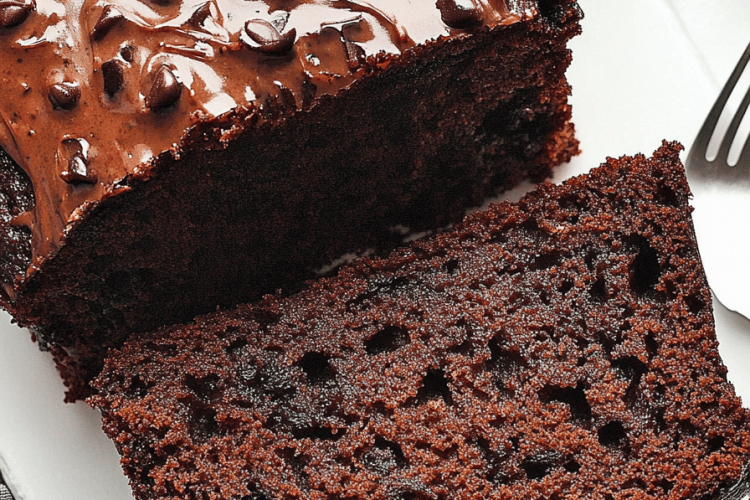
So, what exactly is this “heavenly banana bread” I keep raving about? Think of it as the ultimate comfort food, elevated. It’s essentially a quick bread, meaning it doesn’t require any yeast or complex rising techniques. The star, of course, are those beautifully ripe bananas, which lend their natural sweetness and moisture. What makes this recipe stand out, though, is its incredibly tender crumb and the subtle, delightful tang that cuts through the sweetness. It’s not just a banana bread; it’s a testament to how simple ingredients, when treated right, can create something truly magical. I call it “the only one you’ll ever need” because it strikes that perfect balance between being delightfully sweet and incredibly satisfying, without feeling heavy or overly complicated. It’s familiar, yet with a little something extra that will have people asking, “What’s your secret?”
Why you’ll love this recipe?
Honestly, where do I even begin? There are so many reasons why this banana Bread Recipe has become my absolute go-to, and I just know you’re going to fall in love with it too. First and foremost, the flavor is just out of this world. Those mashed bananas really do all the work, creating this wonderfully sweet, caramel-like depth that’s simply irresistible. It’s not just sweet, though; there’s a lovely complexity thanks to a few carefully chosen ingredients. Secondly, it’s ridiculously easy. I’m talking beginner-friendly easy. There are no fancy techniques required, no special equipment beyond a couple of bowls and a whisk. It’s the kind of recipe I can whip up on a Tuesday night when the craving hits, or on a lazy Saturday morning without breaking a sweat. Plus, it’s so budget-friendly! Ripe bananas are usually a dime a dozen, and the other ingredients are pantry staples. It’s a delicious way to create a treat without splurging. What I love most, though, is its versatility. I’ve served this warm with a pat of butter for breakfast, sliced it beautifully for a weekend brunch, and even enjoyed a thick slice cold with my afternoon coffee. It truly fits every occasion. I’ve even got a few friends who swear by it as a go-to dessert when they want something sweet but don’t want to bake an entire cake.
How do I make banana bread?
Quick Overview
Making this banana bread is a breeze. You’ll simply mash your ripe bananas, whisk them together with some wet ingredients, stir in your dry ingredients until just combined, and then bake until golden and wonderfully fragrant. The beauty lies in its simplicity and the minimal effort required to achieve maximum flavor and an unbelievably moist texture. It’s designed for busy lives and happy taste buds!
Ingredients
For the Main Batter:
You’ll want about 3 very ripe bananas, mashed. The browner and spottier, the better – that’s where all the natural sweetness comes from! I always make sure to let my bananas get really, really ripe. About 1 cup (200g) granulated sugar, but you can dial this back a touch if your bananas are super sweet. 1/2 cup (113g) unsalted butter, softened – I find softened butter gives the best texture, but melted works in a pinch. 2 large eggs, at room temperature. They incorporate much better this way. 1 teaspoon vanilla extract – don’t skip this, it really rounds out the flavors! 1 1/2 cups (190g) all-purpose flour, spooned and leveled. 1 teaspoon baking soda – this helps give it a nice lift. 1/2 teaspoon salt, to balance the sweetness. And my little secret ingredient: 1/2 teaspoon ground cinnamon. It adds this subtle warmth that just makes everything sing.
For the Filling:
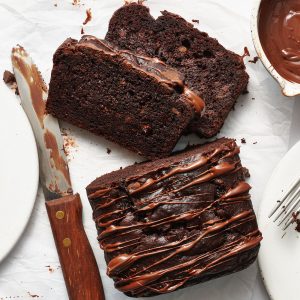
This is optional, but oh-so-worth-it! I love to add a swirl of chocolate chips – about 1/2 cup (85g) semi-sweet or Dark Chocolate chips. You could also do chopped walnuts or pecans if you prefer nuts. For a little extra tang and moisture, I also love to add 2 tablespoons of sour cream or plain Greek yogurt to the batter itself before adding the dry ingredients. It makes it SO incredibly moist.
For the Glaze:
This is my favorite part for that extra touch of sweetness. You’ll need 1/2 cup (60g) powdered sugar, about 1-2 tablespoons of milk (or non-dairy alternative like almond milk for creaminess), and 1/4 teaspoon vanilla extract. You can adjust the milk to get your desired drizzling consistency.
Step-by-Step Instructions
Step 1: Preheat & Prep Pan
First things first, get your oven preheating to 350°F (175°C). While that’s heating up, grease and flour a standard 9×5 inch loaf pan. You can also line it with parchment paper for super easy removal, which is my preferred method. This ensures your beautiful banana bread doesn’t stick!
Step 2: Mix Dry Ingredients
In a medium bowl, whisk together your all-purpose flour, baking soda, salt, and cinnamon. Giving them a good whisk ensures everything is evenly distributed, so you don’t get any salty or bready pockets. We’re just combining them here, not developing any gluten yet.
Step 3: Mix Wet Ingredients
In a larger bowl, mash your very ripe bananas until they’re mostly smooth with a few small lumps remaining – I like a little texture. Then, add in your softened butter, sugar, room-temperature eggs, vanilla extract, and the Sour Cream/yogurt if you’re using it. Beat everything together until it’s well combined and looks creamy. It should be a lovely, smooth mixture.
Step 4: Combine
Now, it’s time to bring the wet and dry ingredients together. Pour the dry ingredients into the wet ingredients. Using a spatula or wooden spoon, gently fold them together until they are *just* combined. It’s really important not to overmix here! A few streaks of flour are okay; they’ll disappear as you continue. Overmixing can lead to a tough banana bread.
Step 5: Prepare Filling
If you’re adding chocolate chips or nuts, gently fold them into the batter now. Don’t overmix! We want them distributed, not pulverized.
Step 6: Layer & Swirl
Pour about half of the batter into your prepared loaf pan. If you’re doing a chocolate swirl, sprinkle half of your chocolate chips over the batter. Then, carefully spoon the remaining batter over the top, followed by the rest of the chocolate chips. If you’re not swirling, just pour all the batter in. For that gorgeous swirl effect, you can take a knife or a skewer and gently swirl it through the batter a few times. Don’t overdo it, or you’ll mix everything together!
Step 7: Bake
Pop the loaf pan into your preheated oven. Bake for about 50-65 minutes, or until a wooden skewer or toothpick inserted into the center comes out clean. The top should be beautifully golden brown. Ovens can vary, so start checking around the 50-minute mark. If the top is browning too quickly, you can loosely tent it with foil.
Step 8: Cool & Glaze
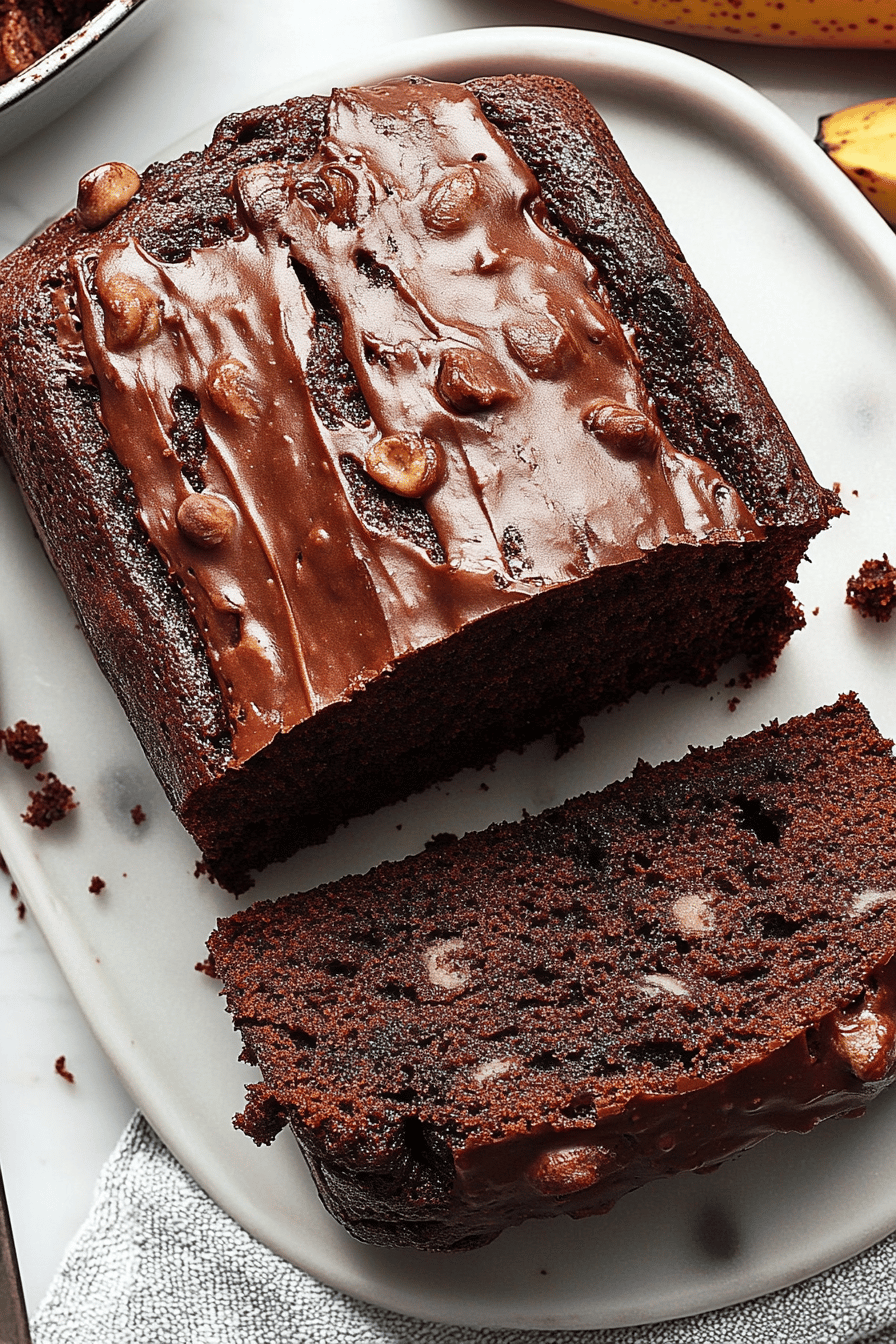
Once baked, let the banana bread cool in the pan for about 10-15 minutes. This allows it to set up properly. Then, carefully invert it onto a wire rack to cool completely. Once it’s completely cool – and this is important, especially for the glaze – whisk together the powdered sugar, milk, and vanilla extract until smooth. Drizzle it over the top of the cooled banana bread. If you want a thicker glaze, use less milk; for a thinner glaze, add a tiny bit more.
Step 9: Slice & Serve
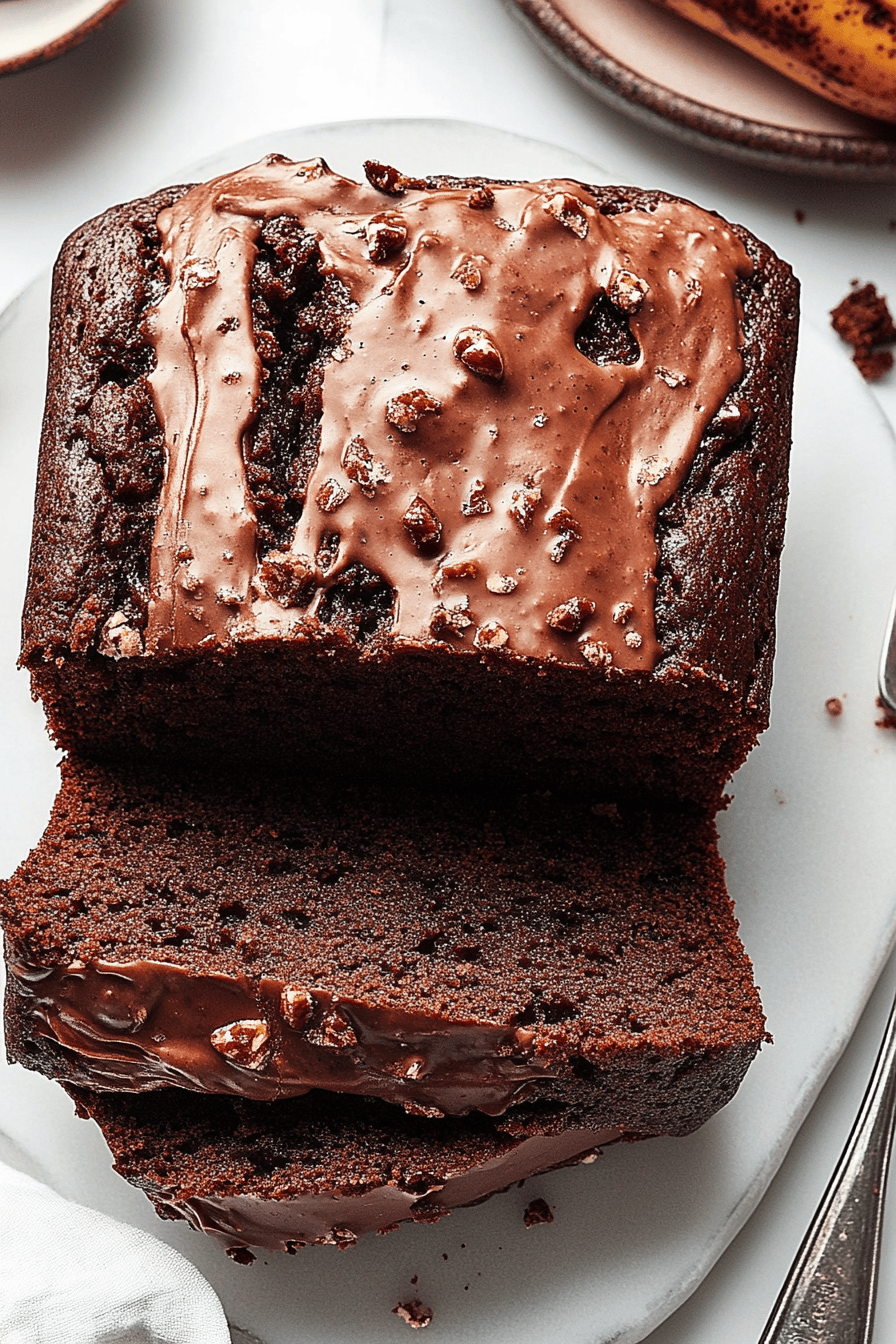
Once the glaze has set slightly, slice your banana bread with a serrated knife for clean cuts. Enjoy! The smell alone is incredible, but the taste? Pure bliss.
What to Serve It With
This banana bread is so versatile, it’s almost ridiculous! For a delightful breakfast treat, I love it toasted and served warm with a generous smear of butter. It’s also fantastic alongside a steaming mug of coffee or a warm cup of tea. For brunch gatherings, I usually slice it and arrange it on a nice platter, maybe with a few fresh berries on the side for a pop of color. It pairs wonderfully with a mimosa or a fresh fruit salad. If you’re serving it as a dessert, it’s divine on its own, or you could even warm it up slightly and serve it with a dollop of whipped cream or a scoop of vanilla bean ice cream – talk about decadent! And for those cozy, quiet moments when you just need a little pick-me-up, a slice of this banana bread with a glass of cold milk is absolute perfection. My kids always ask for this when they come home from school, and it’s the perfect answer to that after-school snack craving.
Top Tips for Perfecting Your Banana Bread
Over the years, I’ve learned a few tricks and stumbled upon a few “oops” moments that have made me a better baker, especially when it comes to banana bread. Here are my top tips to help you achieve banana bread perfection every single time:
Banana Prep: I can’t stress this enough – use *very* ripe bananas! The spots are your friends here. They indicate sweetness and a softer texture that makes them easy to mash. If your bananas aren’t quite ripe enough, you can speed things up by baking them in their peel on a baking sheet at 300°F (150°C) for about 15-20 minutes until they turn black and fragrant. Just let them cool before mashing.
Mixing Advice: The cardinal rule of quick breads is: DO NOT OVERMIX. Once you add the dry ingredients to the wet, mix only until they are *just* combined. Lumps are fine! Overmixing develops the gluten in the flour too much, which can result in a tough, rubbery loaf instead of a tender, moist one. Gently fold everything together with a spatula.
Swirl Customization: If you’re adding chocolate chips or nuts, resist the urge to stir them in vigorously. Gently fold them in so they’re distributed throughout the batter. For the chocolate swirl effect, a light hand is key. Too much swirling will just make the batter muddy and the chocolate will be everywhere, rather than in lovely ribbons.
Ingredient Swaps: Looking for dairy-free? Swap the butter for a good quality vegan butter or coconut oil (melted). Use non-dairy milk for the glaze. For a healthier twist, you can try replacing some of the flour with whole wheat or almond flour, but be aware that this might change the texture slightly. I’ve found that a 50/50 mix of all-purpose and whole wheat flour works beautifully, giving it a heartier texture without being too dense.
Baking Tips: Always preheat your oven properly. An oven that’s not hot enough will result in a dense loaf. Place the loaf pan in the center of the oven for even heat distribution. Use the toothpick test: insert it into the thickest part of the bread; if it comes out clean, it’s done. If there’s wet batter on it, bake for another 5-10 minutes and test again. If the top is browning too quickly, loosely tent the loaf pan with aluminum foil. This allows the inside to bake through without burning the top.
Glaze Variations: For a thinner, more translucent glaze, add a little more milk, a teaspoon at a time. For a thicker, more opaque glaze, use less milk. You can also add a pinch of cinnamon or a tiny bit of lemon zest to the glaze for a different flavor profile. If you’re not a fan of glaze, a simple dusting of powdered sugar or a sprinkle of coarse sugar before baking can be lovely too!
Storing and Reheating Tips
One of the best things about banana bread is how well it keeps, making it perfect for making ahead. Here’s how I store and reheat it to keep it tasting fresh:
Room Temperature: Once completely cooled, I usually wrap the loaf tightly in plastic wrap, then place it in an airtight container or a large resealable bag. It will stay wonderfully moist at room temperature for about 2-3 days. I find it’s actually best on day two, as the flavors meld even more.
Refrigerator Storage: If you need it to last longer, or if your kitchen is particularly warm, store it in an airtight container in the refrigerator. It should keep well for up to a week. Be aware that refrigeration can sometimes dry out baked goods slightly, but a good airtight container helps minimize this. If it does seem a little dry, a quick toast in the toaster oven or a brief warm-up in the microwave can revive it.
Freezer Instructions: For long-term storage, banana bread freezes like a dream! Wrap the cooled loaf tightly in plastic wrap, then in a layer of aluminum foil, and finally place it in a freezer-safe bag or container. It can be frozen for up to 3 months. To thaw, remove it from the freezer and let it thaw completely at room temperature. If you’ve glazed it, you might want to do that *after* thawing to prevent the glaze from becoming sticky or messy during freezing. Alternatively, you can freeze individual slices!
Glaze Timing Advice: If you plan to store your banana bread at room temperature for more than a day or so, or if you’re freezing it, I often recommend glazing *after* it has been thawed or brought back to room temperature. This way, the glaze stays fresh and pretty. If you’re serving it the same day you bake it, glazing while completely cool is perfect.
Frequently Asked Questions
Final Thoughts
So there you have it – my tried-and-true, utterly delicious banana bread recipe. It’s more than just a recipe to me; it’s a little piece of home, a guaranteed way to bring smiles to faces, and the perfect solution for those moments when you need a little bit of comfort and joy. I really hope you give this banana bread a try. I think you’ll find, just like I have, that it’s incredibly forgiving and consistently delivers that perfect moist, flavorful slice. It’s a testament to how simple ingredients can create something truly special. If you love this recipe, you might also enjoy my Moist Chocolate Chip Muffin recipe or my Easy Apple Crumble for more comforting baked treats. I can’t wait to hear what you think! Please leave a comment below with your thoughts, any variations you tried, or how much your family loved it. Happy baking!
Classic Banana Bread
Ingredients
Main Ingredients
- 0.5 cup butter softened
- 0.75 cup sugar
- 2 eggs large, lightly beaten
- 3 bananas very ripe, mashed
- 1 teaspoon vanilla extract
- 1.5 cup all-purpose flour
- 1 teaspoon baking soda
- 0.5 teaspoon salt
Instructions
Preparation Steps
- Preheat your oven to 350°F (175°C). Grease and flour a 9x5 inch loaf pan.
- In a large bowl, cream together the softened butter and sugar until light and fluffy.
- Beat in the eggs one at a time, then stir in the mashed bananas and vanilla extract.
- In a separate bowl, whisk together the flour, baking soda, and salt.
- Gradually add the dry ingredients to the wet ingredients, mixing until just combined. Do not overmix.
- Pour the batter into the prepared loaf pan and spread evenly.
- Bake for 50-60 minutes, or until a toothpick inserted into the center comes out clean.
- Let the banana bread cool in the pan for 10 minutes before transferring it to a wire rack to cool completely.
