
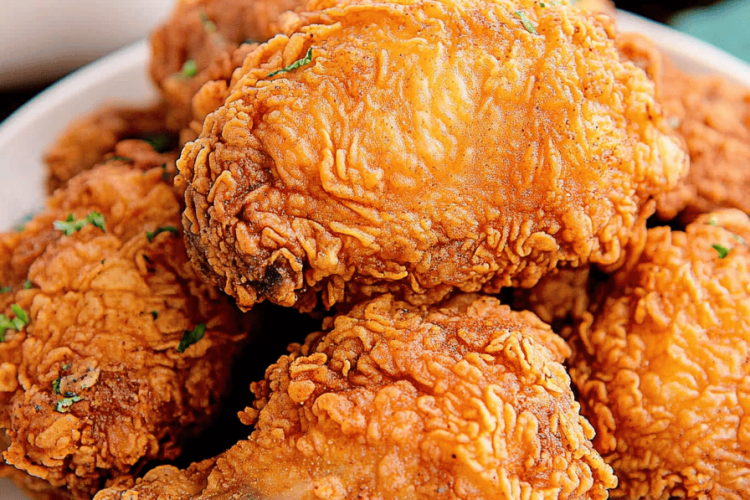
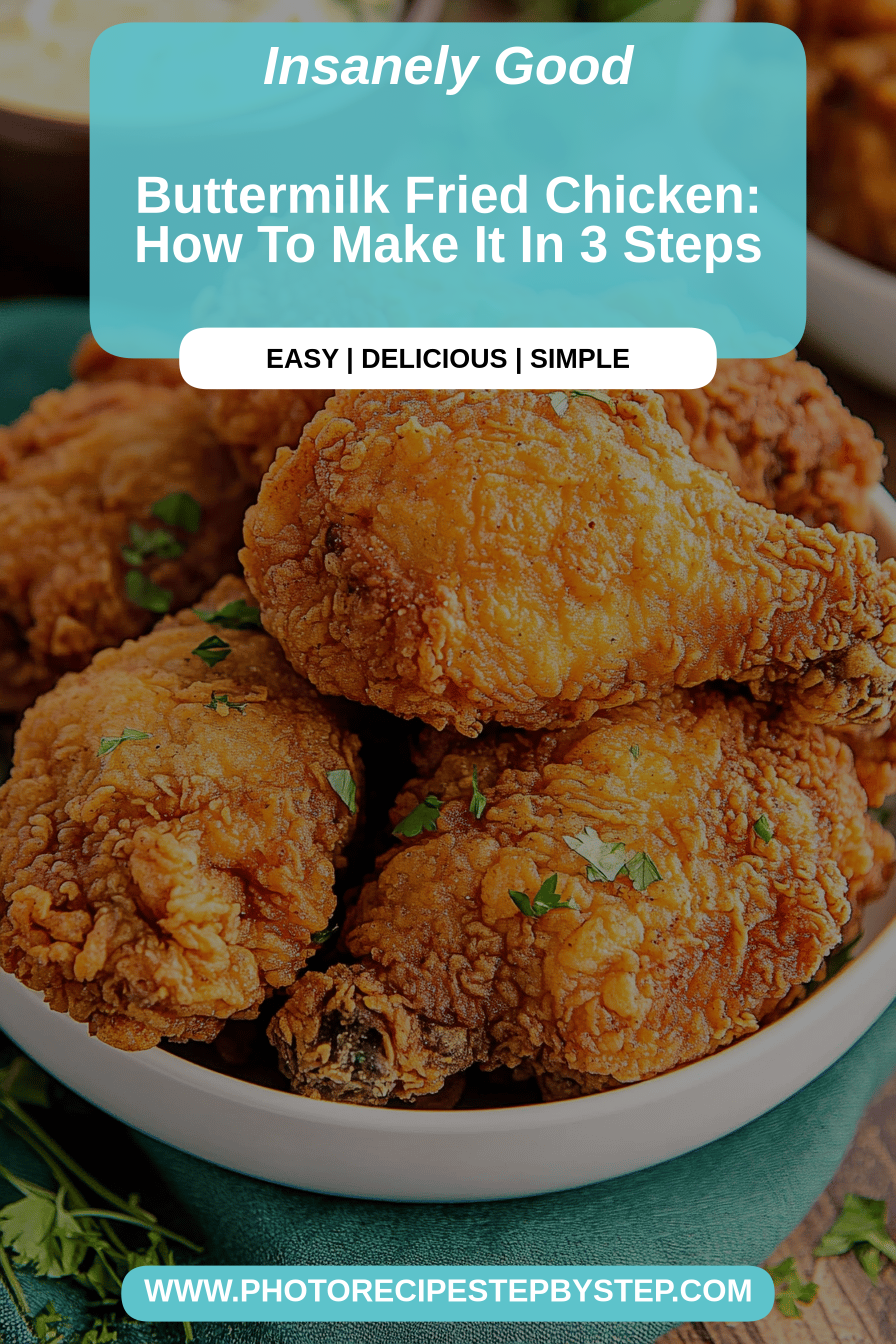
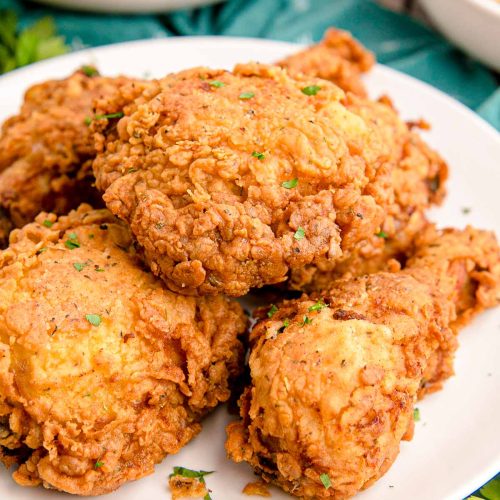
You know, there are some foods that just instantly transport you back in time. For me, that’s fried chicken. It’s not just a meal; it’s a memory. I can still picture my grandma in her kitchen, the air thick with the most incredible aroma, as she pulled a golden-brown batch of her famous fried chicken out of the cast iron skillet. It was always the highlight of our Sunday dinners. Now, I get to share that magic with you. This isn’t your average, run-of-the-mill fried chicken. This is the kind that makes your taste buds sing, the kind that has everyone begging for the recipe. It’s got that perfect crunch, that unbelievably juicy interior, and a flavor that’s just… well, it’s everything you dream of when you crave truly good fried chicken. Forget those dry, bland versions you might have had. This one’s a game-changer, and honestly, it’s not as complicated as you might think.
What is the best fried chicken recipe?
So, what exactly makes this fried Chicken Recipe so special? Think of it as the ultimate comfort food, elevated. It’s essentially the best parts of traditional fried chicken – that satisfying crunch from the coating and the tender, moist meat inside – but with a few tweaks that make all the difference. The name “perfect” might sound a little bold, I know, but after years of tinkering and countless taste tests (with very willing participants, of course!), I genuinely believe this recipe hits all the right notes. It’s built on a foundation of good quality chicken, a smart coating that creates that coveted crispiness without getting greasy, and a cooking method that ensures juiciness every single time. It’s the kind of dish that feels like a treat, a real weekend indulgence, but it’s surprisingly approachable for a weeknight if you’re feeling ambitious!
Why you’ll love this recipe?
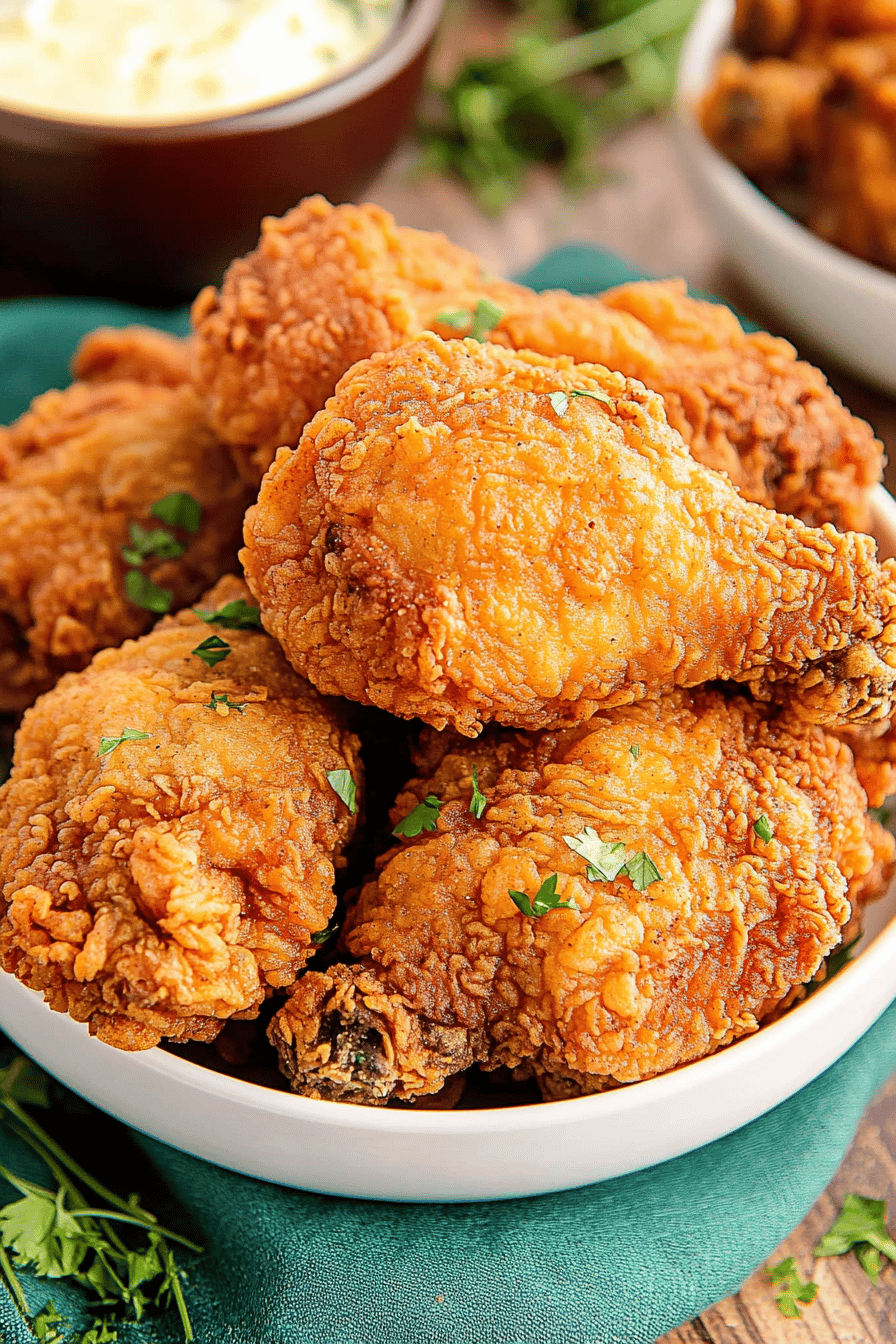
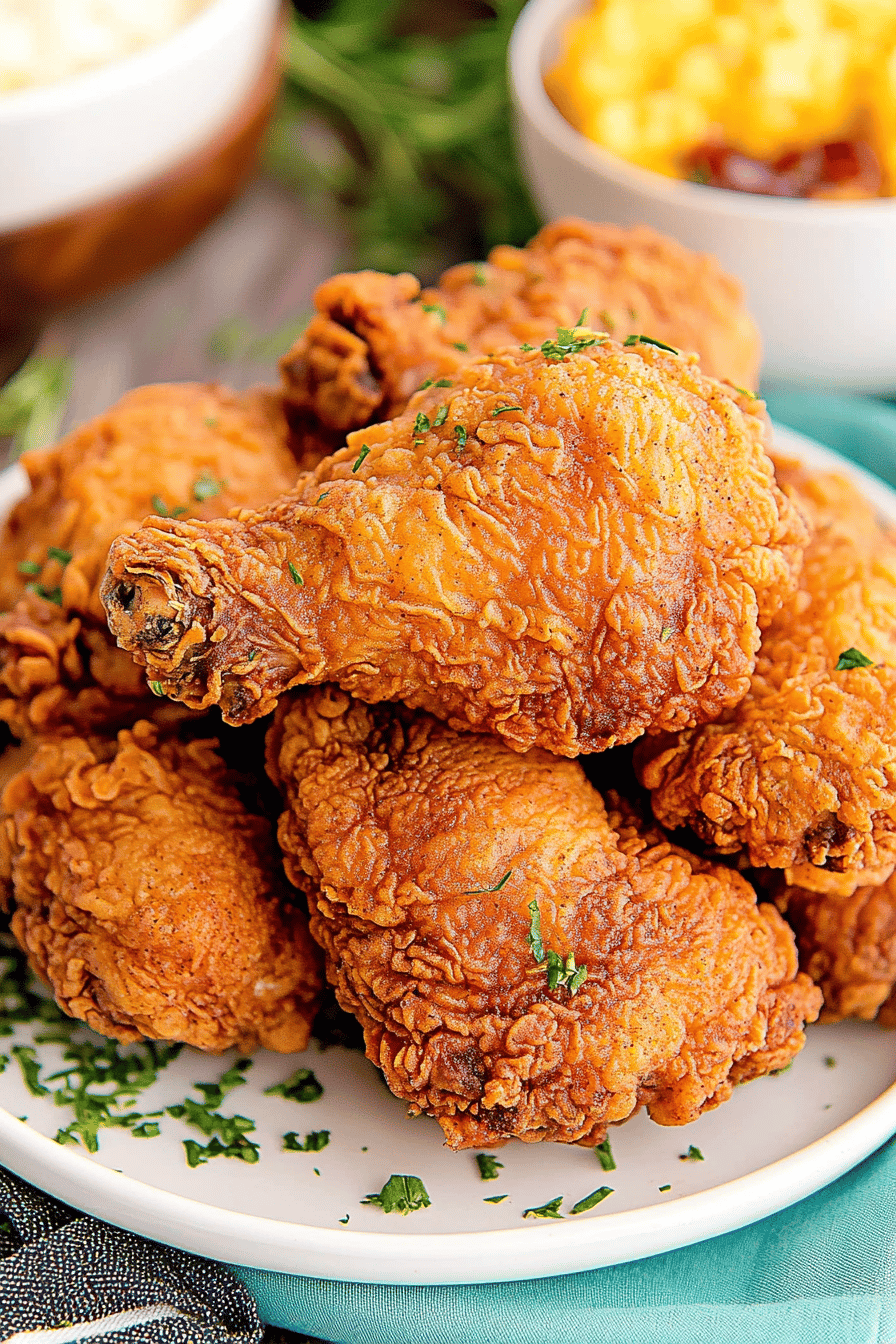
Let me tell you why this fried Chicken Recipe has become my absolute go-to, and why I just know you’re going to adore it. First off, the flavor is out of this world. We’re talking a subtle seasoning in the coating that perfectly complements the chicken, creating a savory, slightly peppery bite with every forkful. It’s not overpowering, but it’s definitely there, making each piece incredibly addictive. And the crunch? Oh, the crunch is legendary! It’s shatteringly crisp, the kind that makes that satisfying sound when you bite into it, and it actually stays that way for a good while, which is a huge win in my book. What I love most is how surprisingly simple it is to achieve these incredible results. I used to think making truly great fried chicken was some sort of culinary dark art, but this recipe breaks it down so you can get restaurant-quality results right in your own kitchen. It’s also incredibly cost-effective. Using chicken pieces you can find at any grocery store, you get a meal that feels luxurious but won’t break the bank. Plus, it’s so versatile! You can serve this fried chicken with pretty much anything – classic mashed potatoes, a crisp salad, or even just on its own as a snack. It’s the ultimate crowd-pleaser, and honestly, my kids ask for this all the time, which is the highest praise I can give!
How do I make fried chicken?
Quick Overview
The process for this amazing fried chicken is pretty straightforward, and I promise, it’s way less intimidating than it looks. We’re going to start by getting our chicken pieces prepped, then create a flavorful, crispy coating using a simple dredge. The key is in how we handle the chicken and the coating mixture, ensuring every piece gets evenly coated for that perfect crisp. Then, it’s a matter of pan-frying in just the right amount of hot oil until golden brown and cooked through. The result? Glorious, juicy fried chicken that tastes like it came straight from a fancy Southern kitchen.
Ingredients
For the Chicken:
8-10 pieces of bone-in, skin-on chicken (a mix of thighs, drumsticks, and breasts works beautifully)
2 cups buttermilk (this is key for tenderizing!)
2 tablespoons hot sauce (your favorite kind, like Frank’s or Tabasco)
Salt and freshly ground black pepper, to taste
For the Crispy Coating:
3 cups all-purpose flour
1/4 cup cornstarch (this secret weapon makes it extra crispy!)
2 teaspoons paprika
1 teaspoon garlic powder
1 teaspoon onion powder
1 teaspoon dried thyme
1 teaspoon salt
1/2 teaspoon black pepper
1/4 teaspoon cayenne pepper (optional, for a little kick)
For Frying:
Vegetable oil, canola oil, or peanut oil (enough to come about 1-1.5 inches up the side of your pan)
Step-by-Step Instructions
Step 1: Preheat & Prep Chicken
First things first, let’s get our chicken ready. Pat all your chicken pieces thoroughly dry with paper towels. This is super important for getting that crispy skin. In a large bowl or a resealable plastic bag, combine the buttermilk and hot sauce. Add your chicken pieces, making sure they’re fully submerged. Season generously with salt and pepper. Cover the bowl or seal the bag and let it marinate in the refrigerator for at least 4 hours, or ideally, overnight. The longer it marinates, the more tender and flavorful your chicken will be. If you’re short on time, even 30 minutes helps!
Step 2: Mix Dry Ingredients
In a large shallow dish or a brown paper bag (yes, a paper bag works great for this!), whisk together the flour, cornstarch, paprika, garlic powder, onion powder, thyme, salt, pepper, and cayenne pepper if you’re using it. You want to make sure all those spices are evenly distributed. This is your crispy coating mixture. Give it a good stir to ensure there are no clumps and everything is well combined. This blend is what gives our fried chicken that signature savory flavor and incredible crunch.
Step 3: Prepare Frying Station
Now, let’s set up for frying. You’ll need a large, heavy-bottomed skillet or Dutch Oven. Pour in your frying oil – you want it to be about 1 to 1.5 inches deep. Heat the oil over medium-high heat until it reaches about 350°F (175°C). It’s helpful to have a thermometer for this, but if you don’t, you can test the oil by dropping a tiny bit of flour into it. If it sizzles immediately and floats, your oil is ready. Keep a wire rack set over a baking sheet nearby; this is where we’ll drain the fried chicken to keep it crisp.
Step 4: Dredge the Chicken
This is where the magic happens! Take one piece of chicken out of the buttermilk marinade, letting any excess drip off for a second. Place it into the seasoned flour mixture. Toss the chicken piece around, pressing the flour into the skin so it’s completely coated. You want a nice, thick, even layer. For an extra-crispy coating, you can double-dredge: dip the floured chicken back into the buttermilk for a quick second, then back into the flour mixture, pressing firmly again. This creates little crags and crannies that fry up extra crispy. Repeat with all your chicken pieces.
Step 5: Fry the Chicken
Carefully place 3-4 pieces of coated chicken into the hot oil, being careful not to overcrowd the pan. Overcrowding will lower the oil temperature and result in greasy, less crispy chicken. Fry the chicken for about 6-8 minutes per side, adjusting the heat as needed to maintain that 350°F temperature. The chicken should be a deep golden brown and cooked through. Use tongs to turn the pieces, ensuring even browning. If you’re frying larger pieces like breasts, they might take a little longer.
Step 6: Drain and Rest
Once the chicken is beautifully golden and cooked through (an instant-read thermometer inserted into the thickest part, avoiding the bone, should read 165°F/74°C), carefully remove it from the oil using tongs. Place the fried chicken on the prepared wire rack to drain. This is crucial for keeping the bottom from getting soggy. Let it rest for at least 5-10 minutes before serving. This allows the juices to redistribute, making the chicken incredibly moist and tender.
Step 7: Repeat and Serve
While the first batch is resting, you can continue frying the remaining chicken pieces, making sure to let the oil come back up to temperature between batches. If the oil gets too hot, lower the heat. If it cools down too much, increase it. Serve the fried chicken hot, with all those delicious crispy bits. It’s truly a labor of love, but oh so worth it!
What to Serve It With
This incredible fried chicken is practically a meal in itself, but oh, the possibilities for pairings are endless! For a truly classic Southern experience, you absolutely can’t go wrong with a side of creamy mashed potatoes and some savory gravy. My family also loves it with a big helping of collard greens, slow-cooked to perfection. If you’re looking for something a little lighter, a crisp, fresh coleslaw or a simple green salad with a tangy vinaigrette cuts through the richness beautifully. For a complete comfort food feast, consider some mac and cheese – the ultimate carb-on-carb indulgence! I’ve also found that it pairs surprisingly well with baked beans or a sweet potato casserole. If I’m making this for a potluck, I always bring a big pan of cornbread; it’s just the perfect vehicle for soaking up any extra deliciousness. And don’t forget the pickles! Dill pickles or even pickled okra add a lovely tang that balances everything out. Honestly, whatever you serve it with, this fried chicken is going to be the star of the show.
Top Tips for Perfecting Your Fried Chicken
Okay, let’s talk about how to ensure your fried chicken is always absolutely perfect. I’ve made this recipe more times than I can count, and I’ve picked up a few tricks along the way that I think will really help you nail it. First, when you’re prepping the chicken, don’t skip the buttermilk soak. It’s not just for moisture; it actually helps to tenderize the meat, making it melt-in-your-mouth tender. For the coating, the cornstarch is your secret weapon for that extra-crispy crunch that holds up. Make sure you really press the flour mixture onto the chicken; don’t be shy! A good, thick coating is key. When you’re frying, managing your oil temperature is probably the most critical step. If it’s too low, you’ll get greasy chicken. Too high, and the outside will burn before the inside is cooked. I really recommend using a thermometer if you can. Also, resist the urge to overcrowd the pan! It’s tempting to cook more at once, but it’s worth the extra batch to get that superior crisp. My kids learned to help with this, and they’re surprisingly good at keeping an eye on the oil temp. For an even crispier crust, try the double-dredge method I mentioned earlier – it really makes a difference. Lastly, when it comes to resting the chicken after frying, give it the time it needs on the wire rack. This allows the crust to set up and the juices to settle, so you get that perfect, moist interior. Trust me on this one; patience pays off!
Storing and Reheating Tips
If, by some miracle, you have any leftover fried chicken (which rarely happens in my house!), storing and reheating it properly is key to enjoying it again. For storing, the best approach is to let the chicken cool completely before refrigerating. Once cool, place it in an airtight container or wrap it tightly in foil or plastic wrap. It will stay good in the refrigerator for about 3-4 days. When it comes to reheating, the oven is your best friend. To get that crispiness back, preheat your oven to around 375°F (190°C). Place the cold chicken pieces on a baking sheet (you can line it with parchment paper for easier cleanup, but I usually just go straight on the sheet). Bake for about 10-15 minutes, or until heated through and the coating is re-crisped. Avoid the microwave if you can, as it tends to make fried chicken soggy. If you absolutely must use the microwave, heat it in short bursts and be prepared for a less-than-ideal texture. I’ve found that a quick blast in a hot Air Fryer also works wonders for reheating, bringing it back to life beautifully in just a few minutes. For best results, I always try to enjoy it fresh, but these reheating methods will save your leftovers!
Frequently Asked Questions
Final Thoughts
So there you have it – my tried-and-true recipe for what I believe is some of the best fried chicken you’ll ever have the pleasure of making and eating. It’s got that irresistible crunch, that juicy, tender interior, and a flavor that just hits all the right comfort food notes. It’s the kind of dish that brings people together, that creates those special food memories I talked about at the beginning. Don’t be intimidated by the frying part; with a little care and attention to the oil temperature, you’ll be a fried chicken pro in no time. If you loved this recipe and are looking for more comfort food classics, you might also enjoy my recipe for [Link to another related recipe, e.g., “Creamy Mashed Potatoes”] or my [Link to another related recipe, e.g., “Southern Style Biscuits”]. I can’t wait to hear how yours turns out! Please leave a comment below and let me know your favorite way to enjoy this fried chicken, or share any variations you tried. And if you snap a picture, tag me on social media – I’d love to see it! Happy cooking!
Classic Crispy Fried Chicken
Ingredients
Chicken
- 3 pounds chicken pieces cut into 8 pieces
Brine
- 2 cups buttermilk
- 1 tablespoon salt
- 0.5 teaspoon black pepper
Seasoned Flour
- 2.5 cups all-purpose flour
- 2 teaspoons salt
- 1 teaspoon paprika
- 1 teaspoon garlic powder
- 0.5 teaspoon onion powder
- 0.25 teaspoon cayenne pepper optional
Frying
- 4 cups vegetable oil or other high smoke point oil
Instructions
Brining the Chicken
- In a large bowl, whisk together the buttermilk, salt, and black pepper. Add the chicken pieces to the bowl, ensuring they are fully submerged. Cover the bowl and refrigerate for at least 2 hours, or preferably overnight.
Preparing the Flour Mixture
- In a shallow dish or a large resealable bag, combine the all-purpose flour, salt, paprika, garlic powder, onion powder, and cayenne pepper (if using). Mix well to ensure all spices are evenly distributed.
Coating the Chicken
- Remove the chicken from the buttermilk brine, letting any excess drip off. Dredge each chicken piece in the seasoned flour mixture, pressing to ensure it is thoroughly coated. Shake off any excess flour.
Frying the Chicken
- Heat the vegetable oil in a large, heavy-bottomed skillet or Dutch oven over medium-high heat to about 350°F (175°C).
- Carefully place the coated chicken pieces into the hot oil, being careful not to overcrowd the pan. Fry in batches if necessary.
- Fry the chicken for about 6-8 minutes per side, or until golden brown and cooked through. The internal temperature should reach 165°F (74°C).
- Remove the fried chicken from the oil and place it on a wire rack set over a baking sheet to drain any excess oil. This helps keep the chicken crispy.
Serving
- Serve the fried chicken hot with your favorite sides.
